

© 2026 SCREENPRO®. Specifications are subject to change without notice. | SamsAV All Rights ReservedSite Map Designed by iwonder.cn


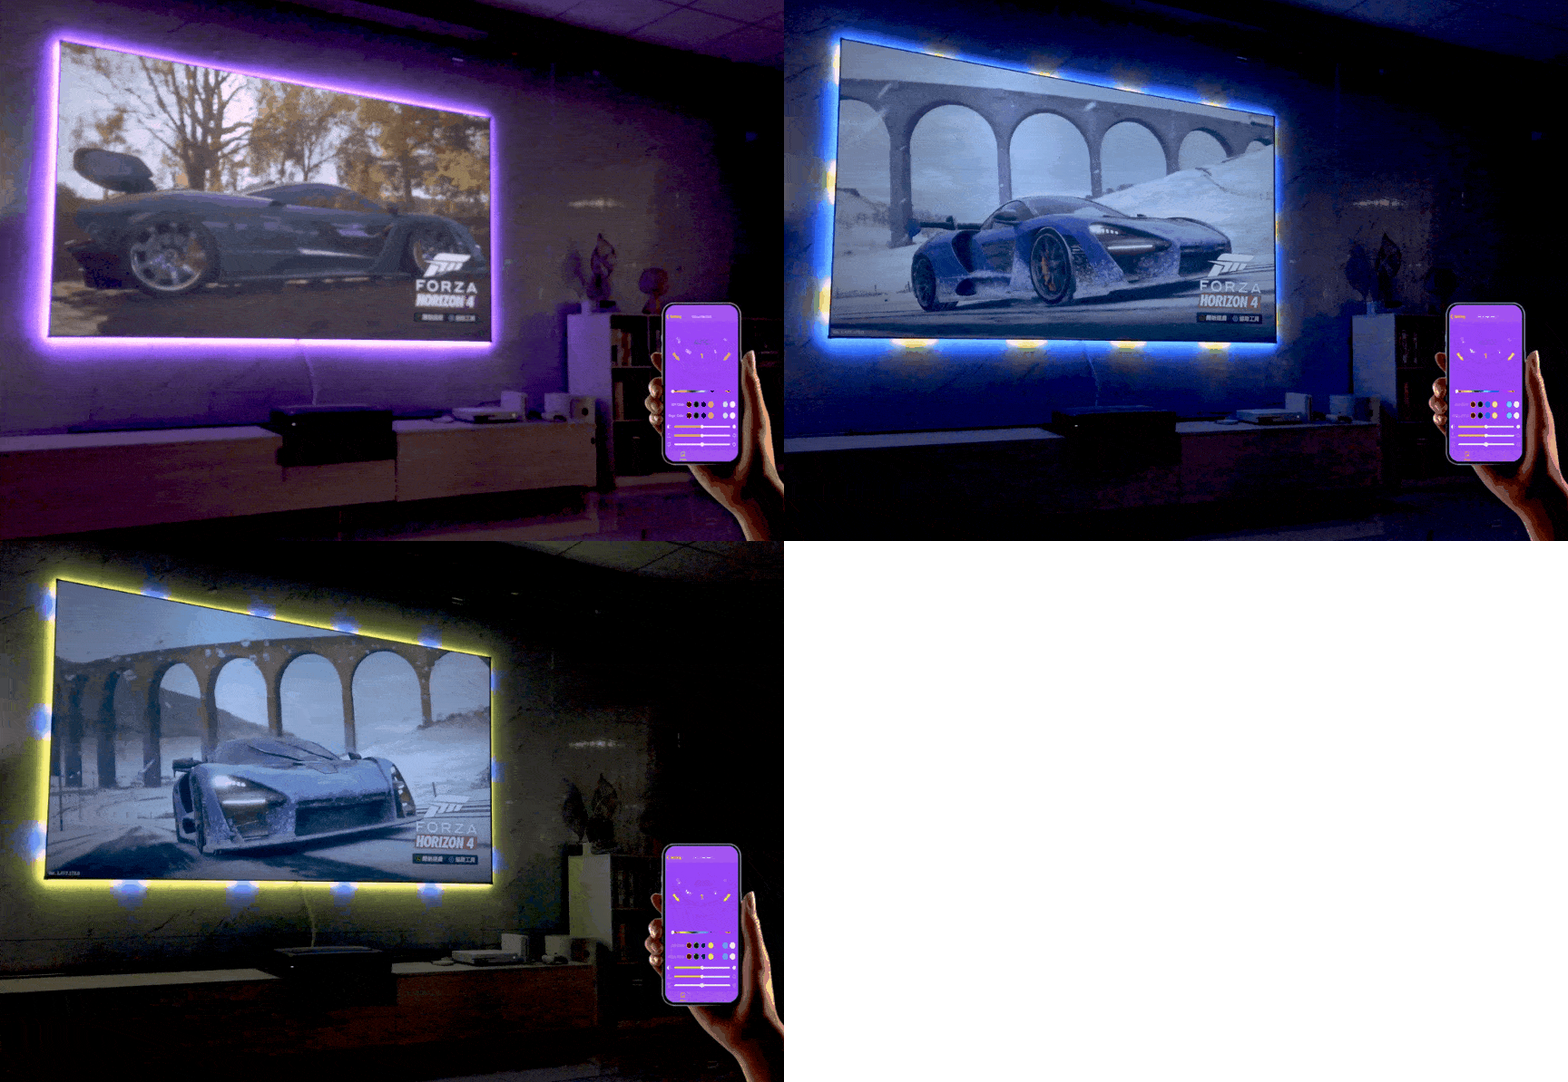
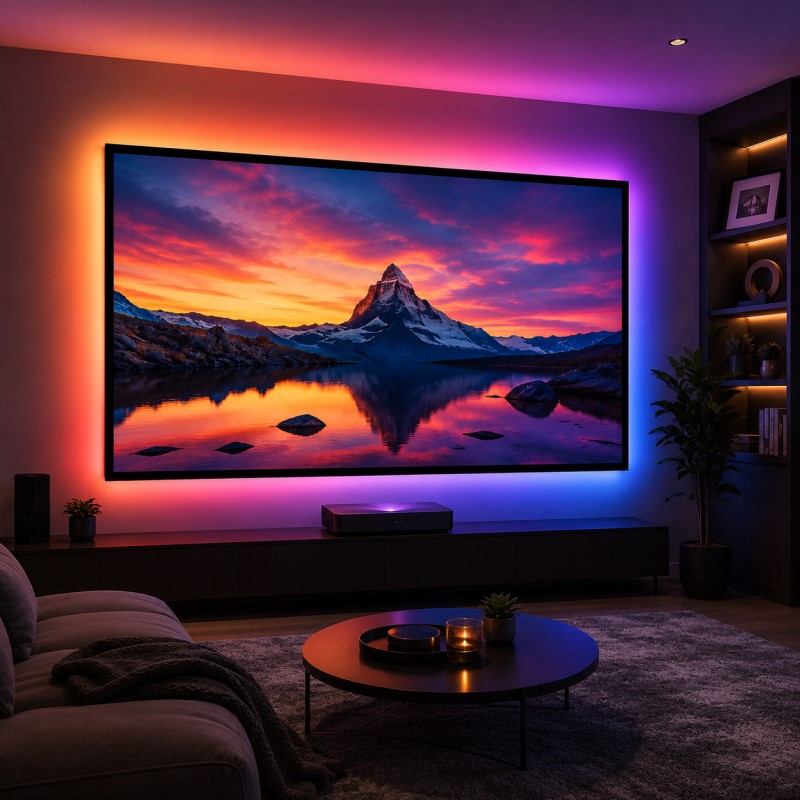
A soft glow behind a projection screen can transform the look of a home theater. The key is not simply adding more light — it is controlling where that light goes, how bright it is, and how it interacts with the projected image.
Projector screen ambient backlighting uses LED light behind or around the screen frame to create a soft glow on the wall surrounding the image. It is sometimes described as an Ambilight-style effect.
Depending on the lighting system, the backlight can remain a single color, change manually, use RGB lighting effects, or react dynamically to other inputs.
A controlled wall glow can visually extend the cinema environment beyond the physical edge of the projection screen.
Subtle background illumination can make the transition between a bright projected image and a completely dark room feel less severe.
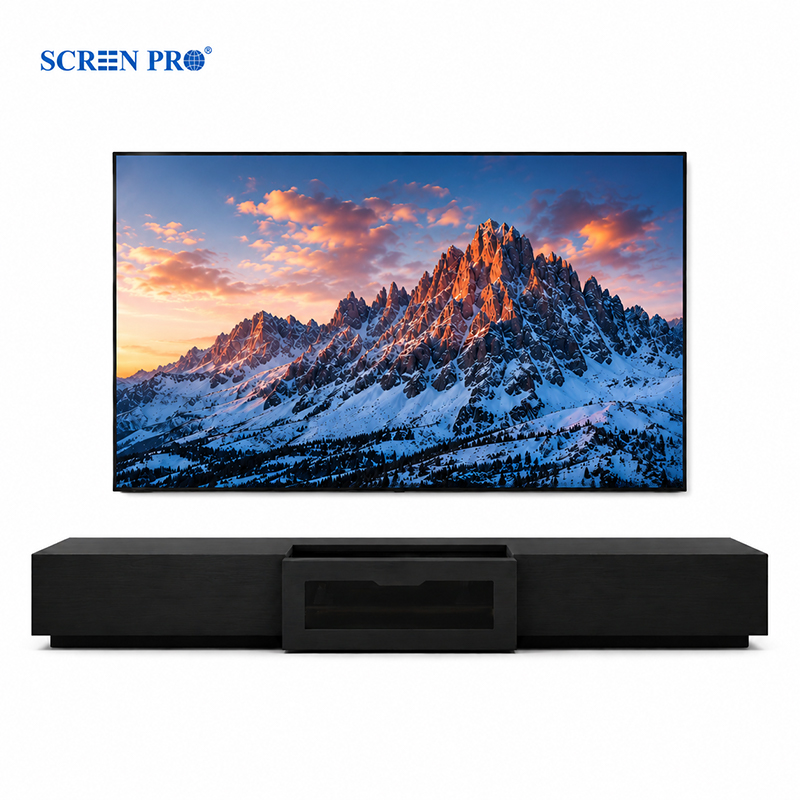
Backlighting can visually separate a slim fixed frame screen from the wall and create a more finished home theater installation.
There are two practical approaches. You can build a custom system from individual components, or use a dedicated backlighting kit designed for a compatible projection screen.
Choose your own LED strips, controller, power supply and, if required, external hardware for more advanced lighting effects.
This route is useful when you want to customize the lighting system or integrate it with other home theater equipment.
For compatible SCREENPRO® slim frame projection screens, the Smart RGB LED Backlight Kit provides a dedicated ambient backlighting solution without sourcing the basic lighting components separately.
If you are building the lighting system yourself, the exact components depend on how simple or advanced you want the installation to be.
Choose LEDs with smooth brightness adjustment. RGB strips allow decorative color effects.
The controller manages color, brightness and lighting modes. It must match the LED strip specification.
Select a correctly rated power supply for the total LED length and electrical load.
Clips, adhesive mounting, cable channels and hidden wiring help produce a cleaner finished installation.
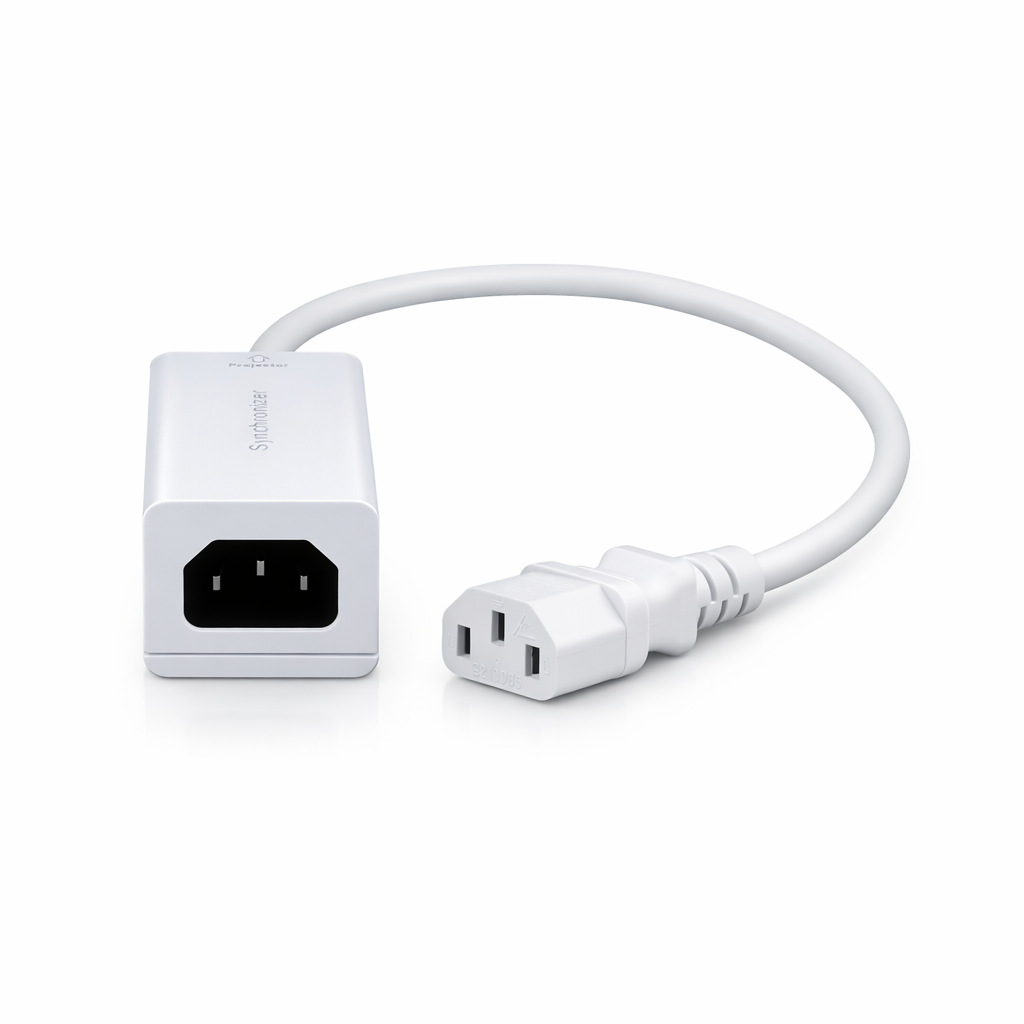
More advanced DIY systems may require additional signal or capture hardware depending on the lighting effect you want to create.
Advanced synchronized lighting systems may use a computer, microcontroller or other compatible processing device.
For a fixed frame screen, the LED strip is typically positioned on the rear side of the frame so the light is directed toward the wall.
The goal is indirect wall illumination. Avoid positions where LEDs are visible from the seating area or where light spills across the front of the screen.
Plan the power and controller location before attaching the LEDs. Keep cables away from visible frame edges and moving components.
Follow the specifications of the LED strip, controller and power supply. Check connections before permanently securing the wiring.
Turn the system on before completing cable management. Check for uneven lighting, visible LED hotspots and unwanted reflections on the projection surface.
If you are installing backlighting on a compatible SCREENPRO® slim frame projection screen, a dedicated kit can simplify the lighting side of the project.
The Smart RGB LED Backlight Kit is designed as an optional ambient-lighting accessory for compatible slim frame screens, creating a controlled glow around the screen perimeter.
A backlight should support the viewing environment, not compete with the image. Start dim and increase the light only as much as necessary.
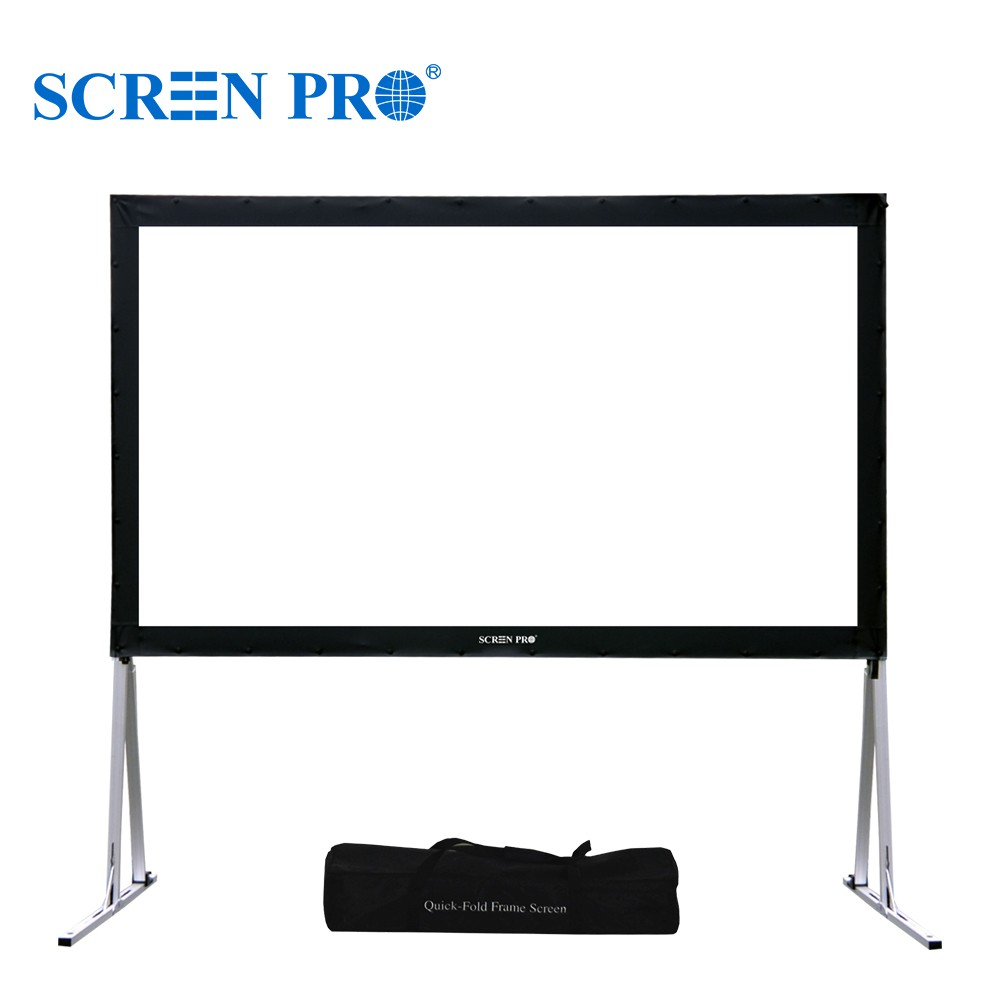
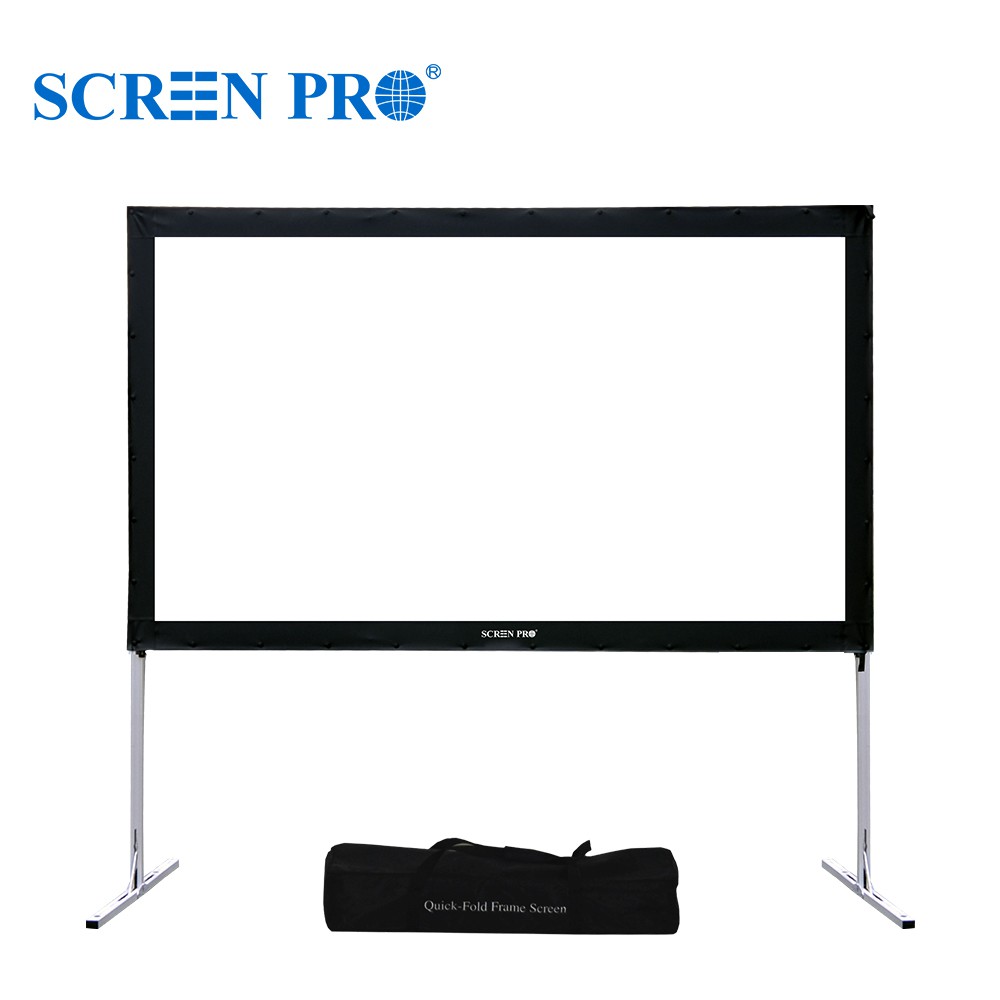
The screen structure matters. Fixed frame designs are generally the easiest to integrate because the lighting and wiring remain stationary.
| Screen Type | Suitability | Recommended Approach |
|---|---|---|
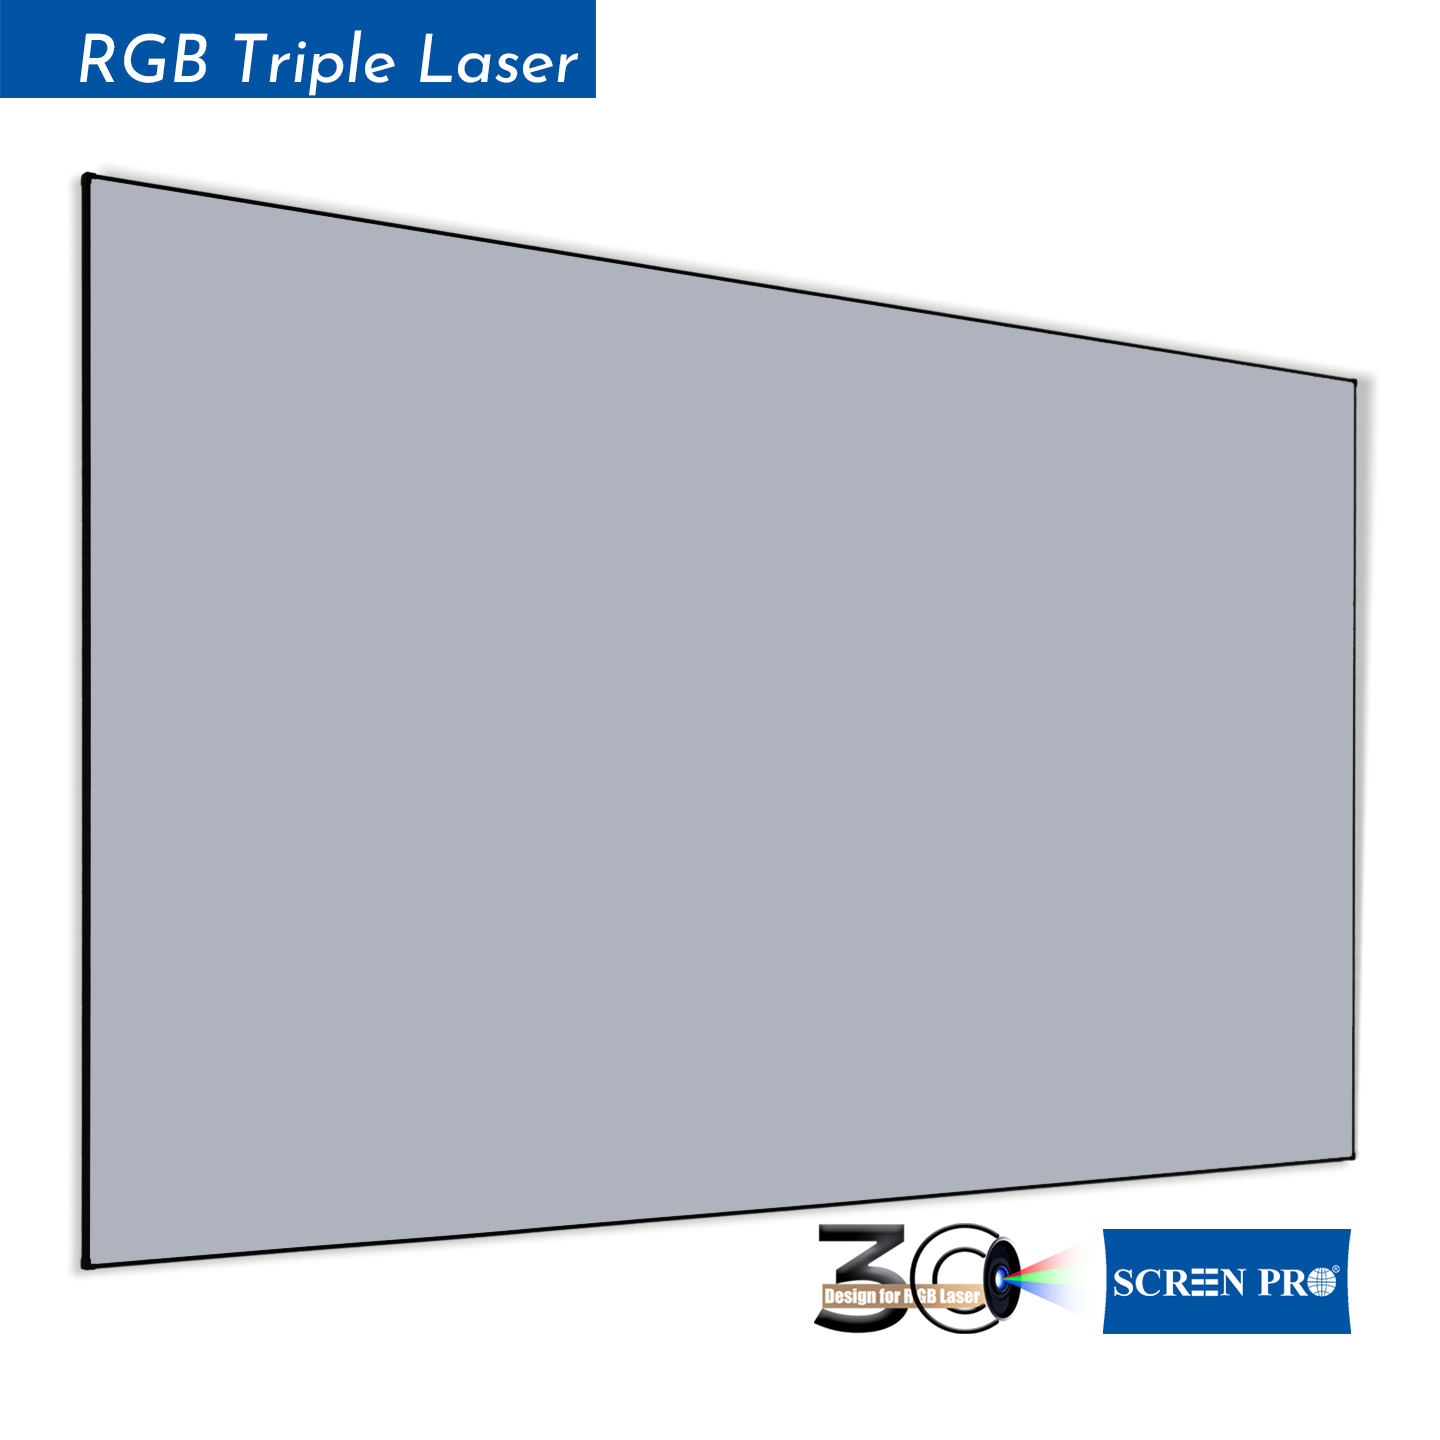
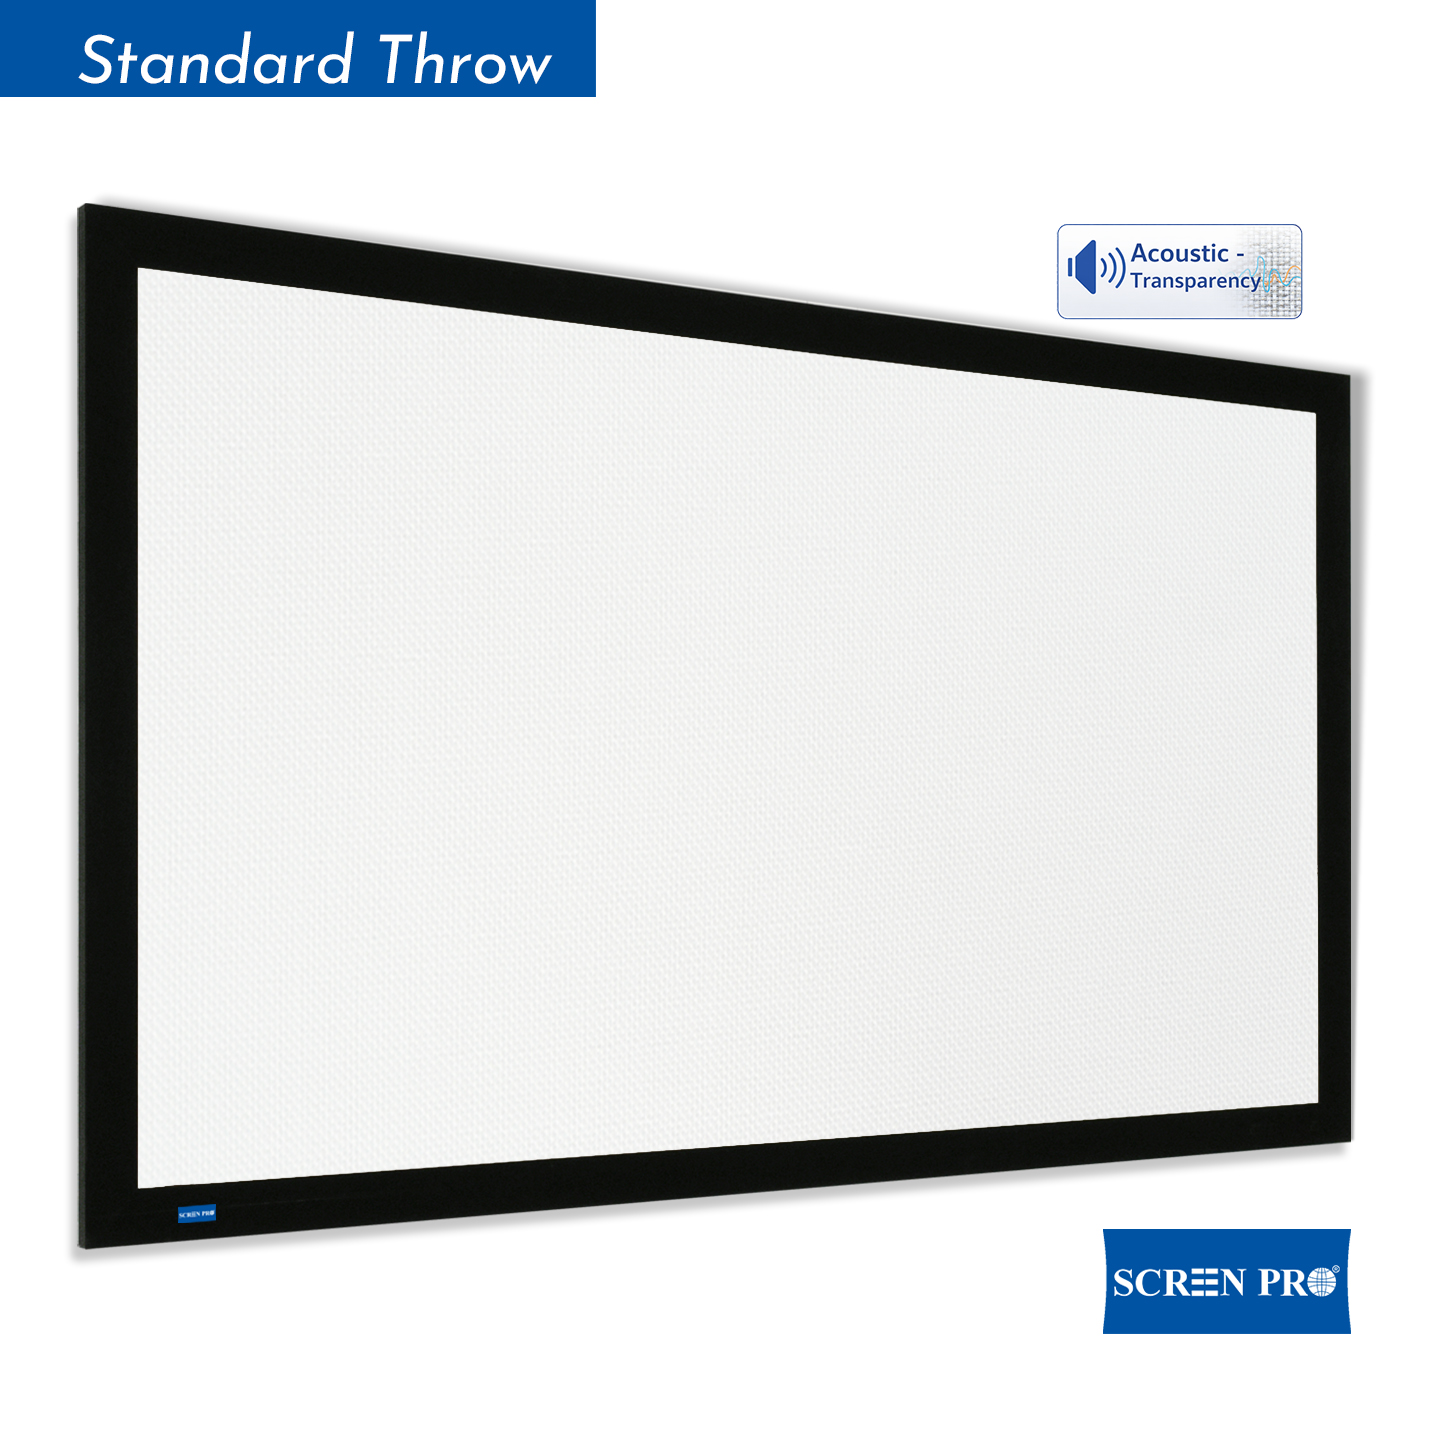
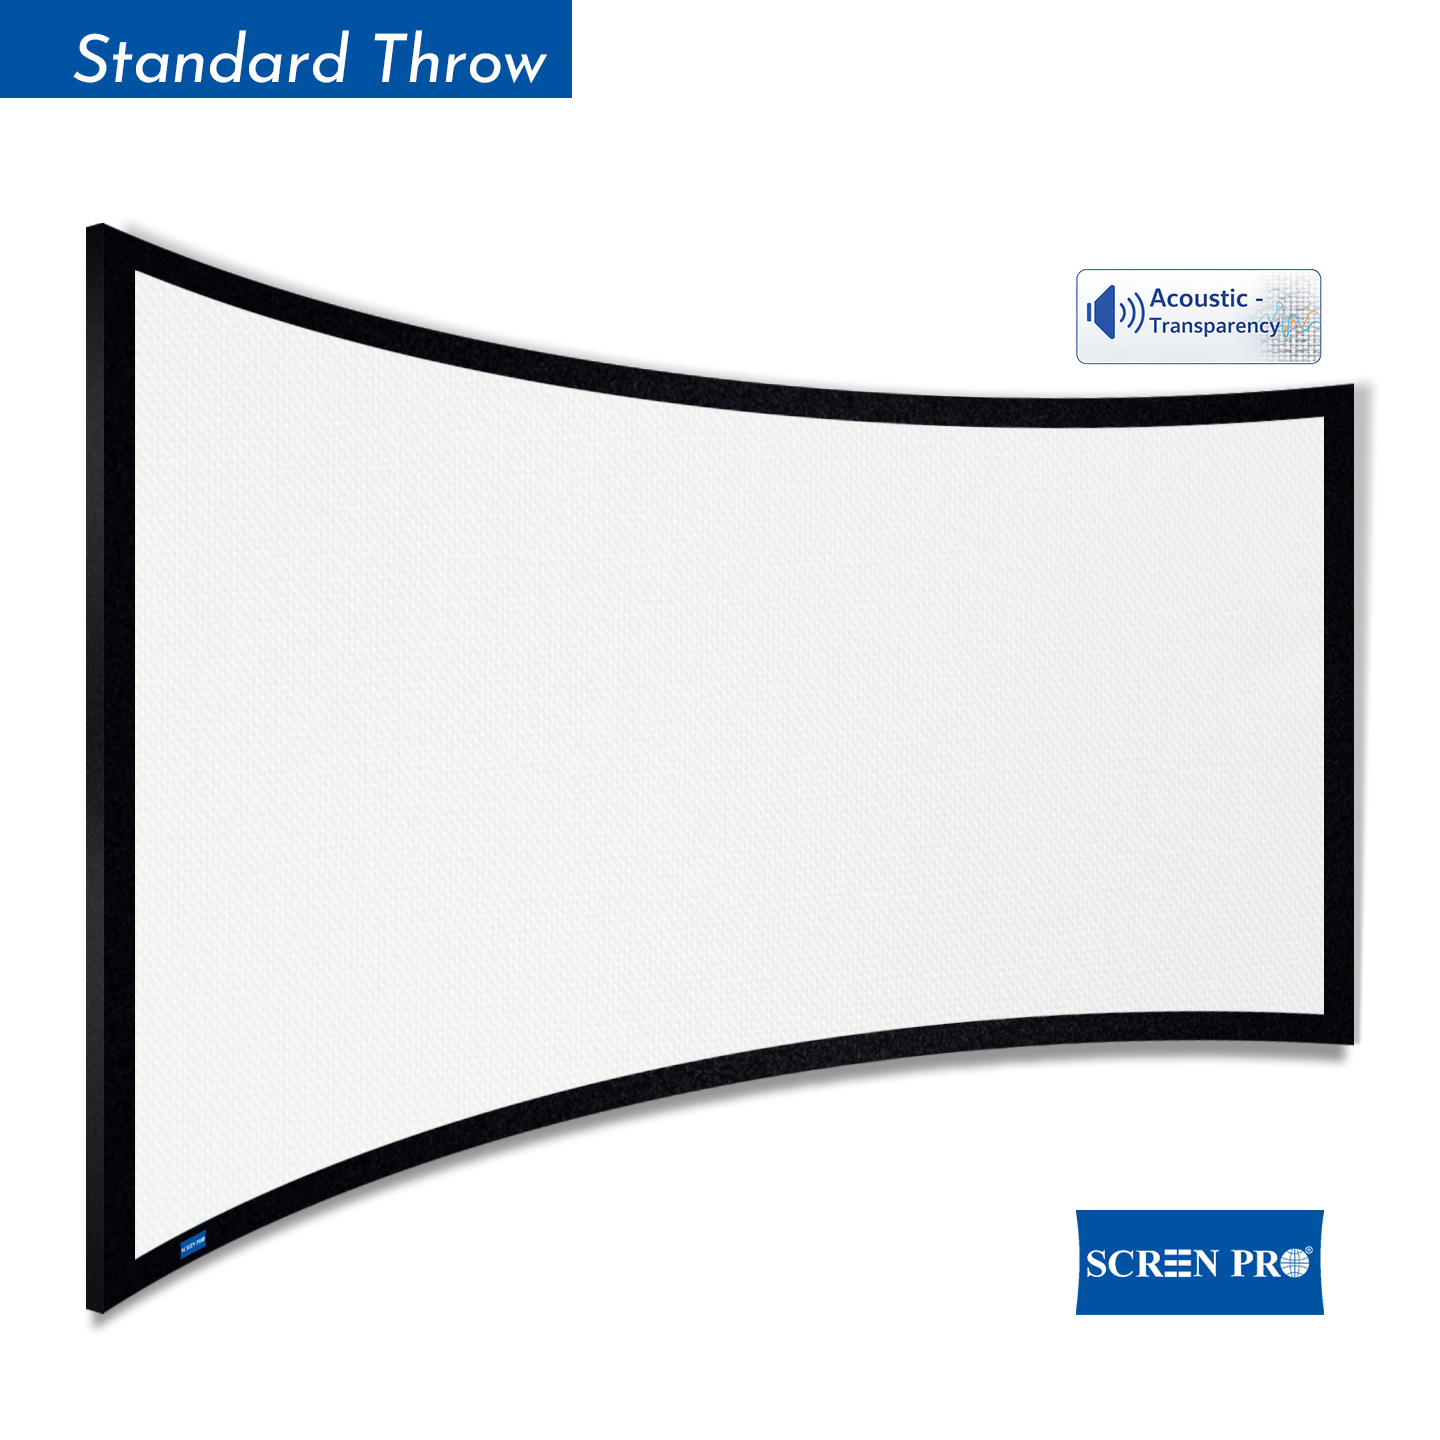
| Fixed Frame Screen | Excellent | Mount LEDs behind the stationary frame. |
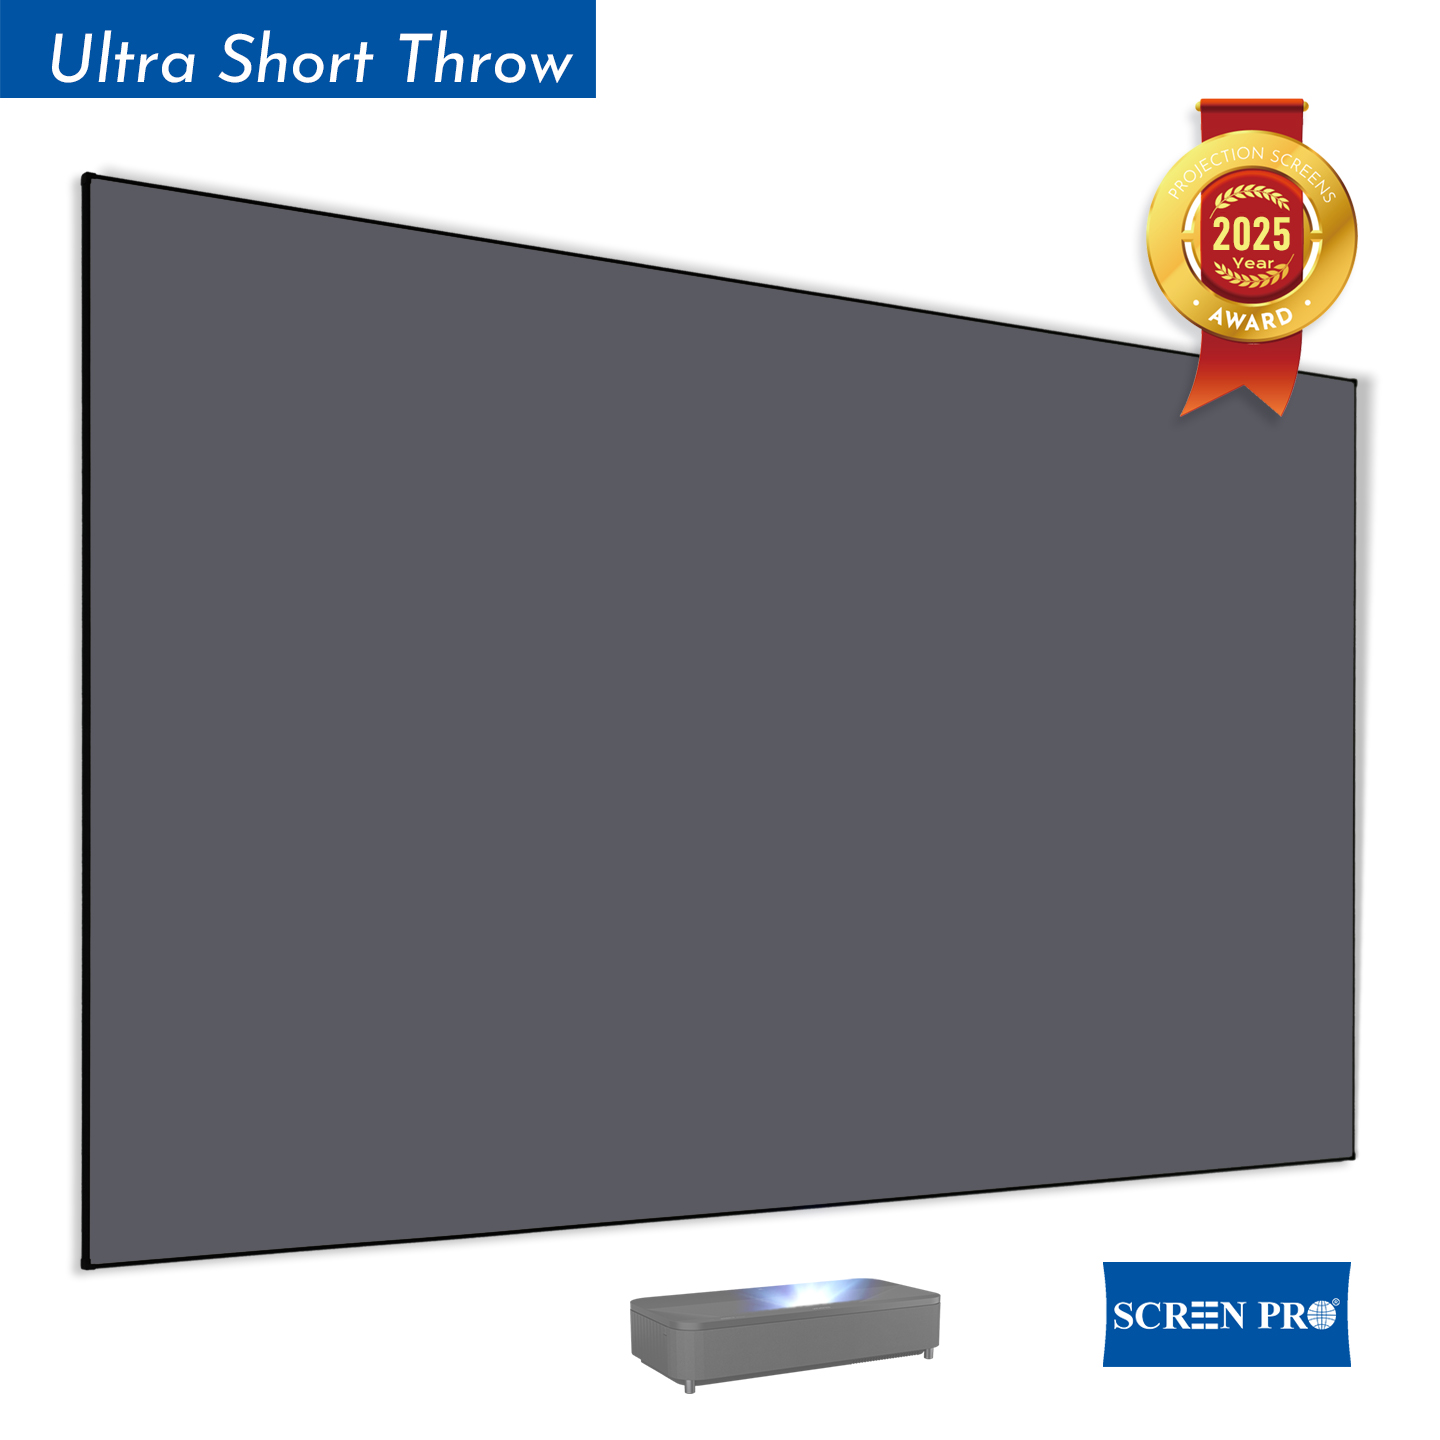
| Slim Frame UST ALR Screen | Excellent* | Use controlled rear-frame lighting and avoid spill onto the ALR surface. |
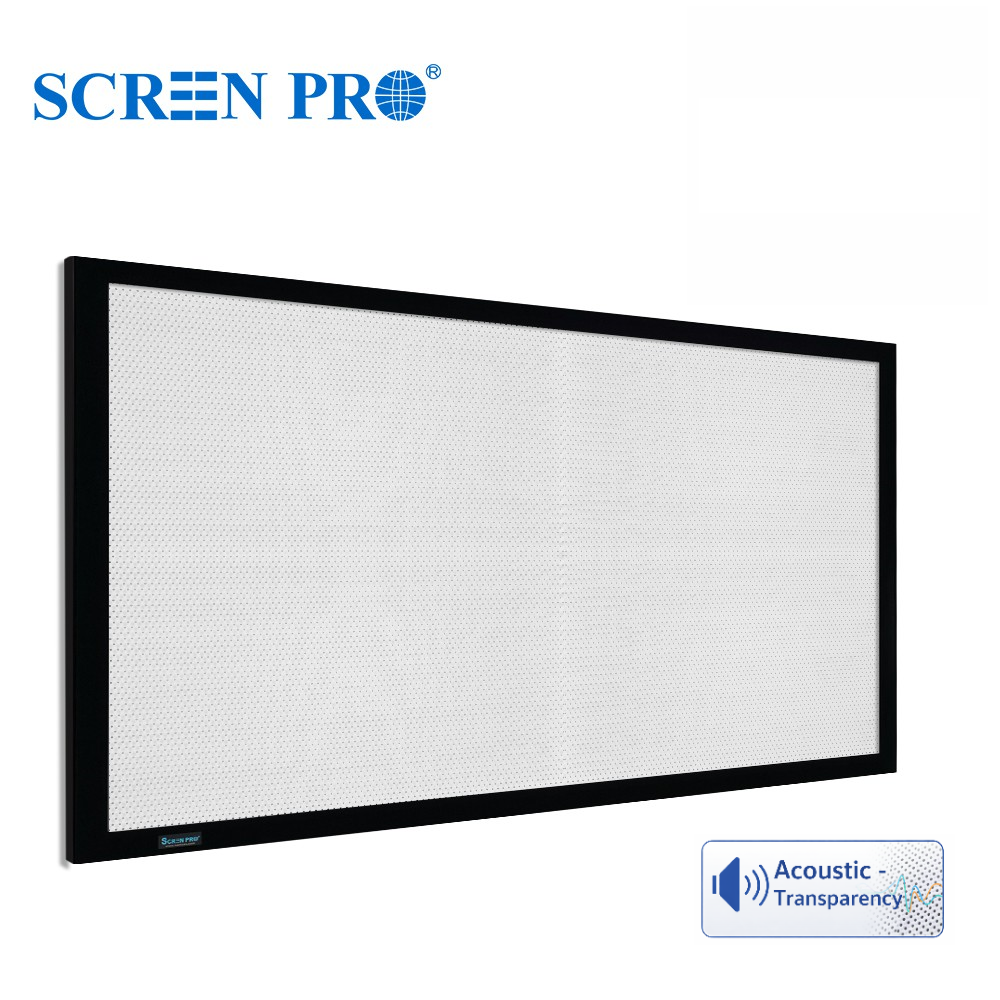
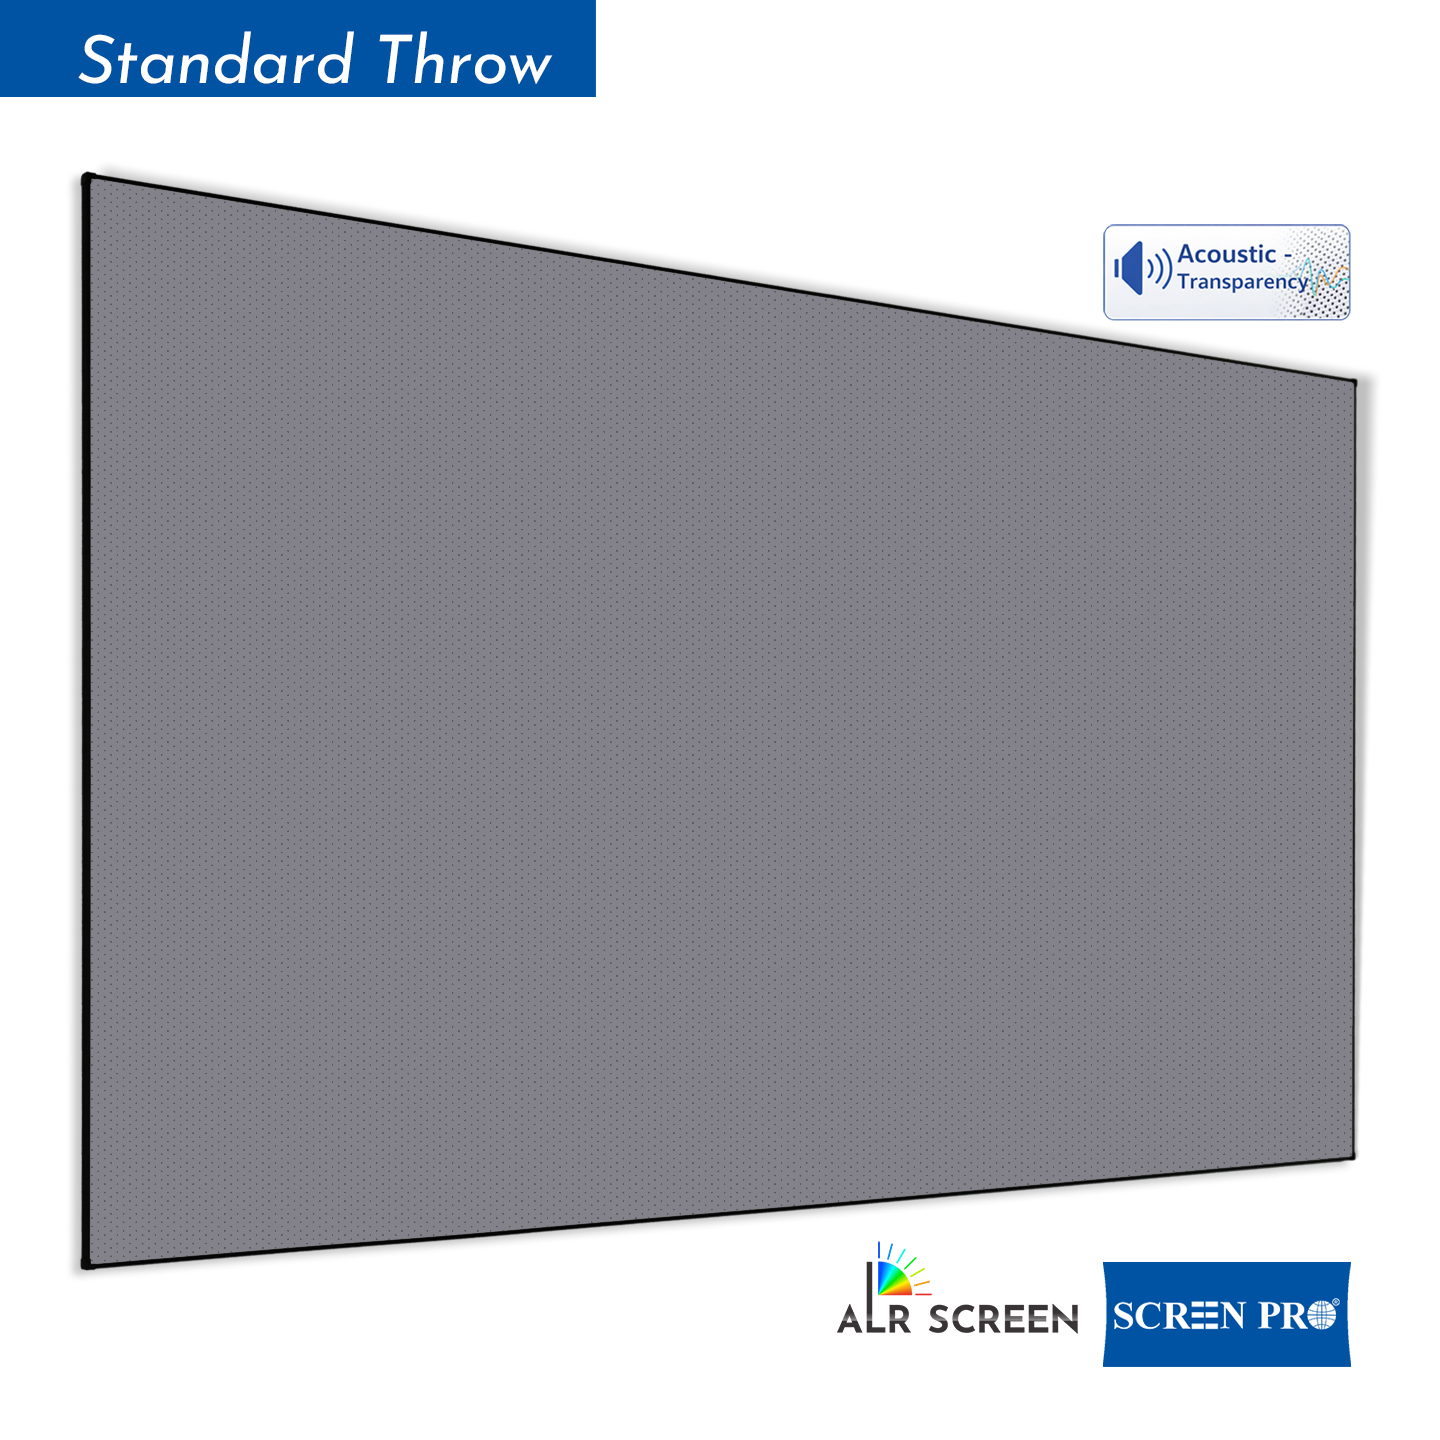
| Acoustic Transparent Fixed Frame | Good | Plan lighting together with speaker placement and rear-wall conditions. |
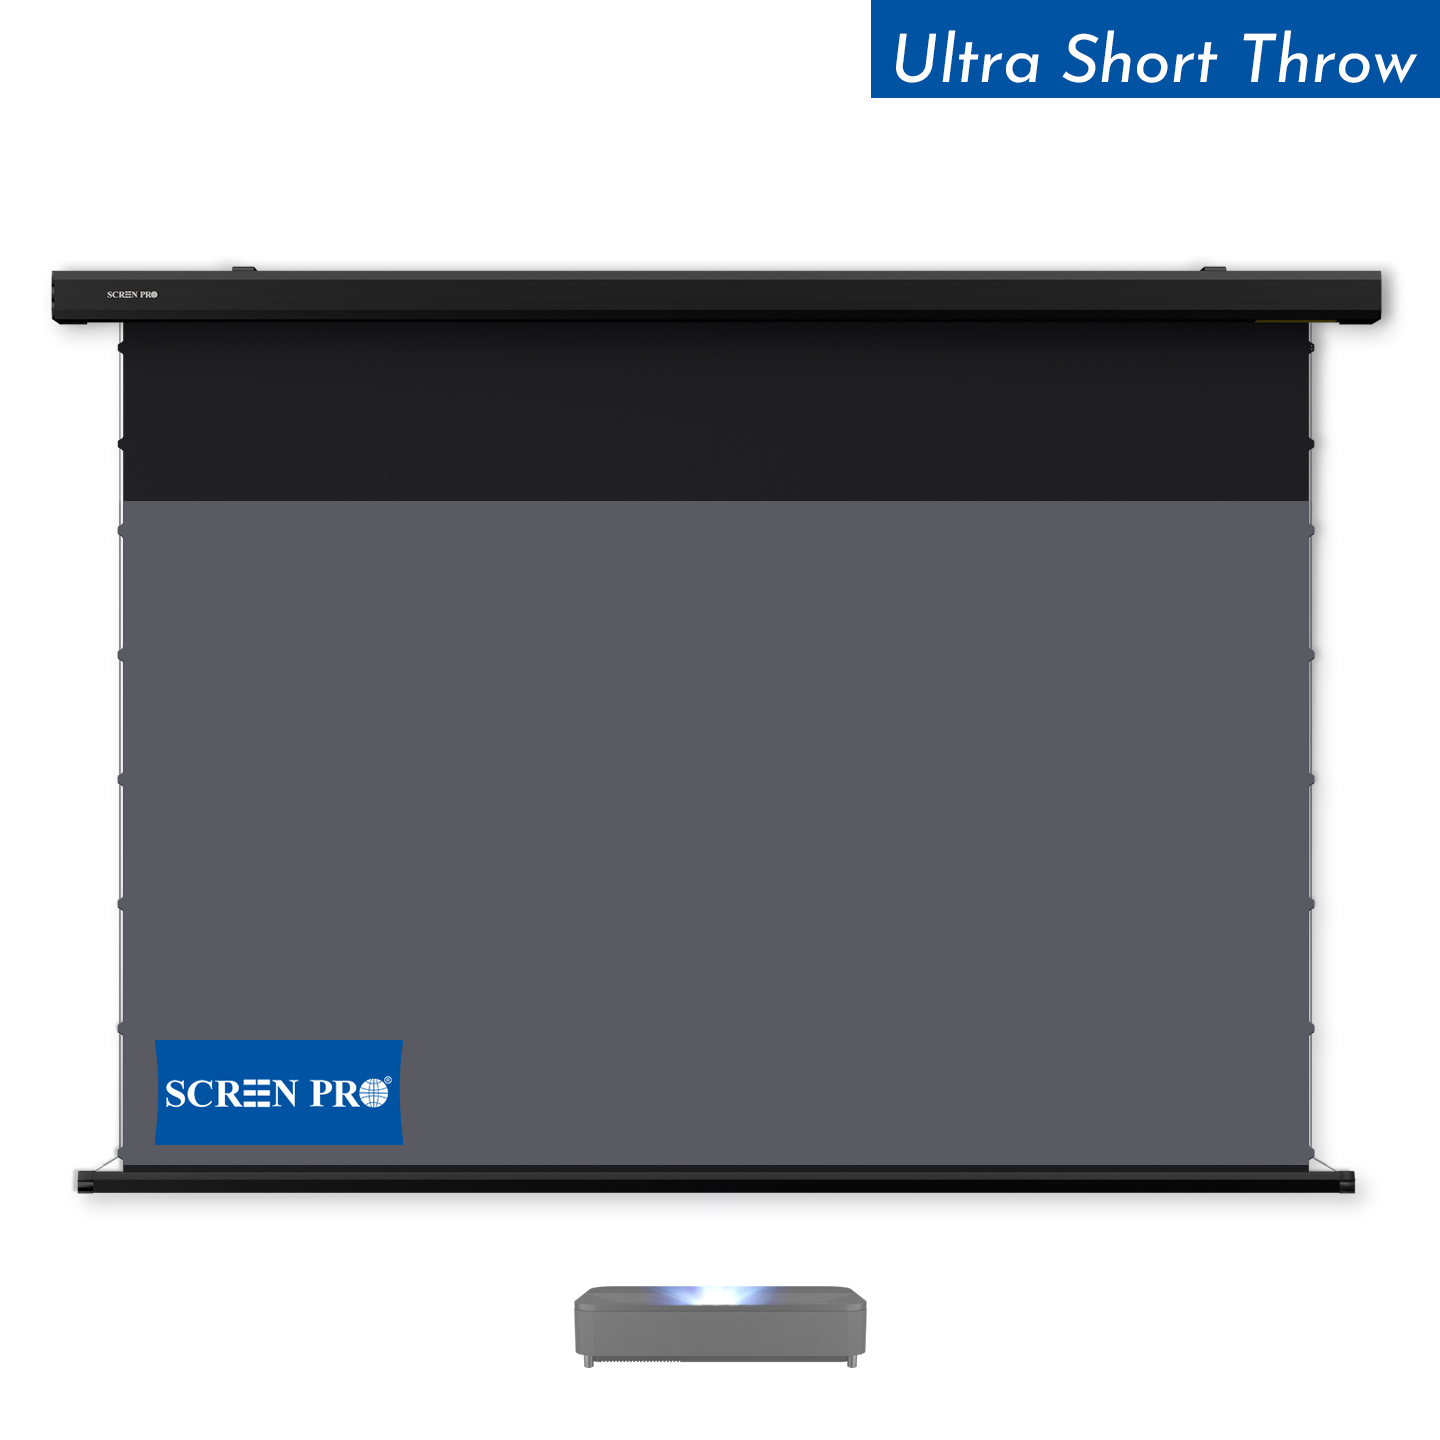
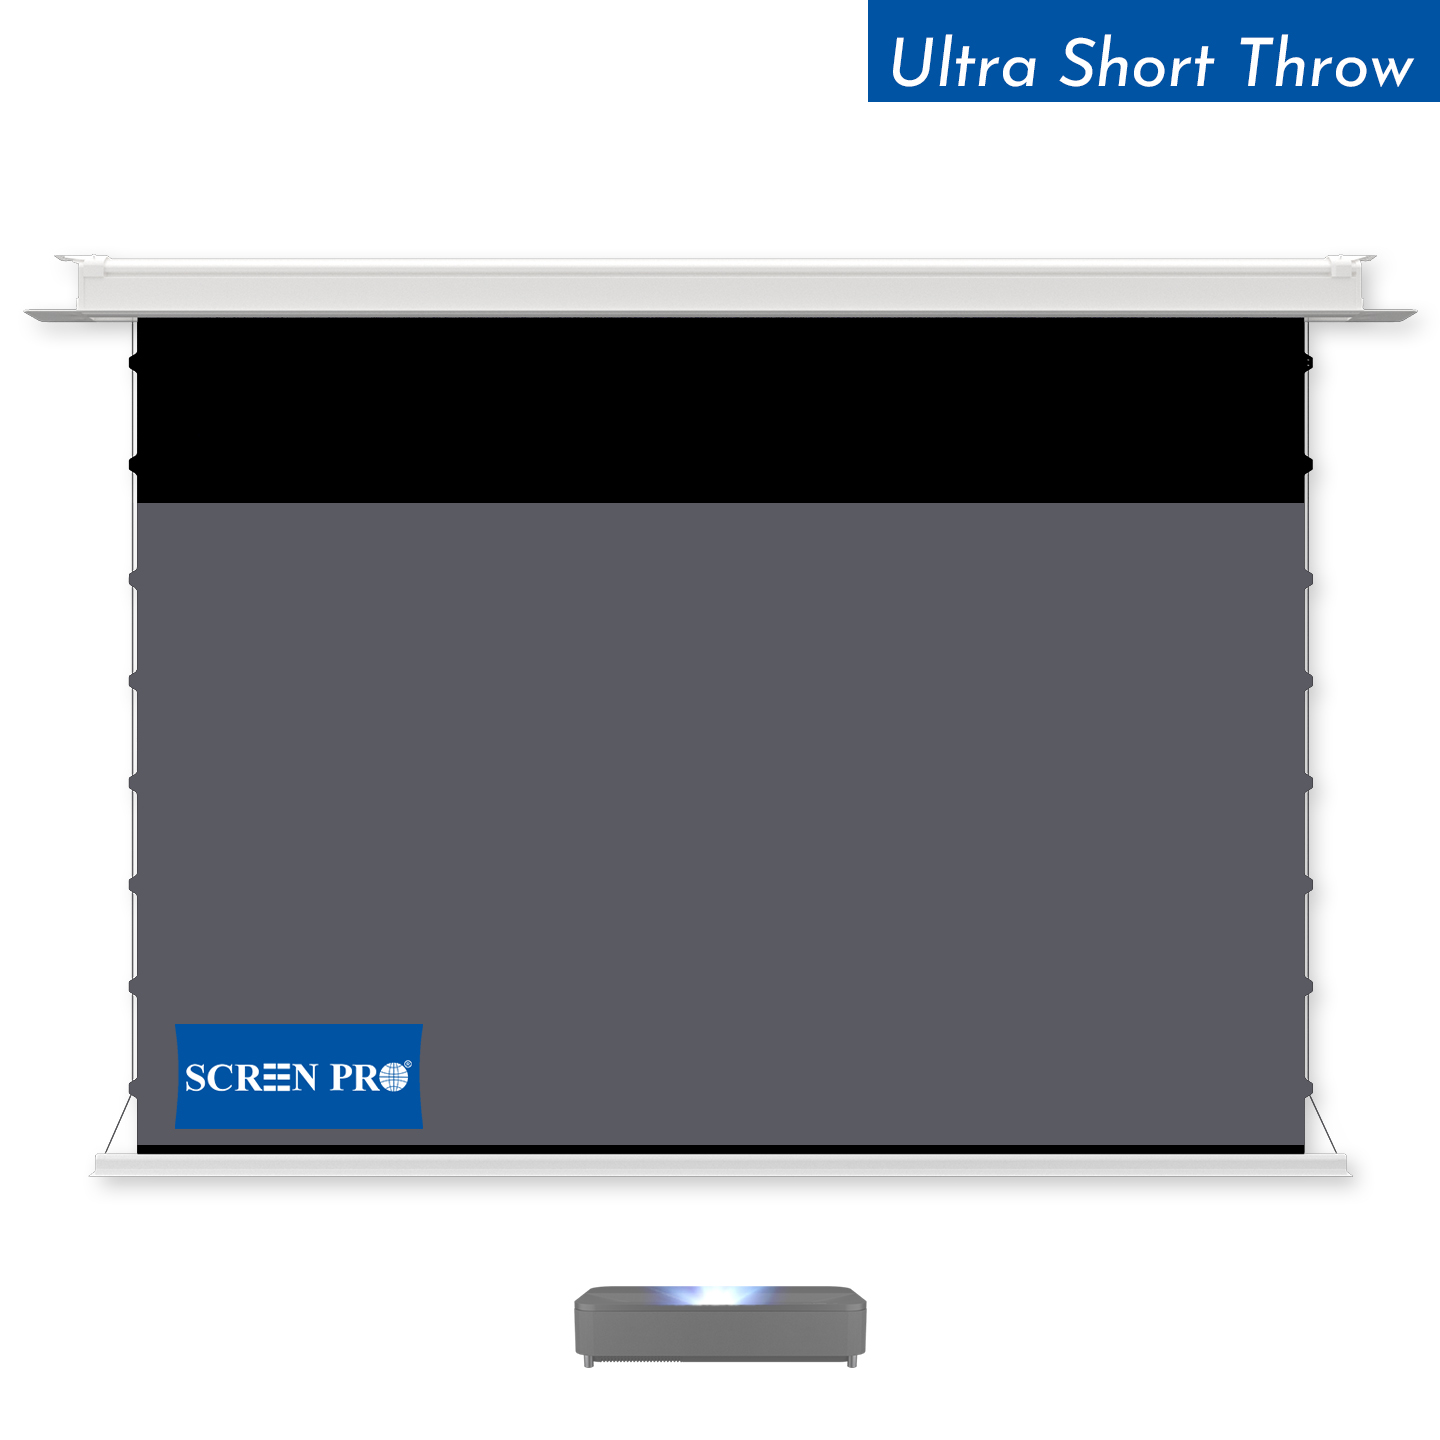
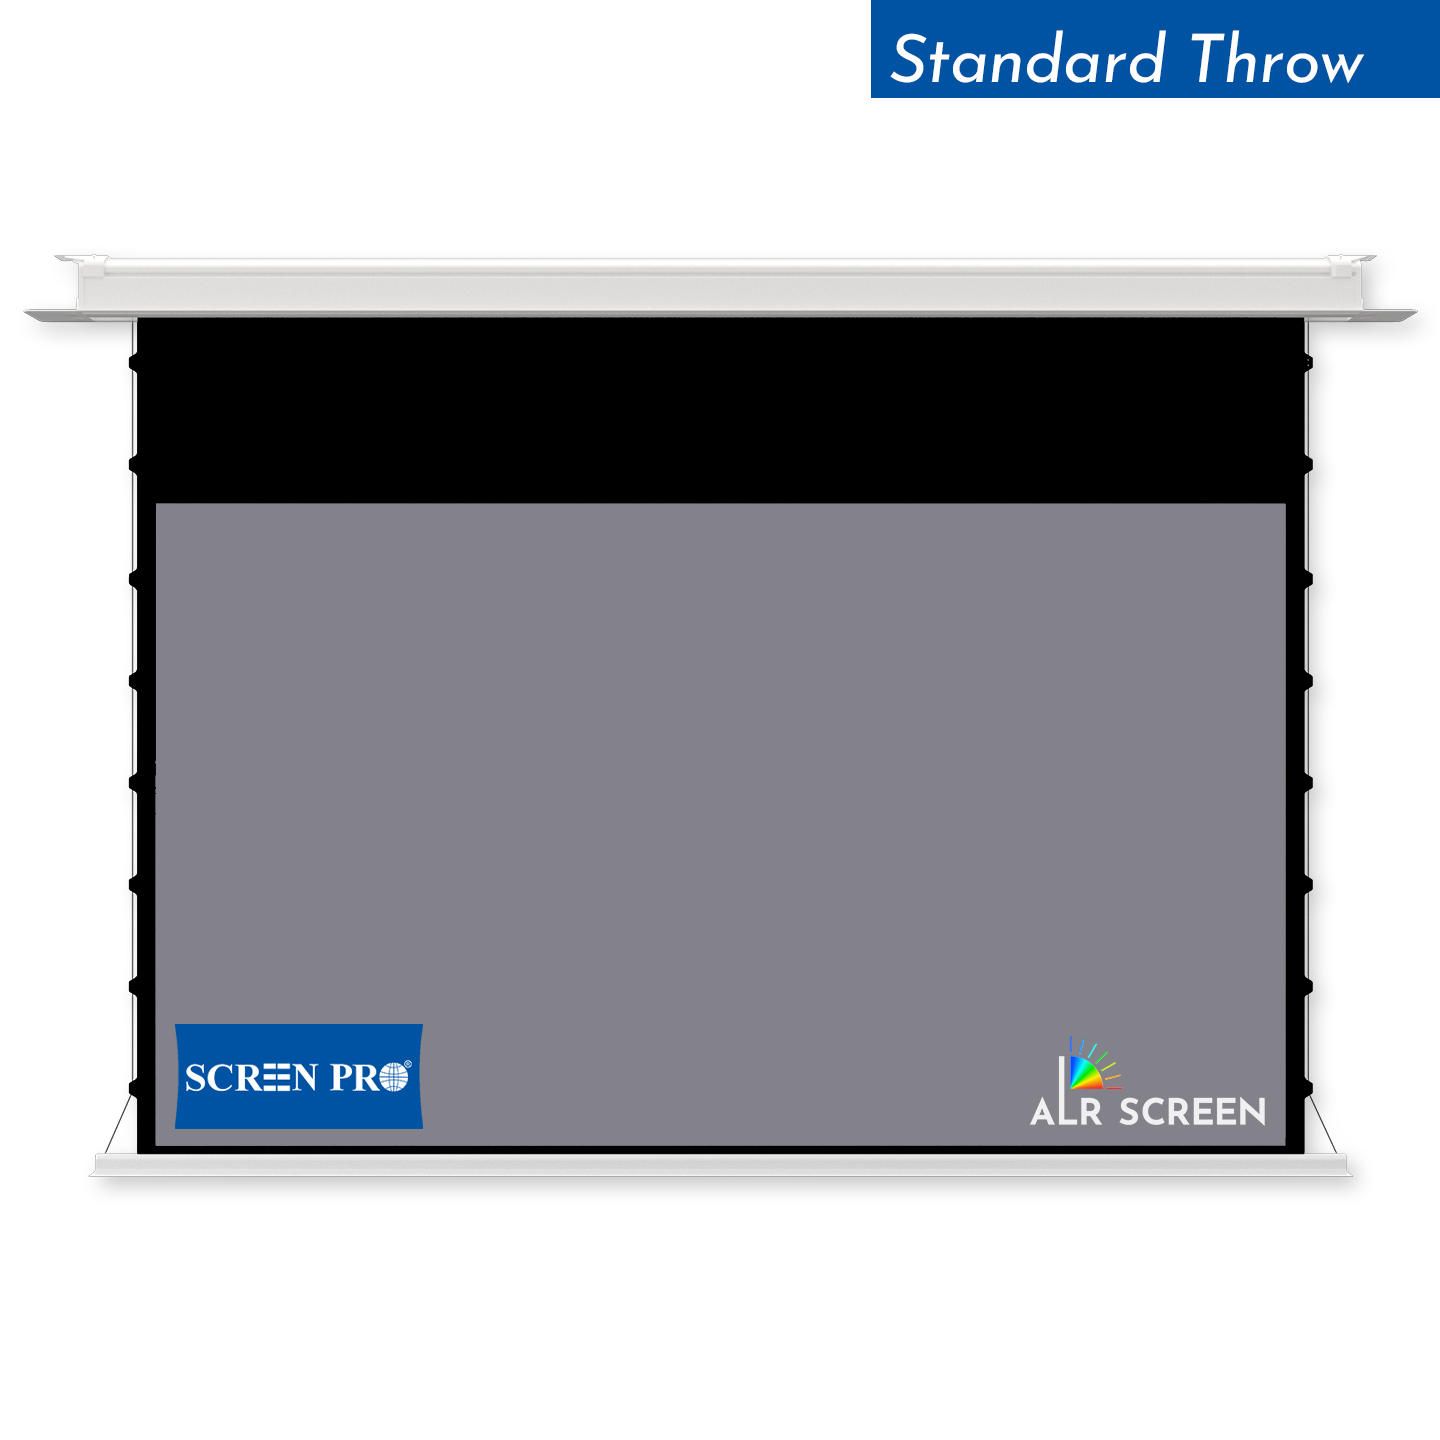
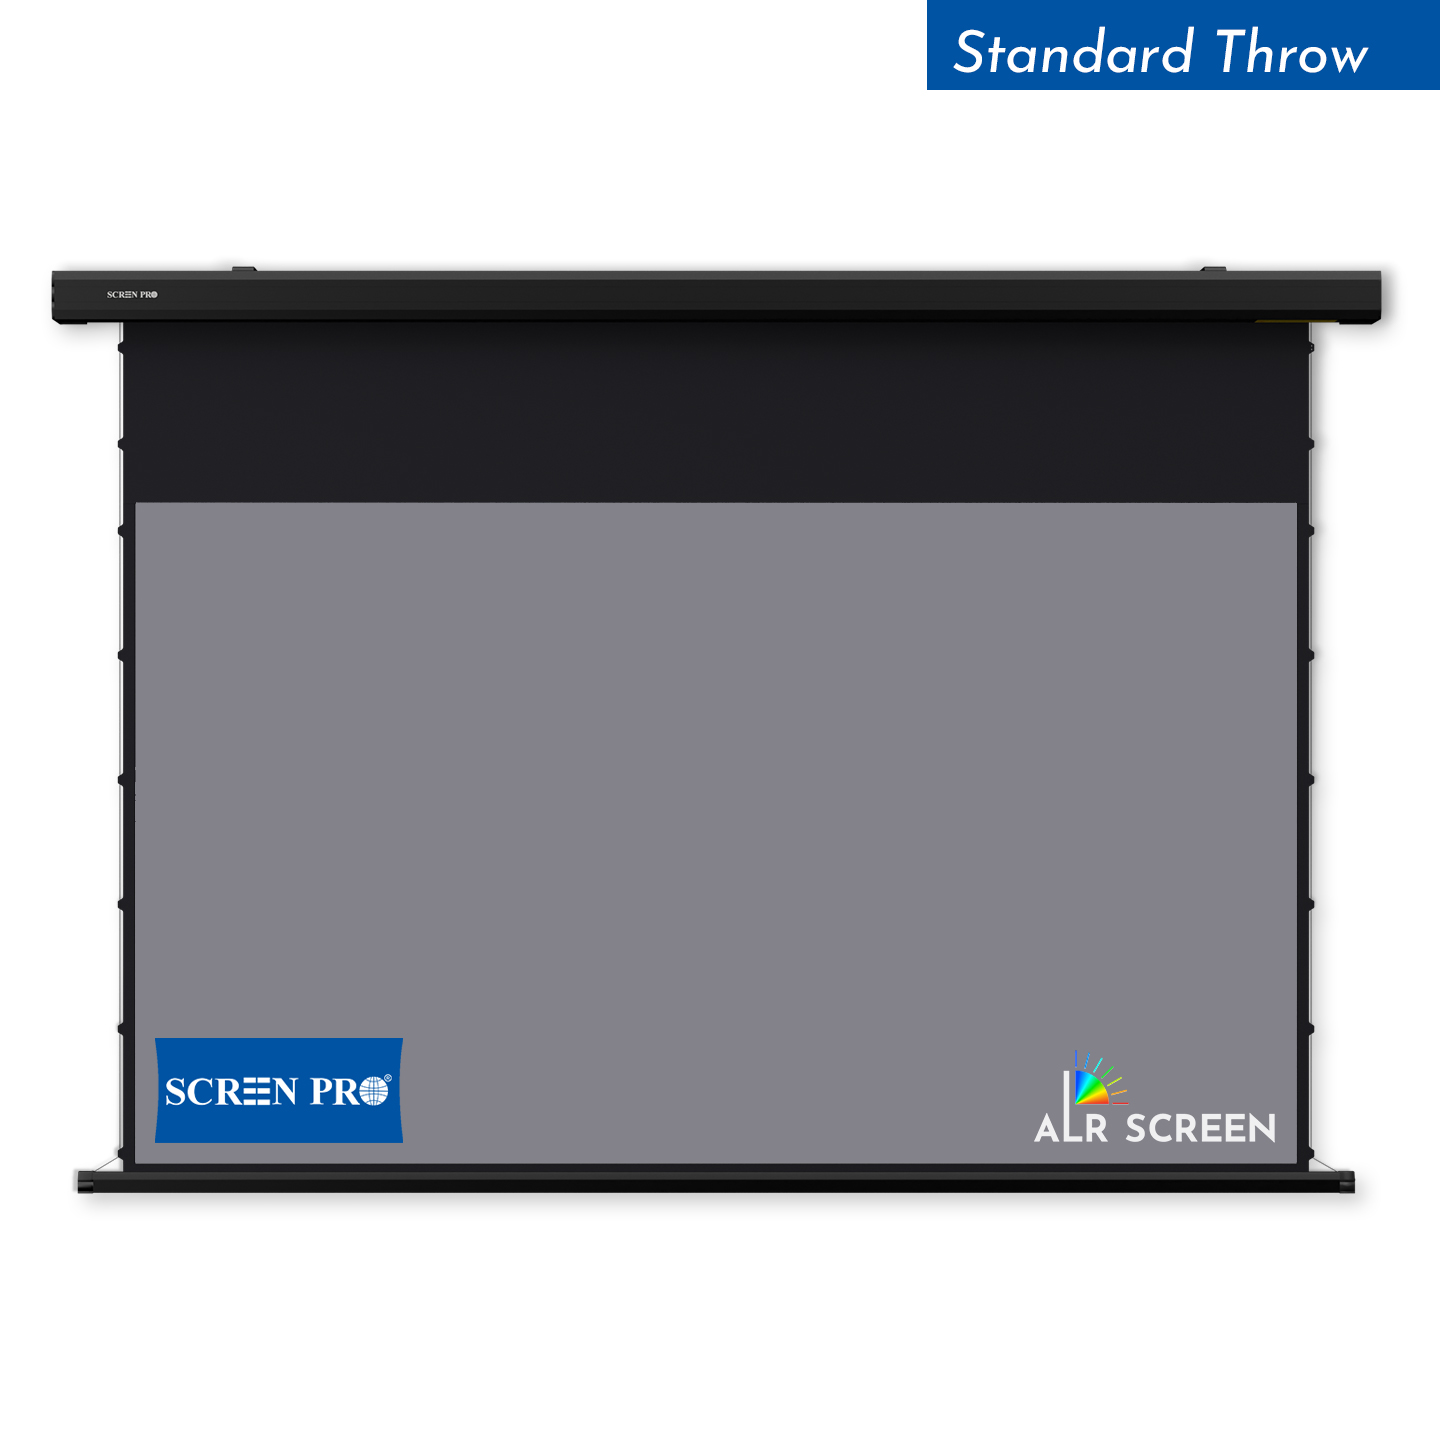
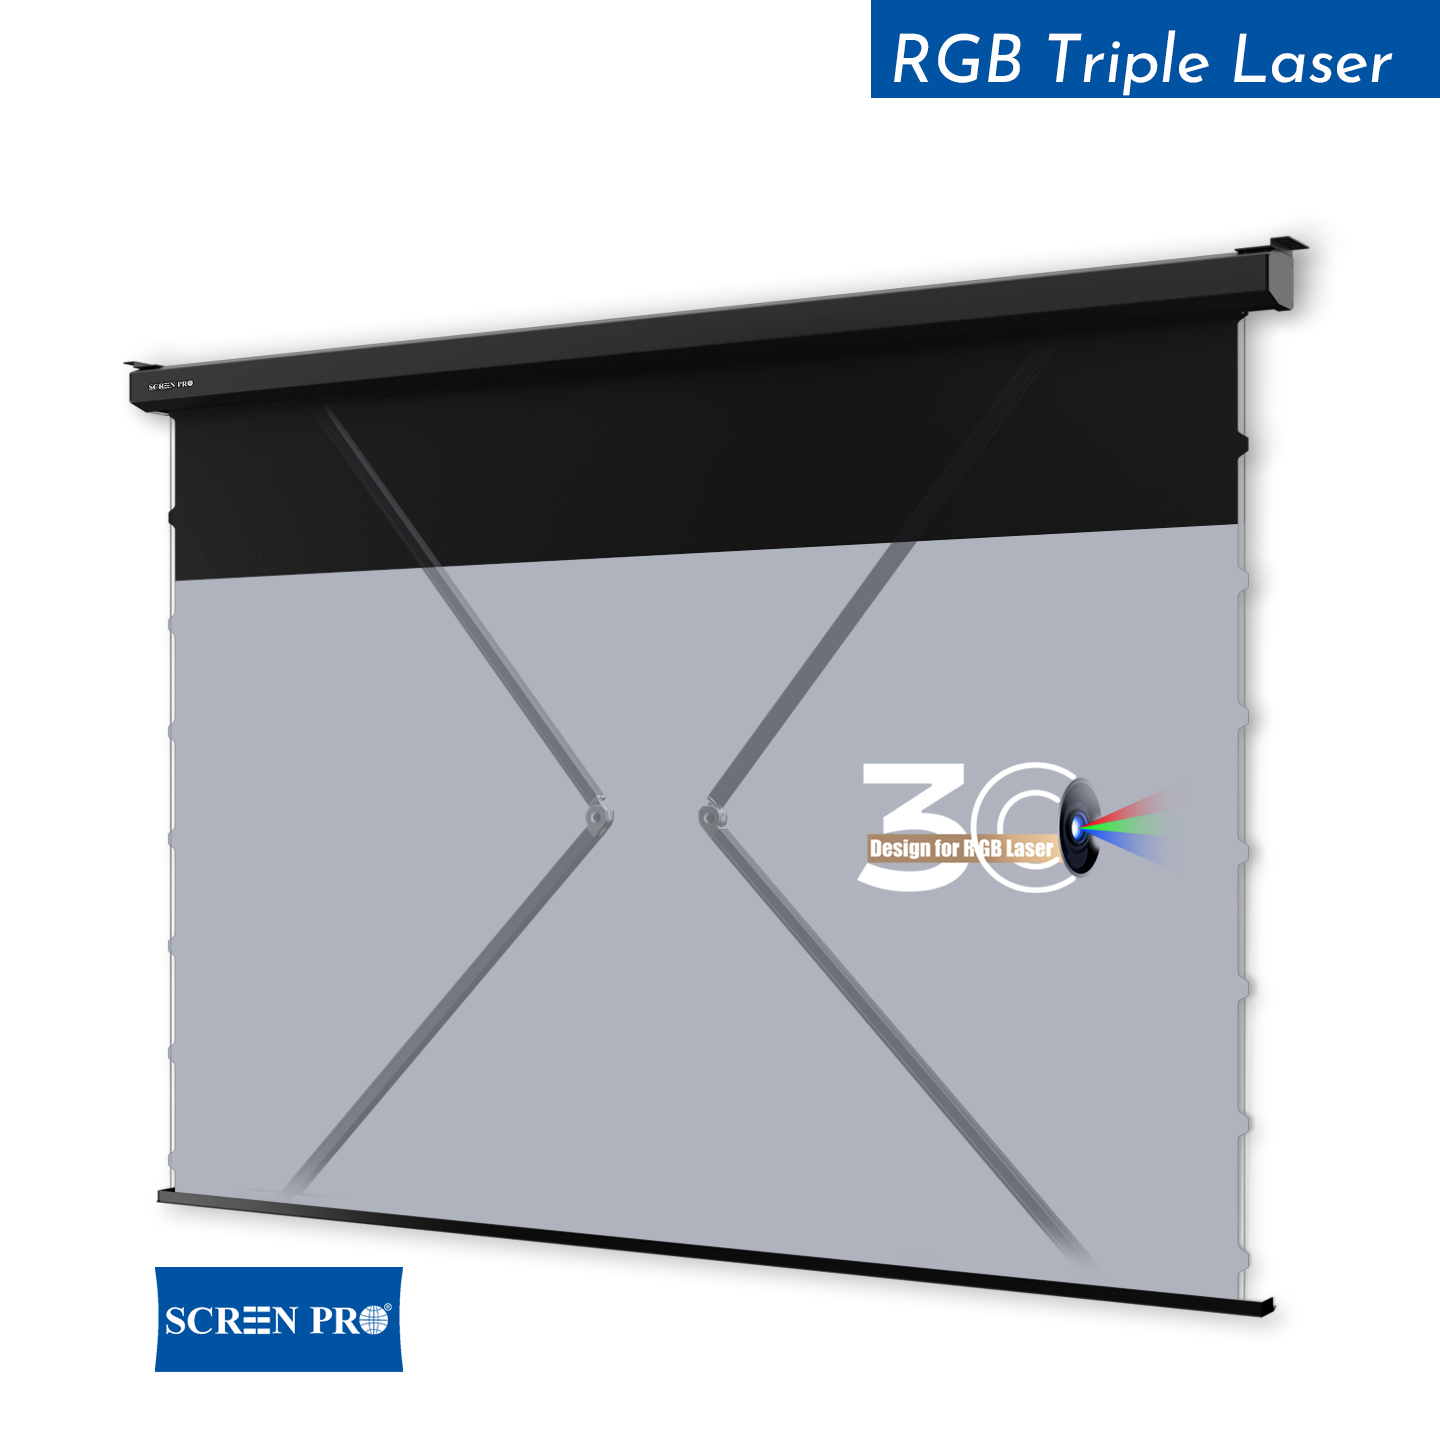
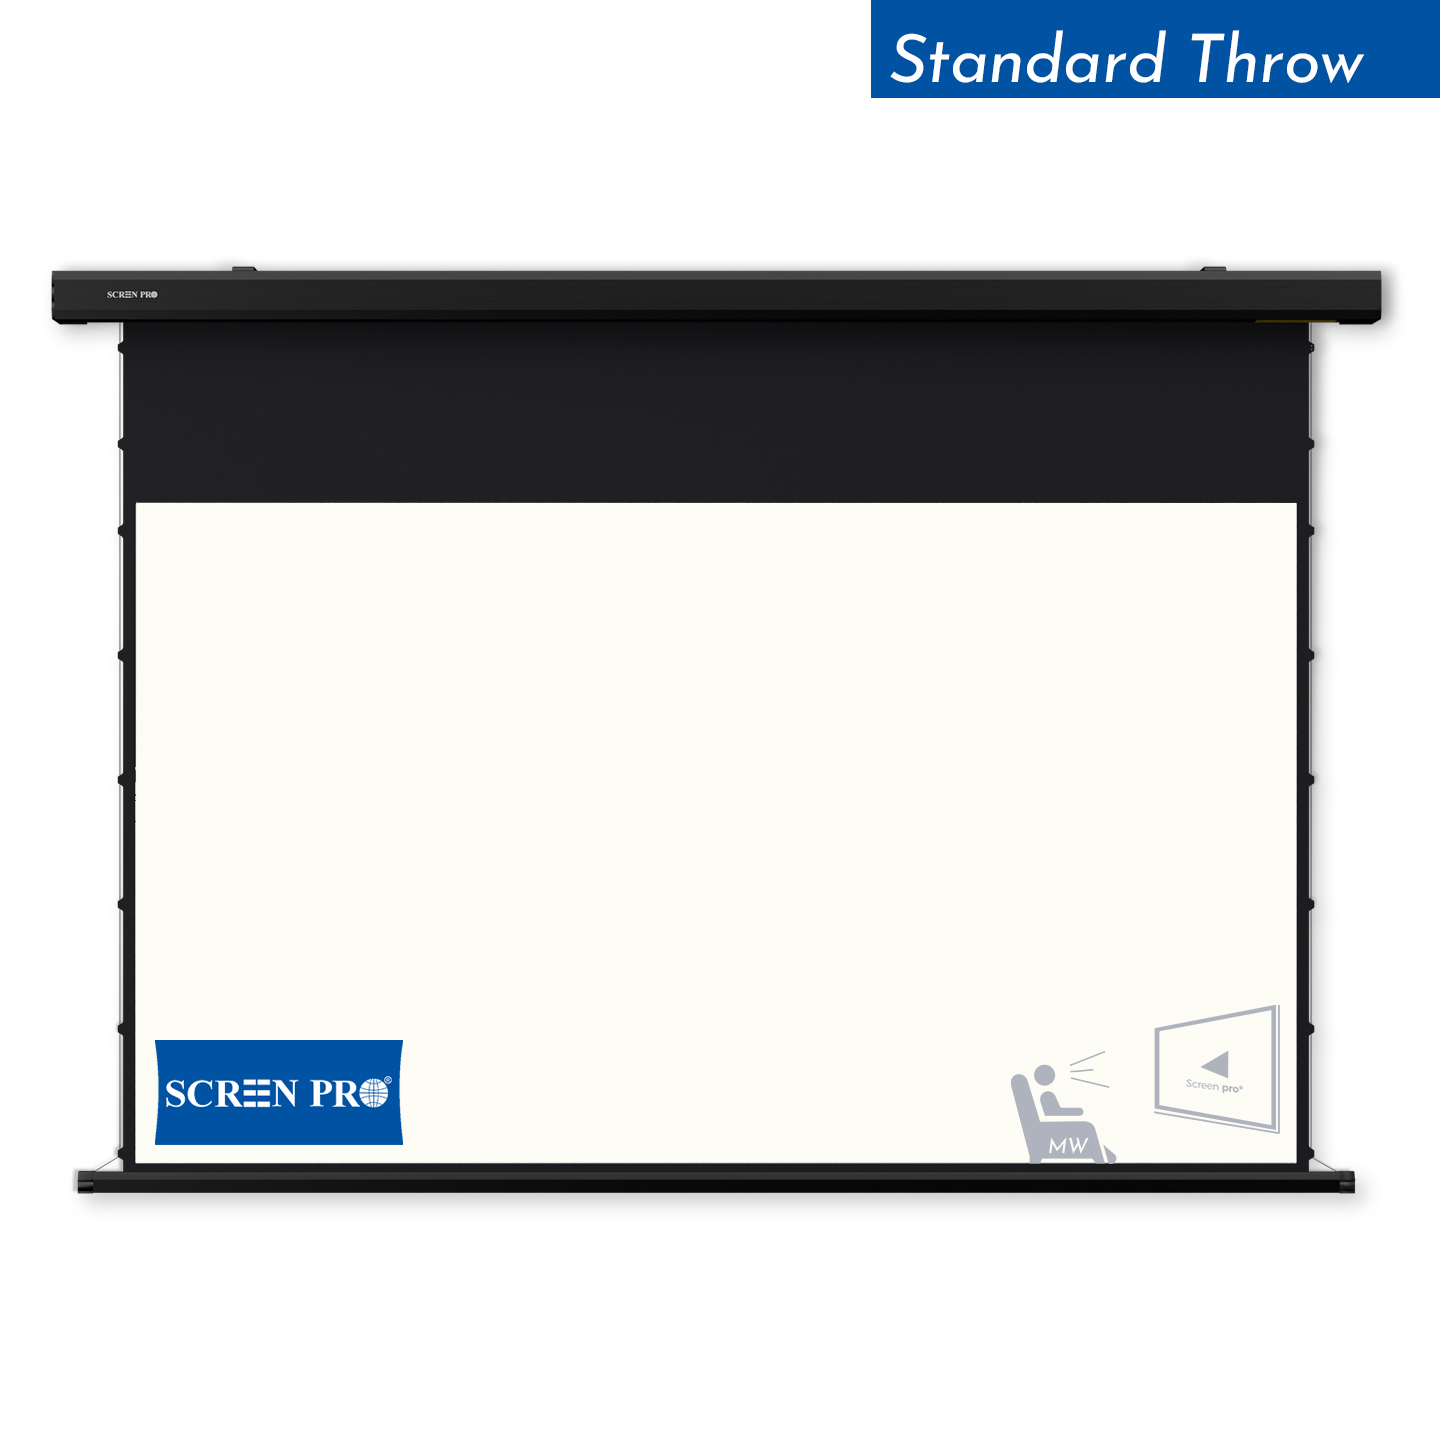
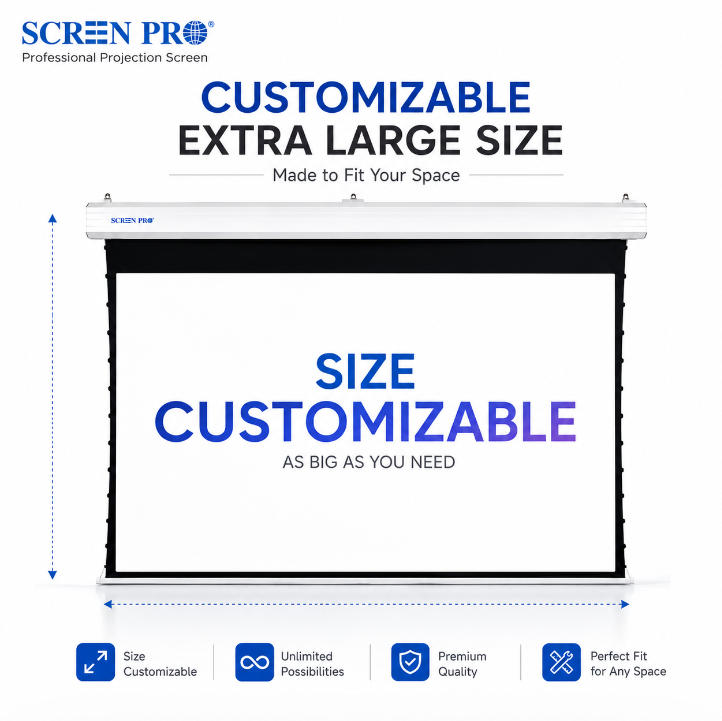
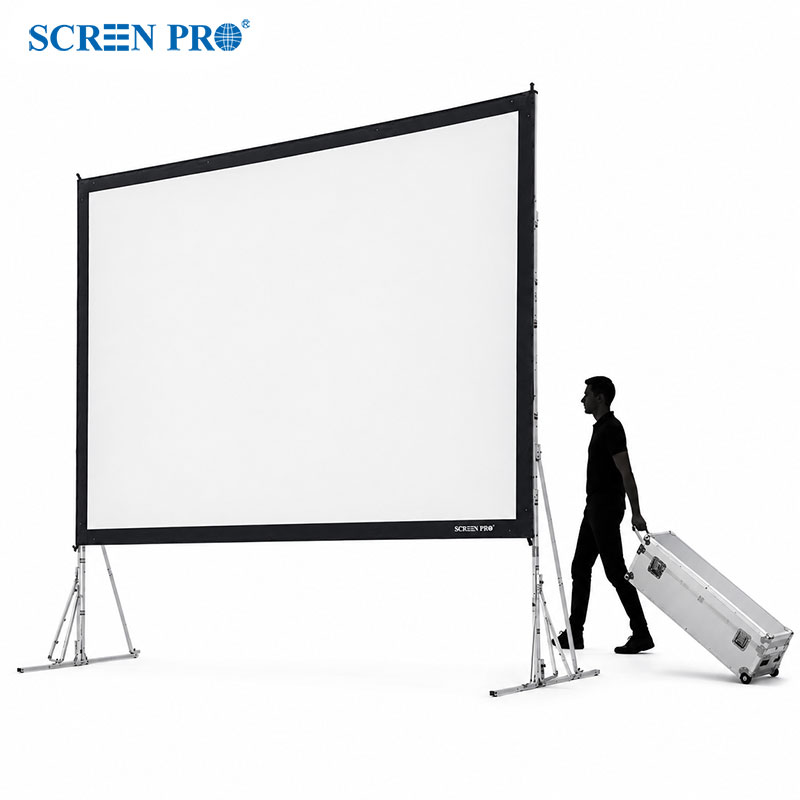
| Motorized Screen | Limited | Use stationary wall, ceiling or furniture-integrated lighting. |
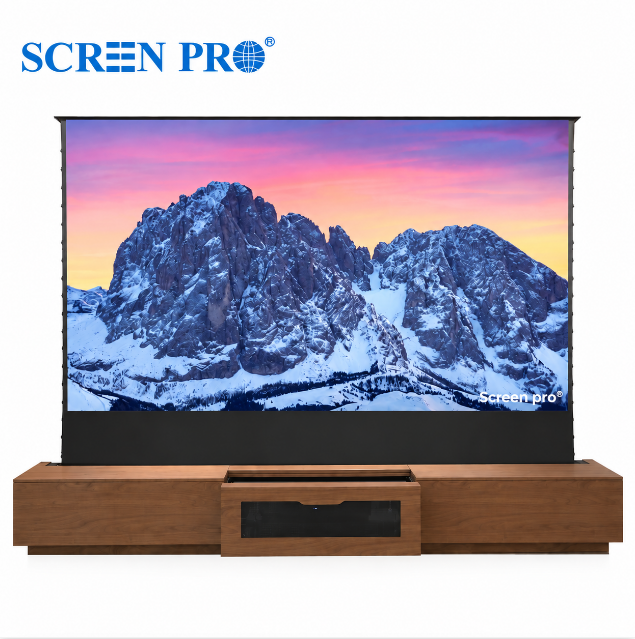
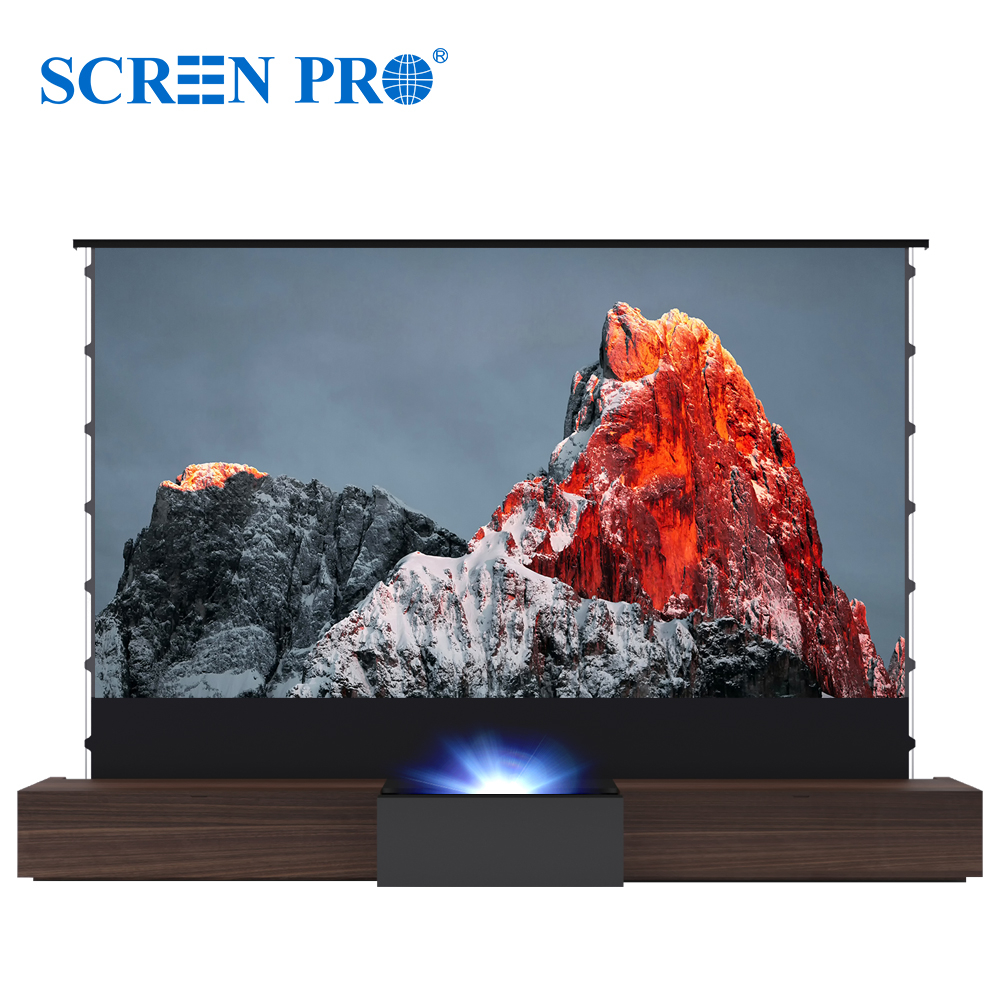
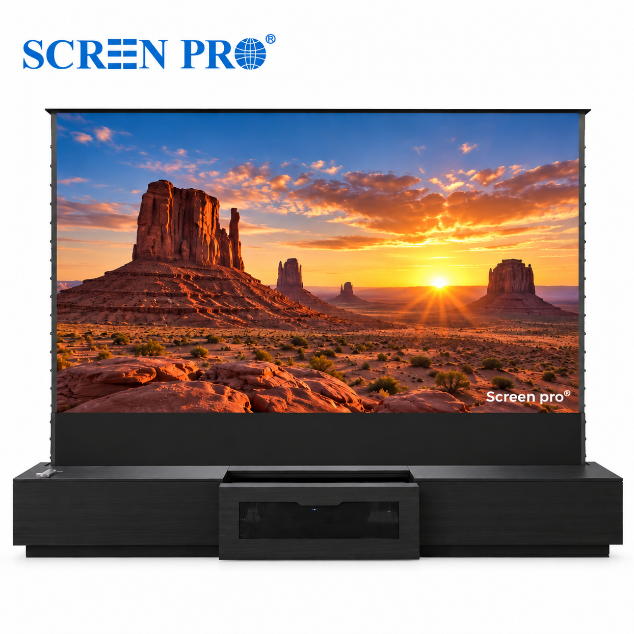
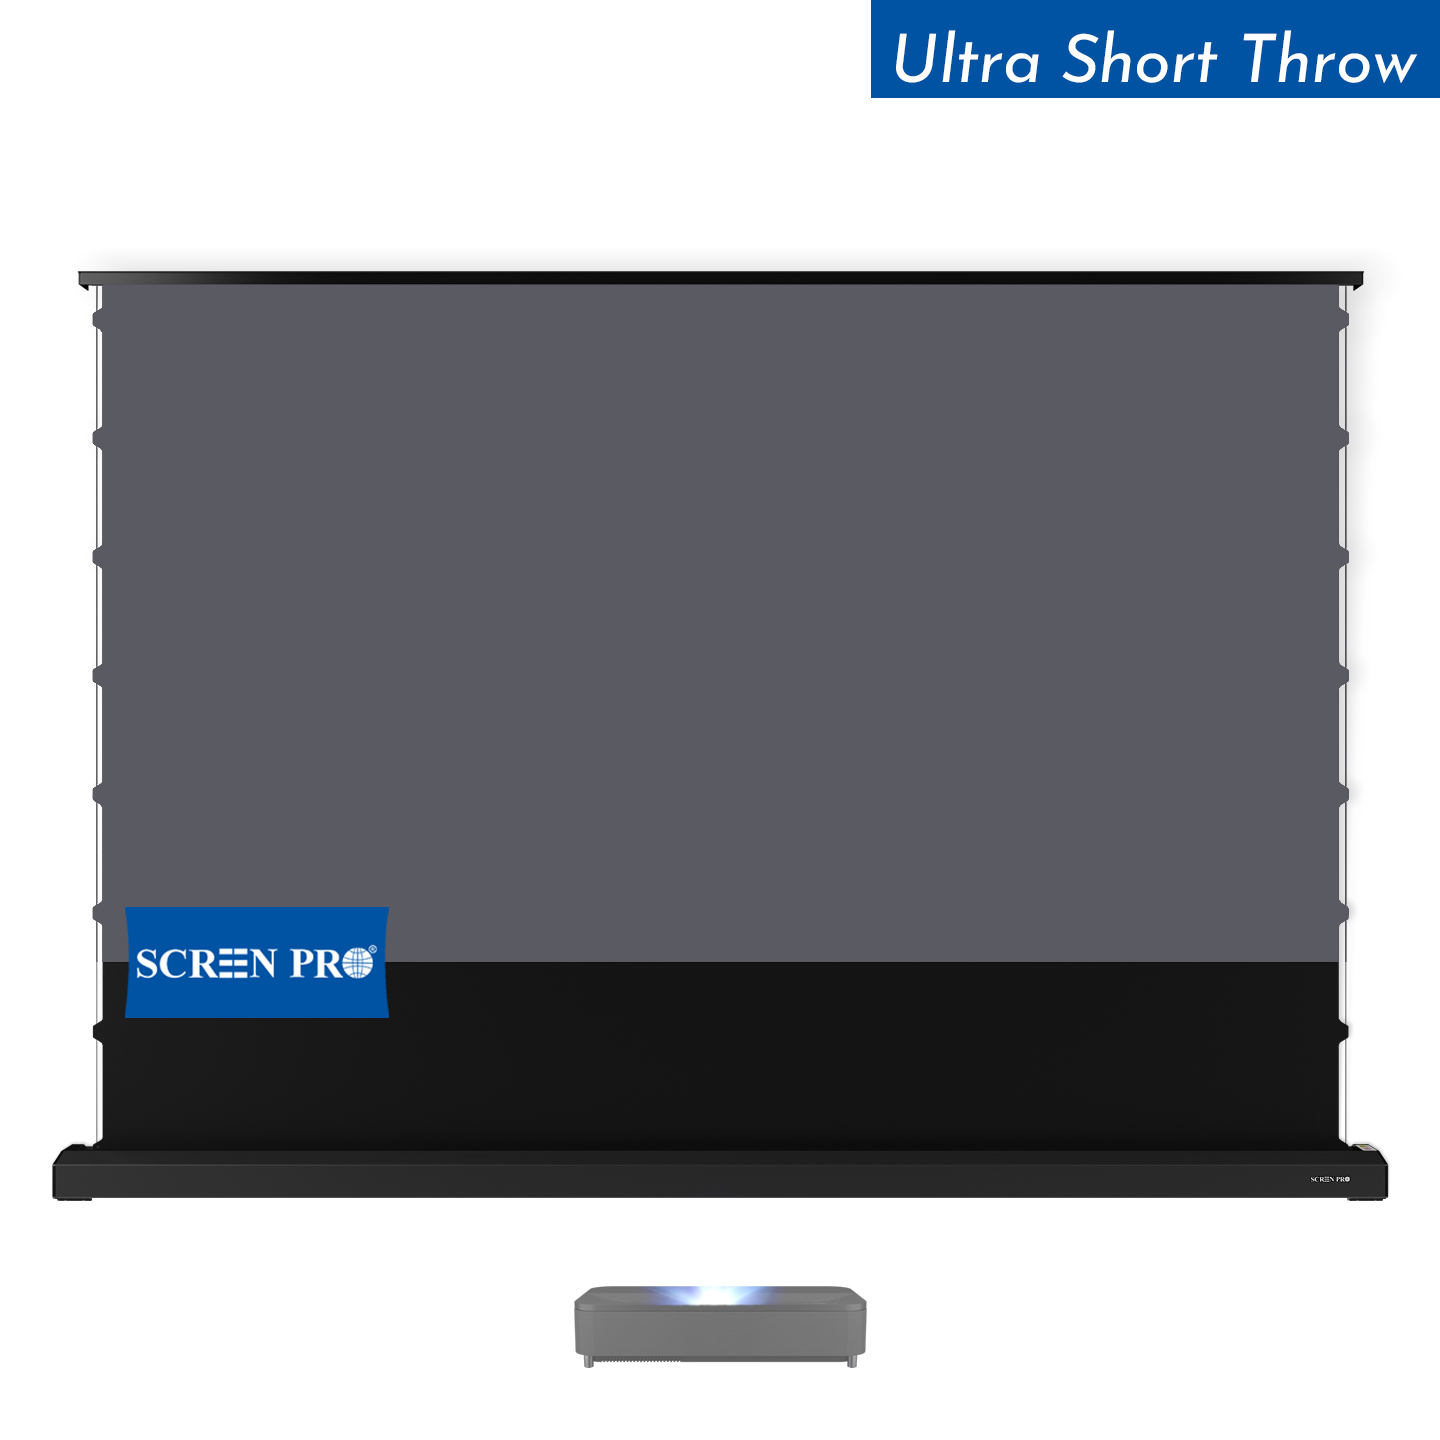
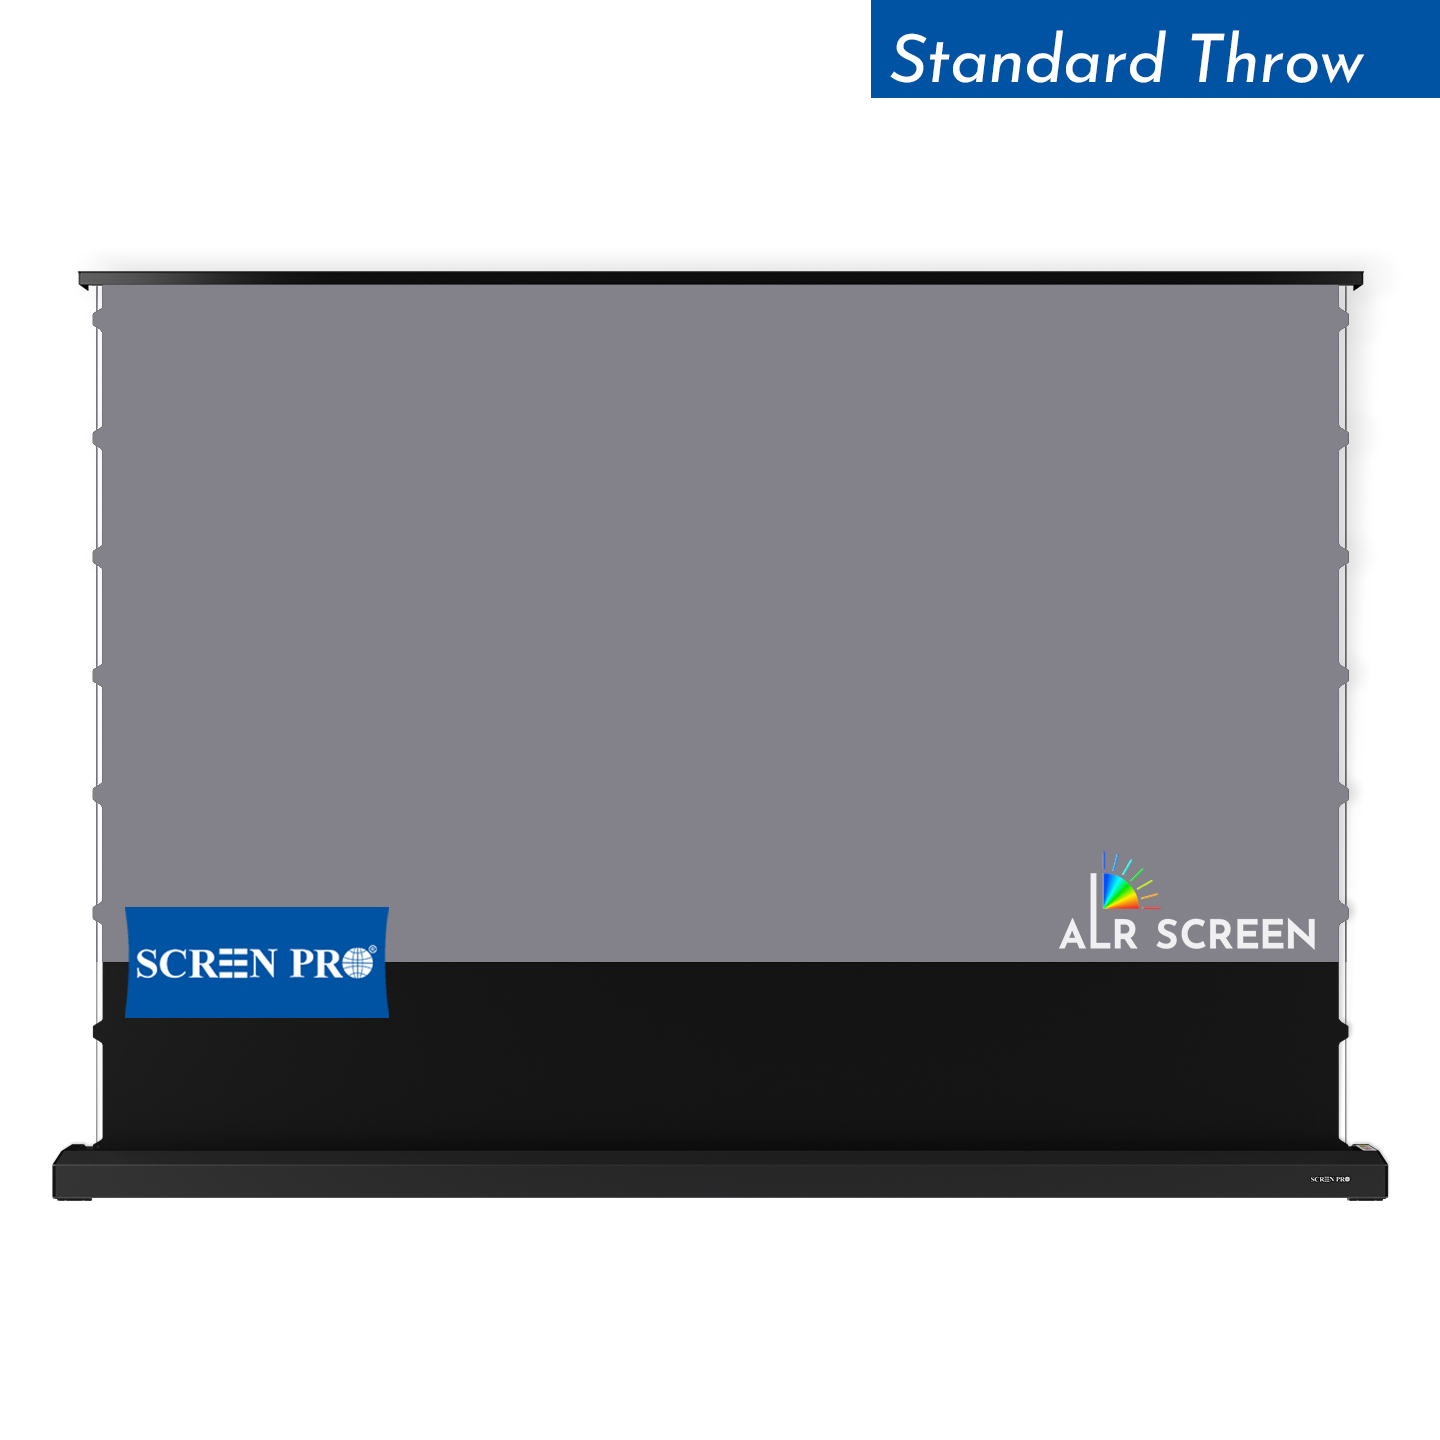
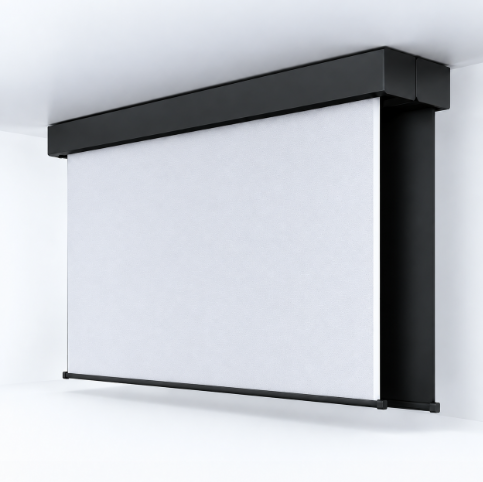
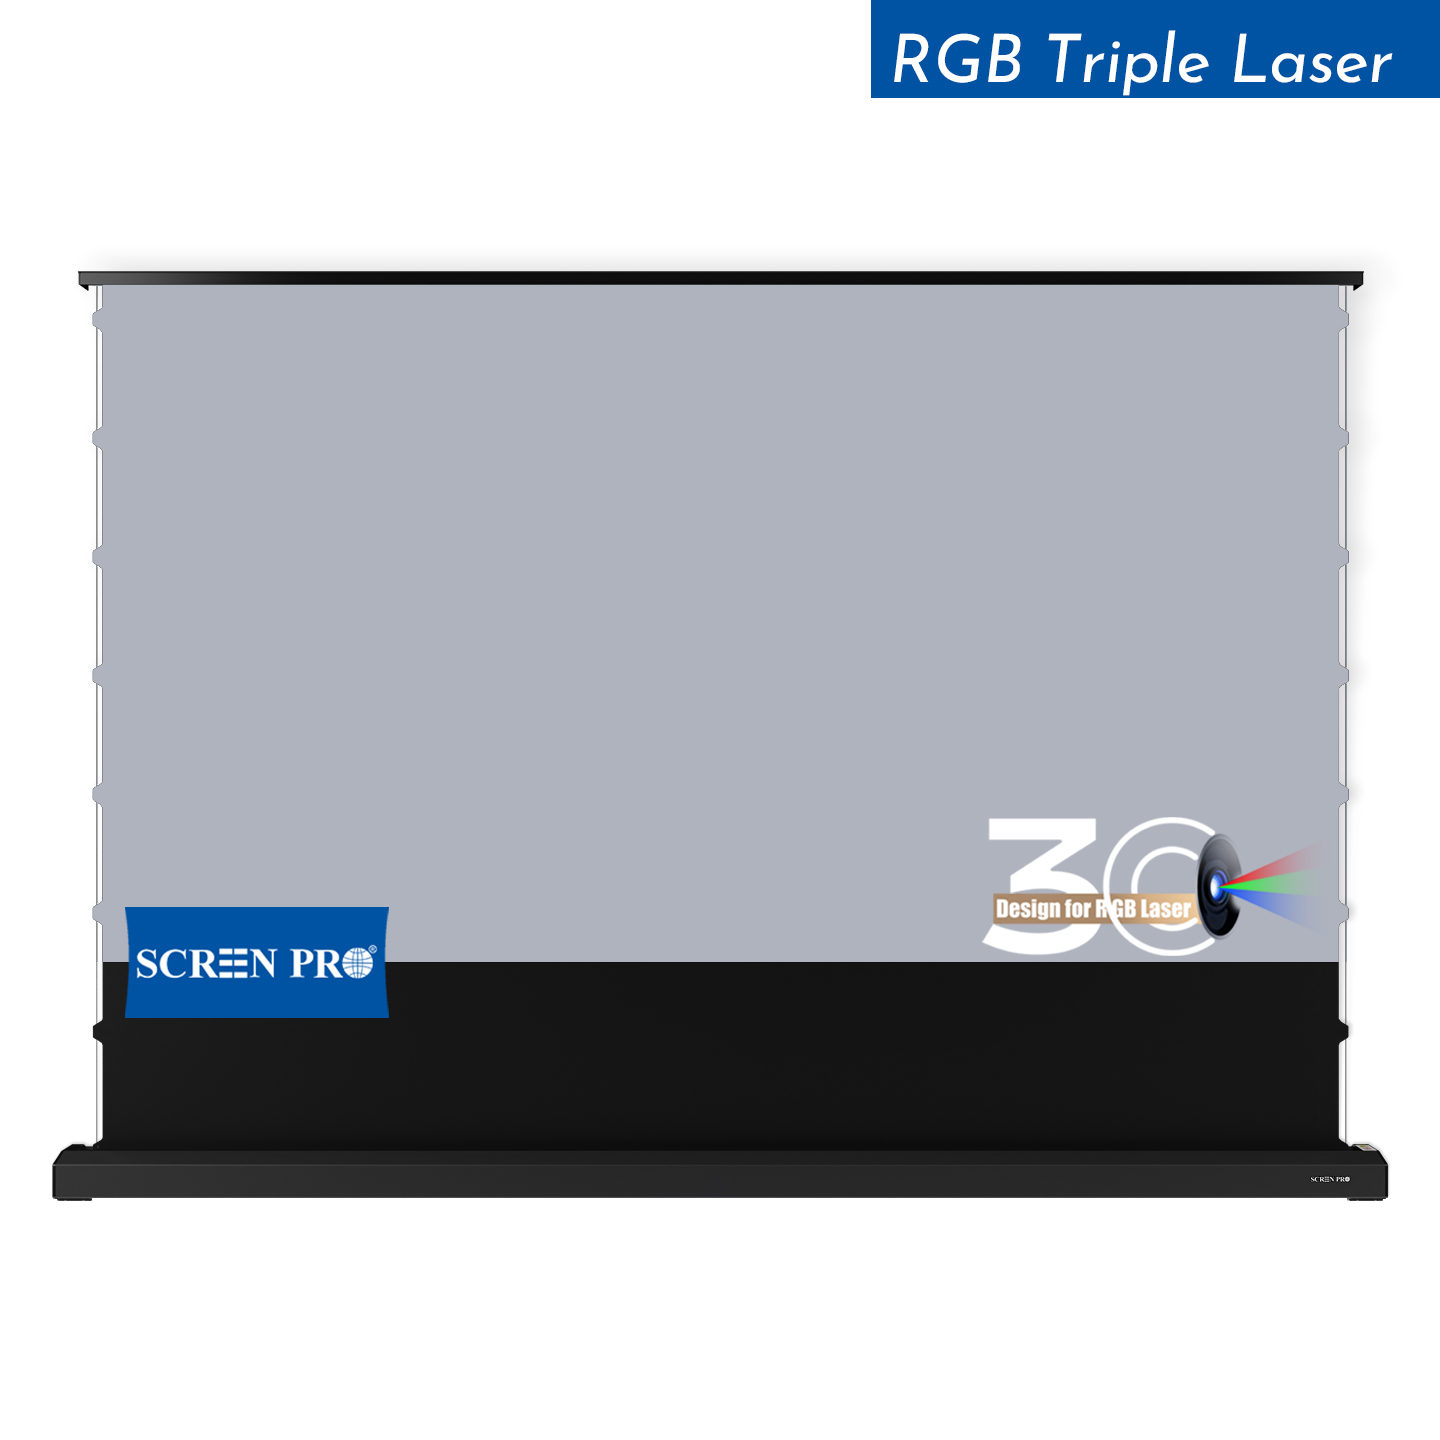
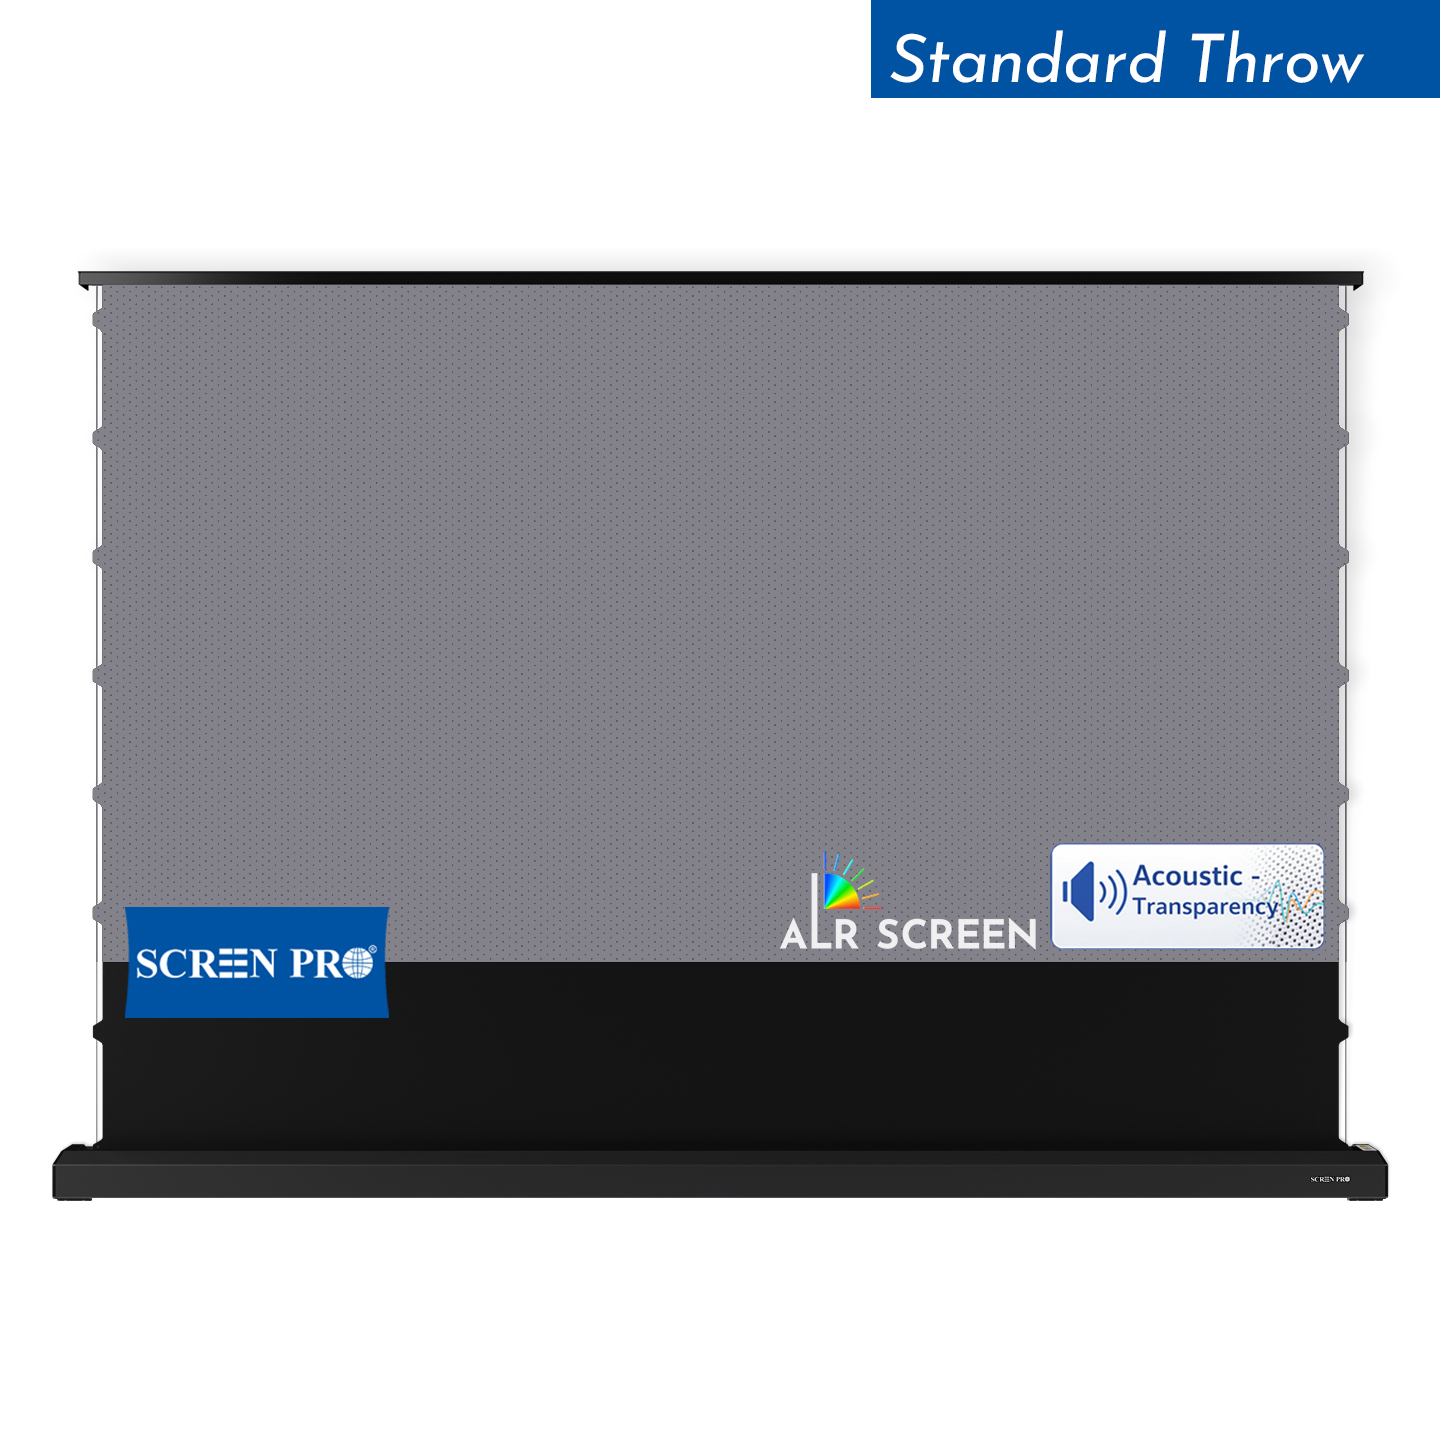
| Floor Rising Screen | Limited | Use lighting behind furniture or on the surrounding wall instead. |
*Compatibility depends on the specific frame structure and backlighting accessory.
For an integrated screen-and-lighting installation, start with a stationary fixed frame structure that provides room behind the frame for controlled indirect lighting.
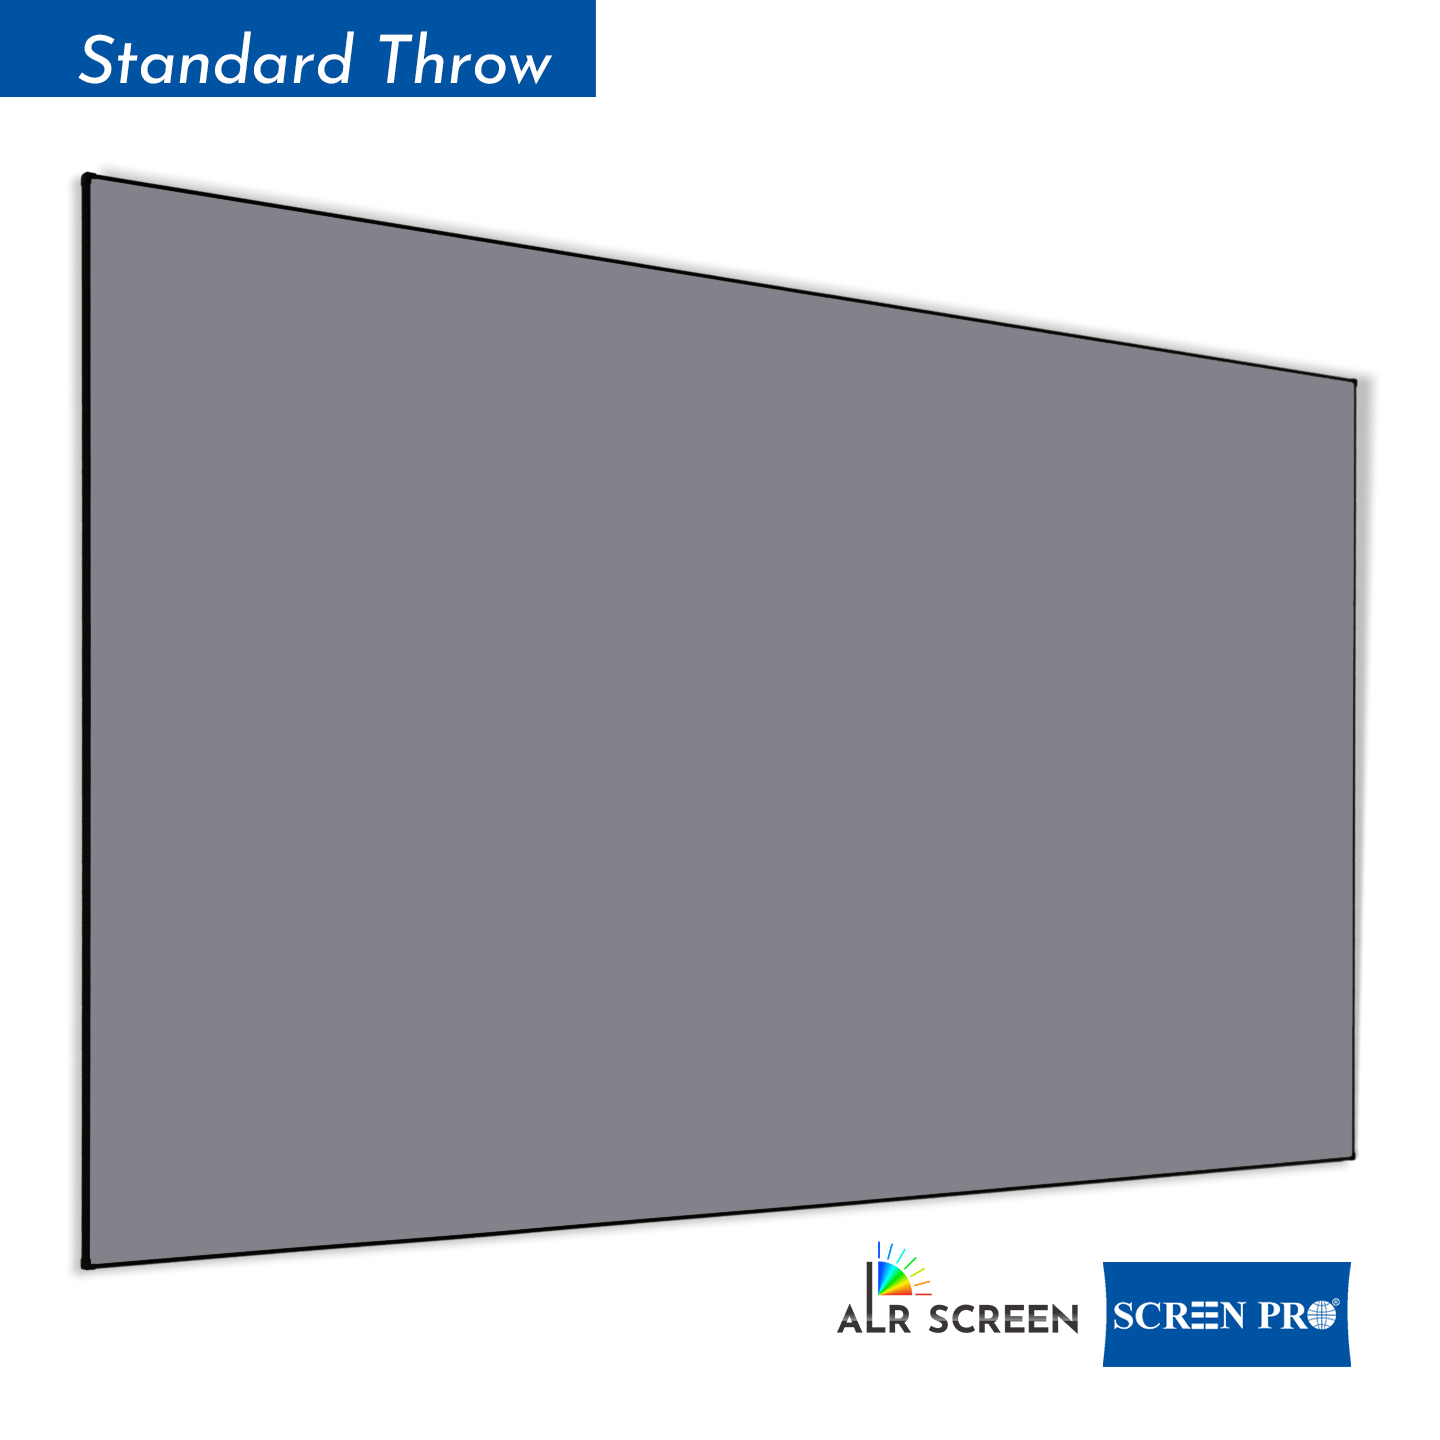
A slim-frame fixed screen for ultra-short-throw projection, suited to modern living room cinema installations.
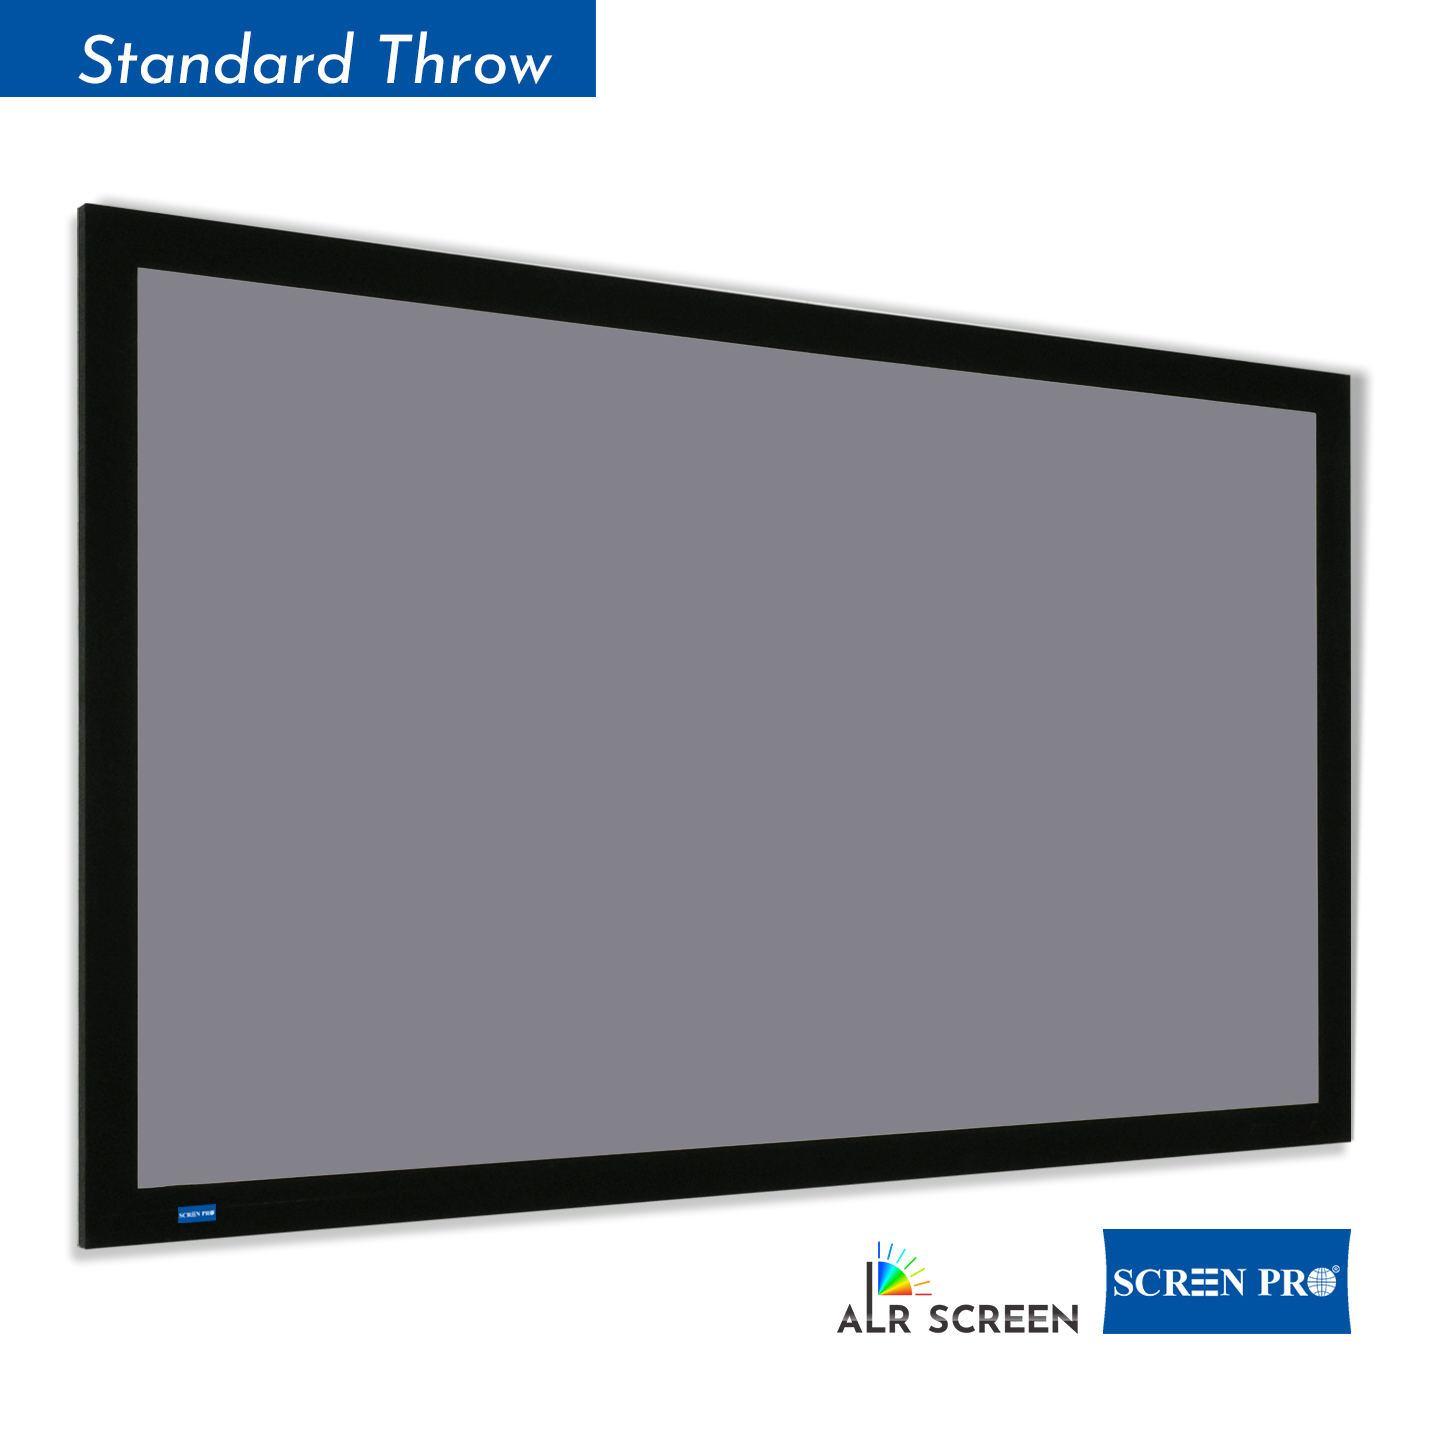
View AZ Series →Designed for cinema installations where speakers are positioned behind the projection surface.
View FP Series →Excessive wall glow can compete with the projected image and reduce perceived black levels.
The light should wash the wall behind the frame, not illuminate the projection surface.
If individual LEDs are visible around the edge, reposition the strip or increase diffusion distance from the wall.
Never attach wiring or LED strips to moving fabric, tension cords or floor-rising mechanisms.
Learn how screen selection, speaker placement and room design work together in a dedicated cinema environment.
Read the guide →Learn how projection screen material can influence the performance of modern RGB triple-laser projector systems.
Read the guide →Yes. Fixed frame screens are generally the easiest type to backlight. Position the LEDs so they illuminate the wall behind the frame rather than shining directly onto the projection surface.
It can. Excessive brightness or light spilling onto the screen can reduce perceived contrast. Keep the lighting indirect and relatively subtle.
Yes, but the installation should be carefully controlled. The light should remain behind the frame and should not illuminate the ALR projection surface directly.
Neutral or softer lighting is generally less distracting during movie viewing. RGB colors can be used for gaming, music and decorative environments where visual effects are part of the experience.
Do not attach LEDs or wiring to moving fabric, tension structures or floor-rising mechanisms. For retractable screens, use stationary wall, ceiling, cabinet or furniture-integrated ambient lighting instead.
SCREENPRO® offers a Smart RGB LED Backlight Kit designed as an optional ambient-lighting solution for compatible slim frame projection screens. Check screen and kit compatibility before installation.
For compatible SCREENPRO® slim frame projection screens, explore the Smart RGB LED Backlight Kit for a cleaner ambient-lighting installation.
Explore RGB LED Backlight Kit →





© 2026 SCREENPRO®. Specifications are subject to change without notice. | SamsAV All Rights ReservedSite Map Designed by iwonder.cn