




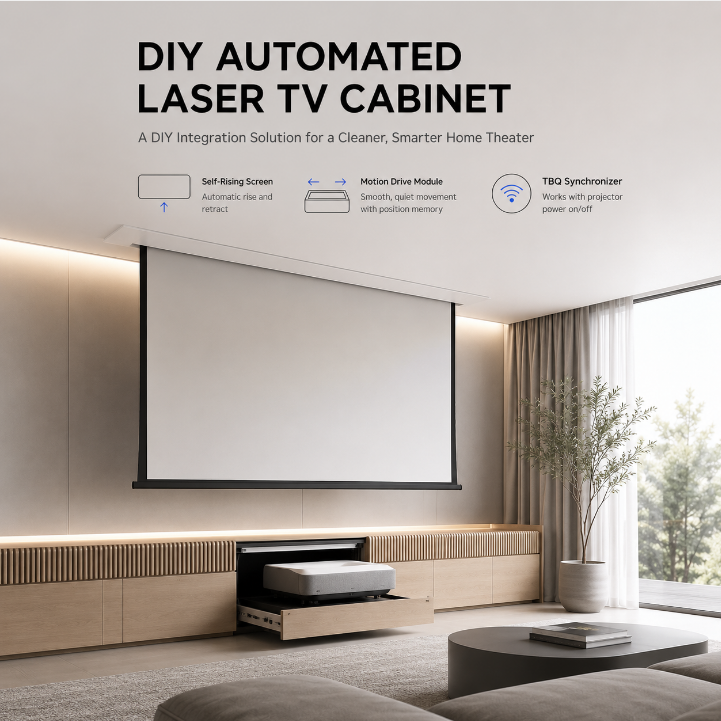
Build Your Own Automated Laser TV Cabinet
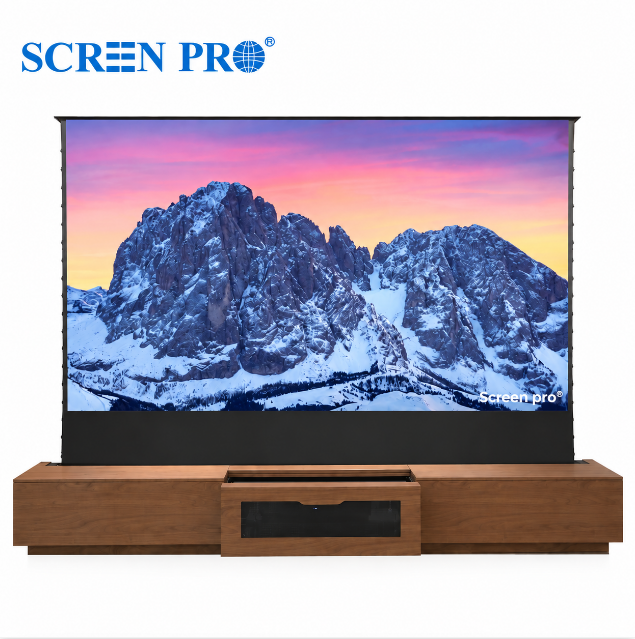
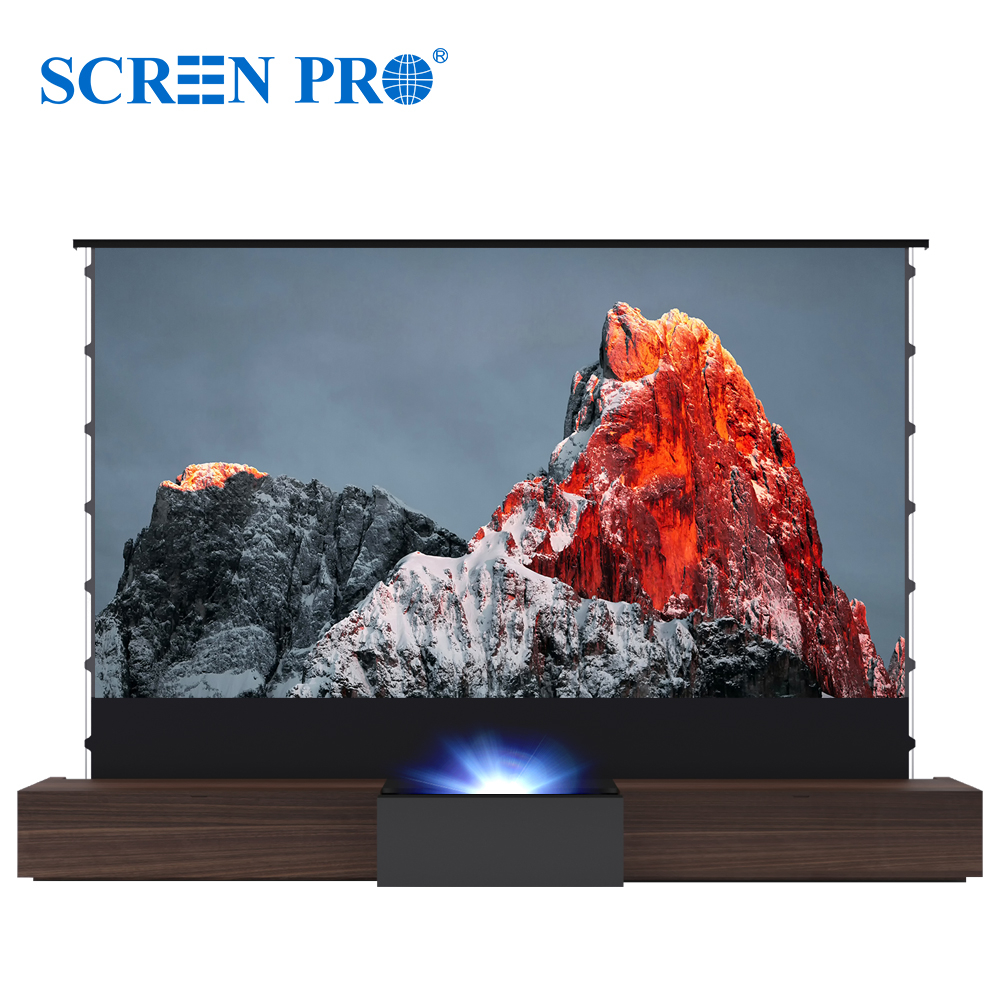
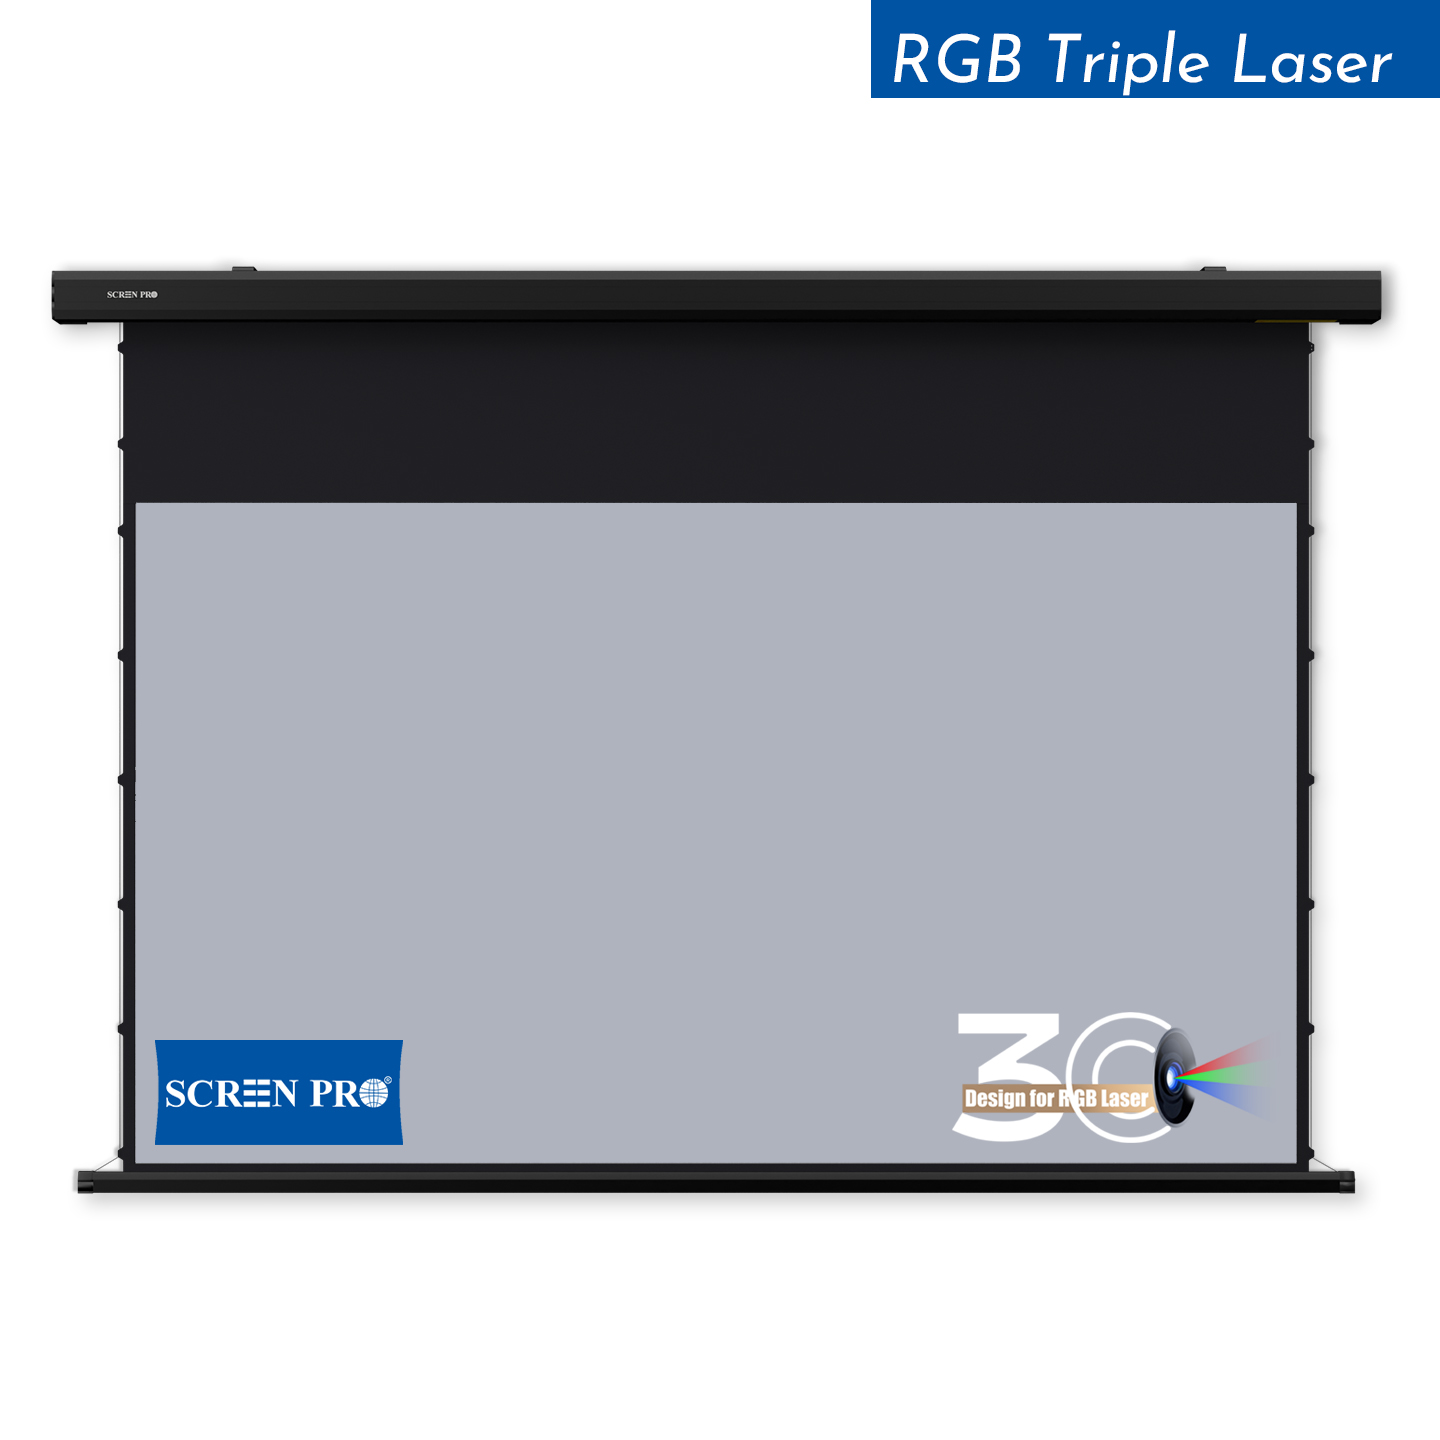
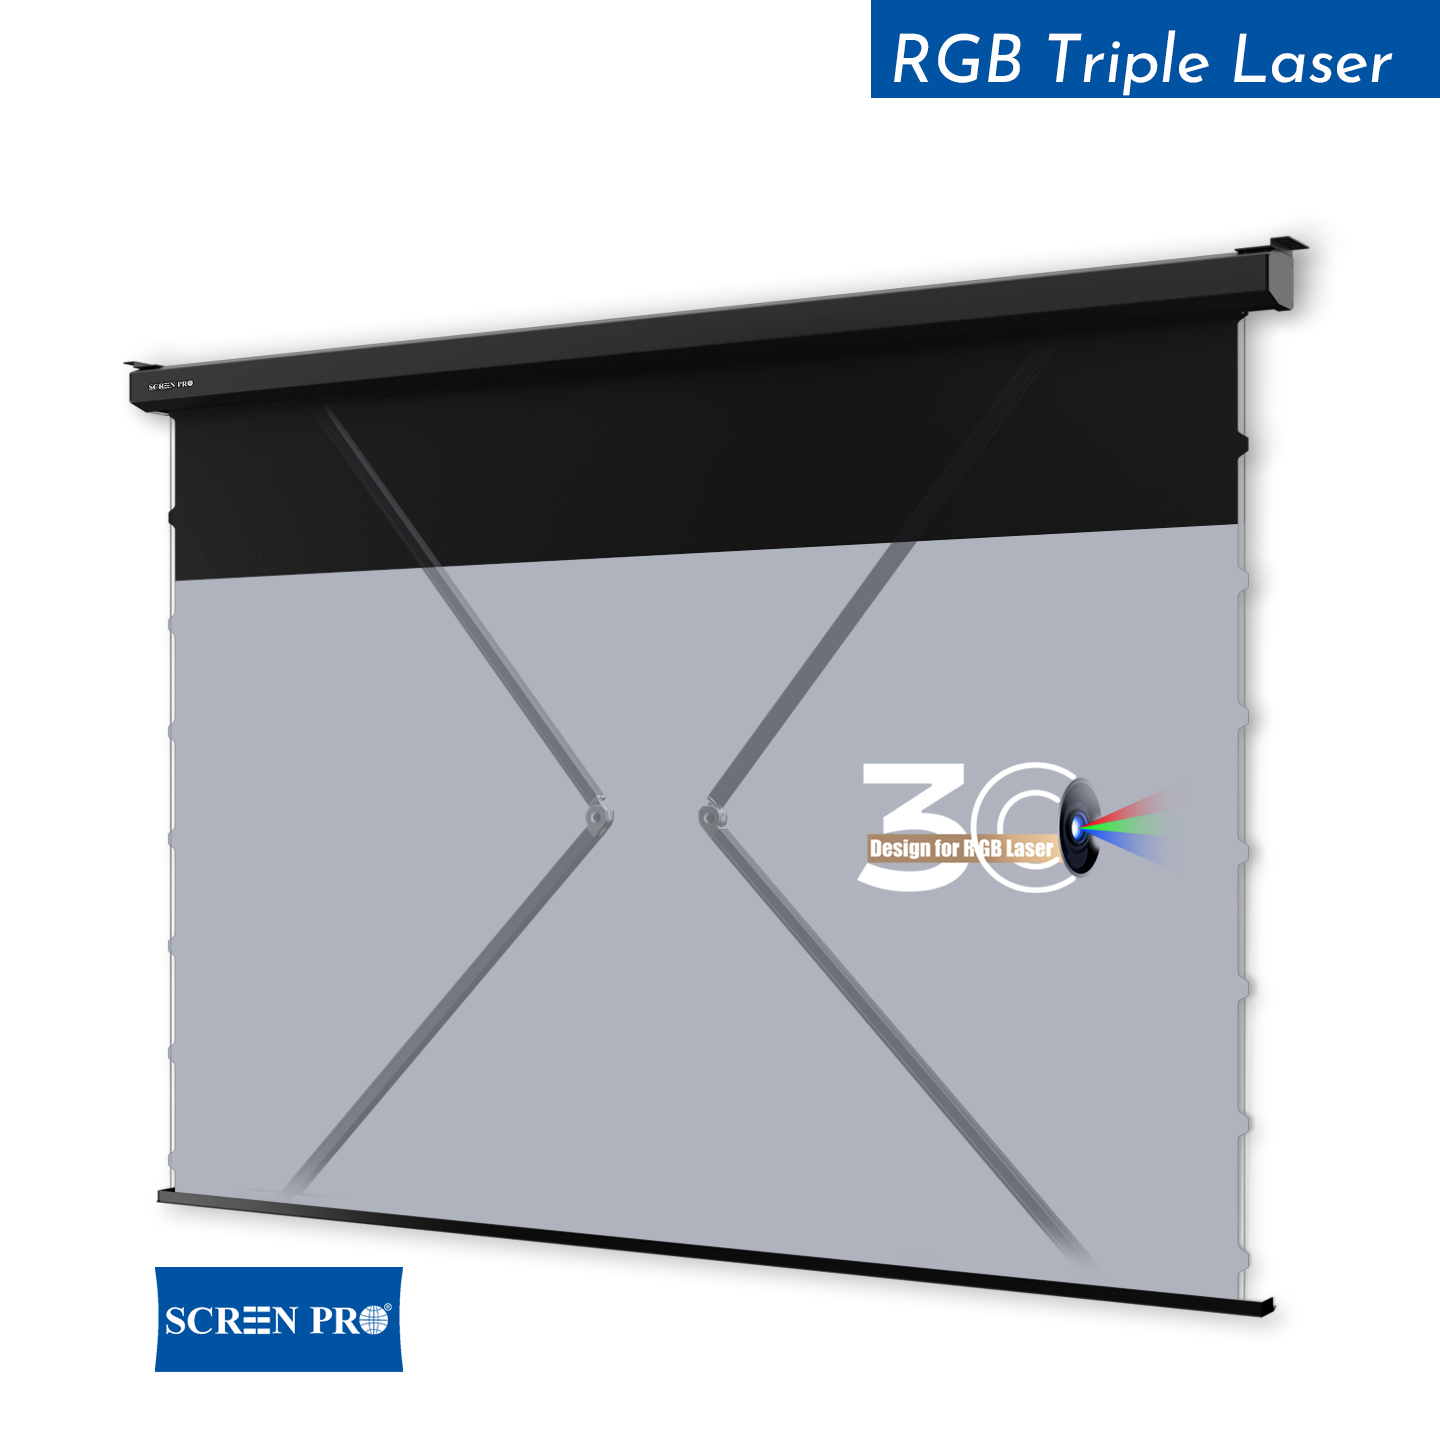
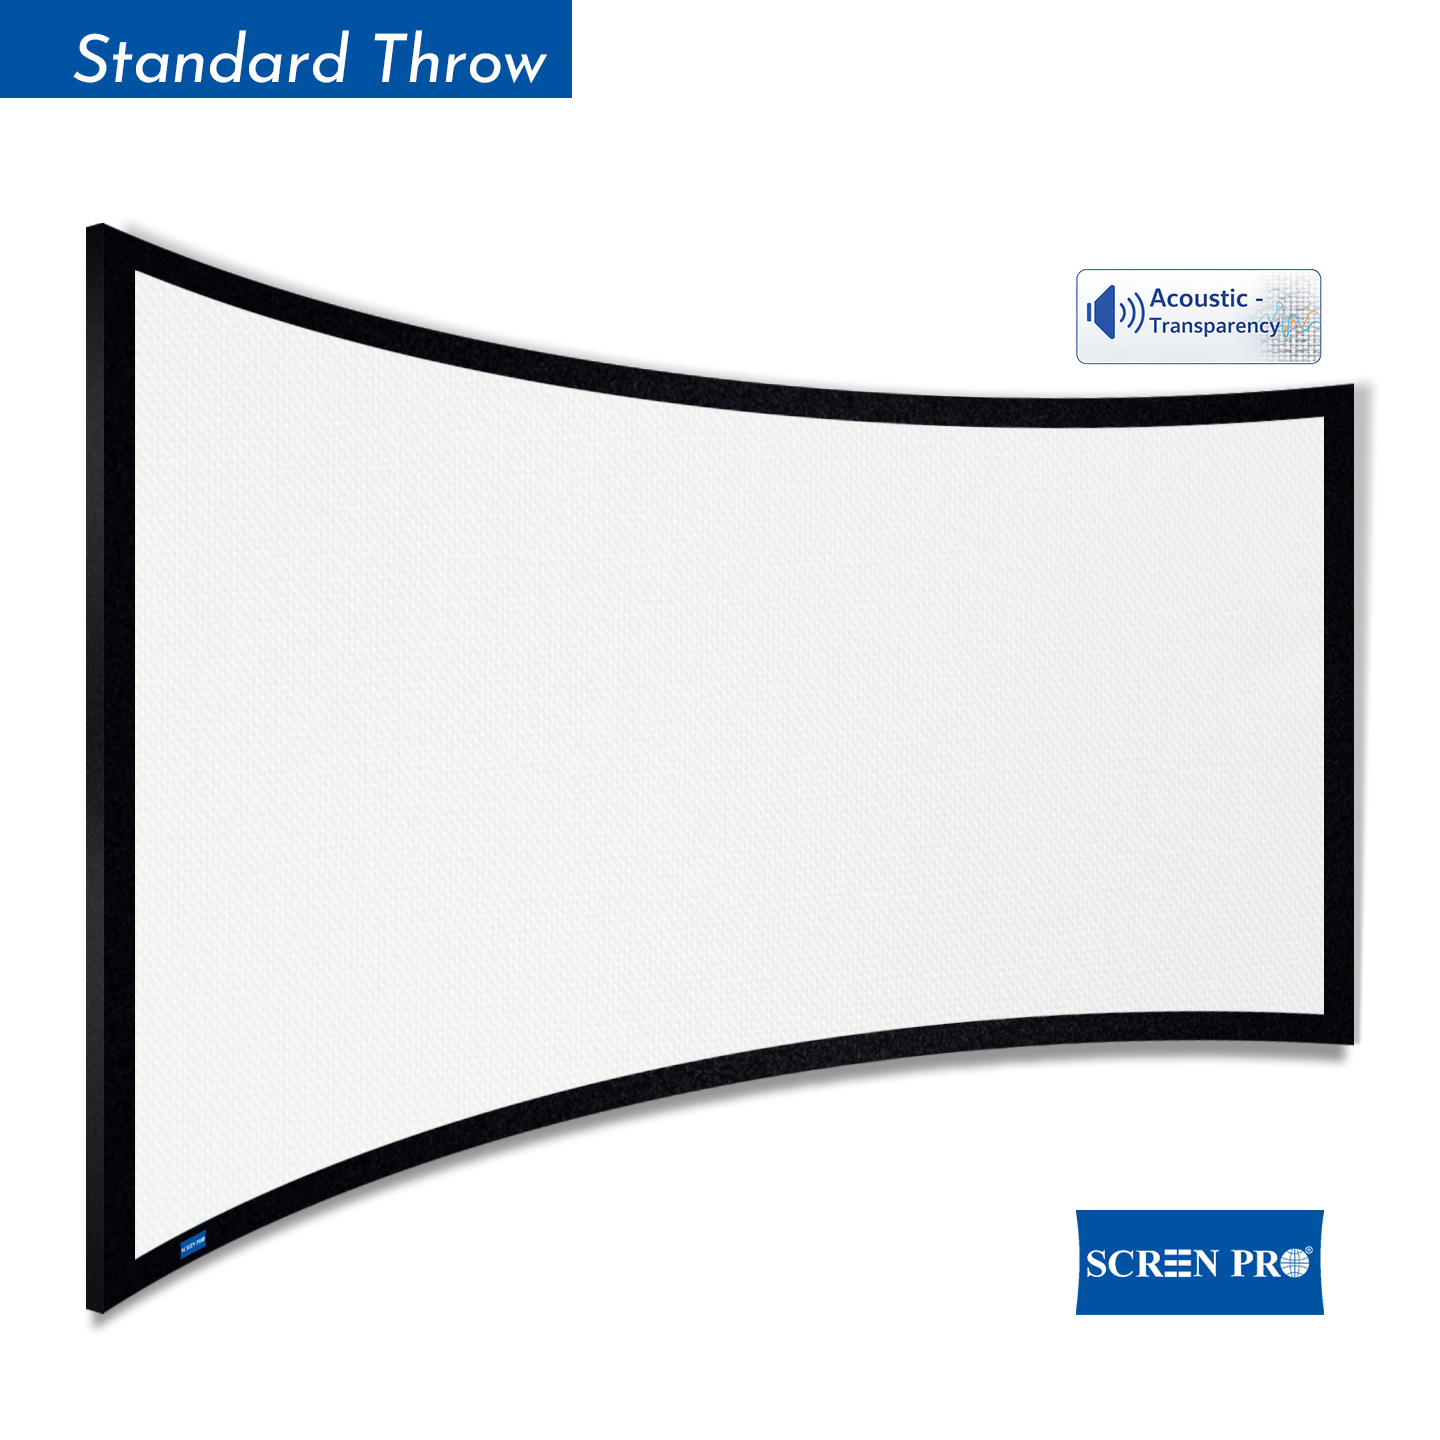
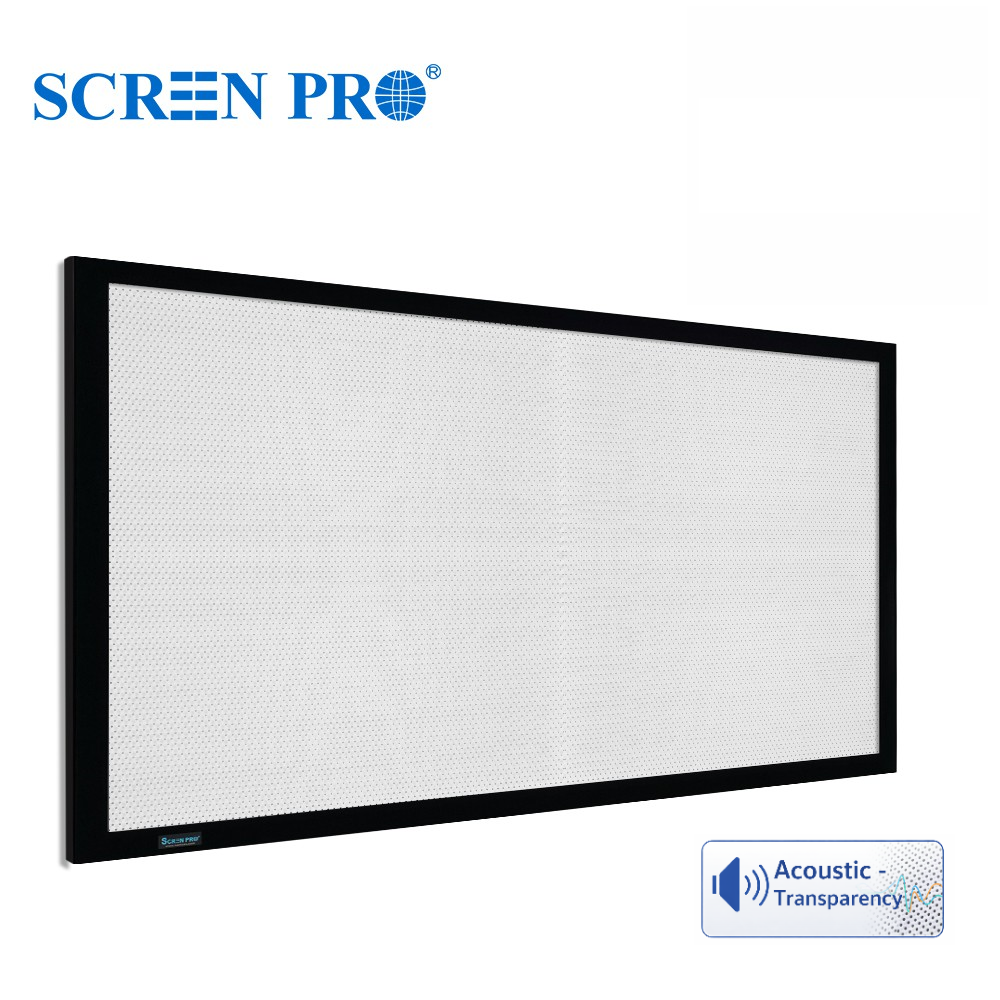
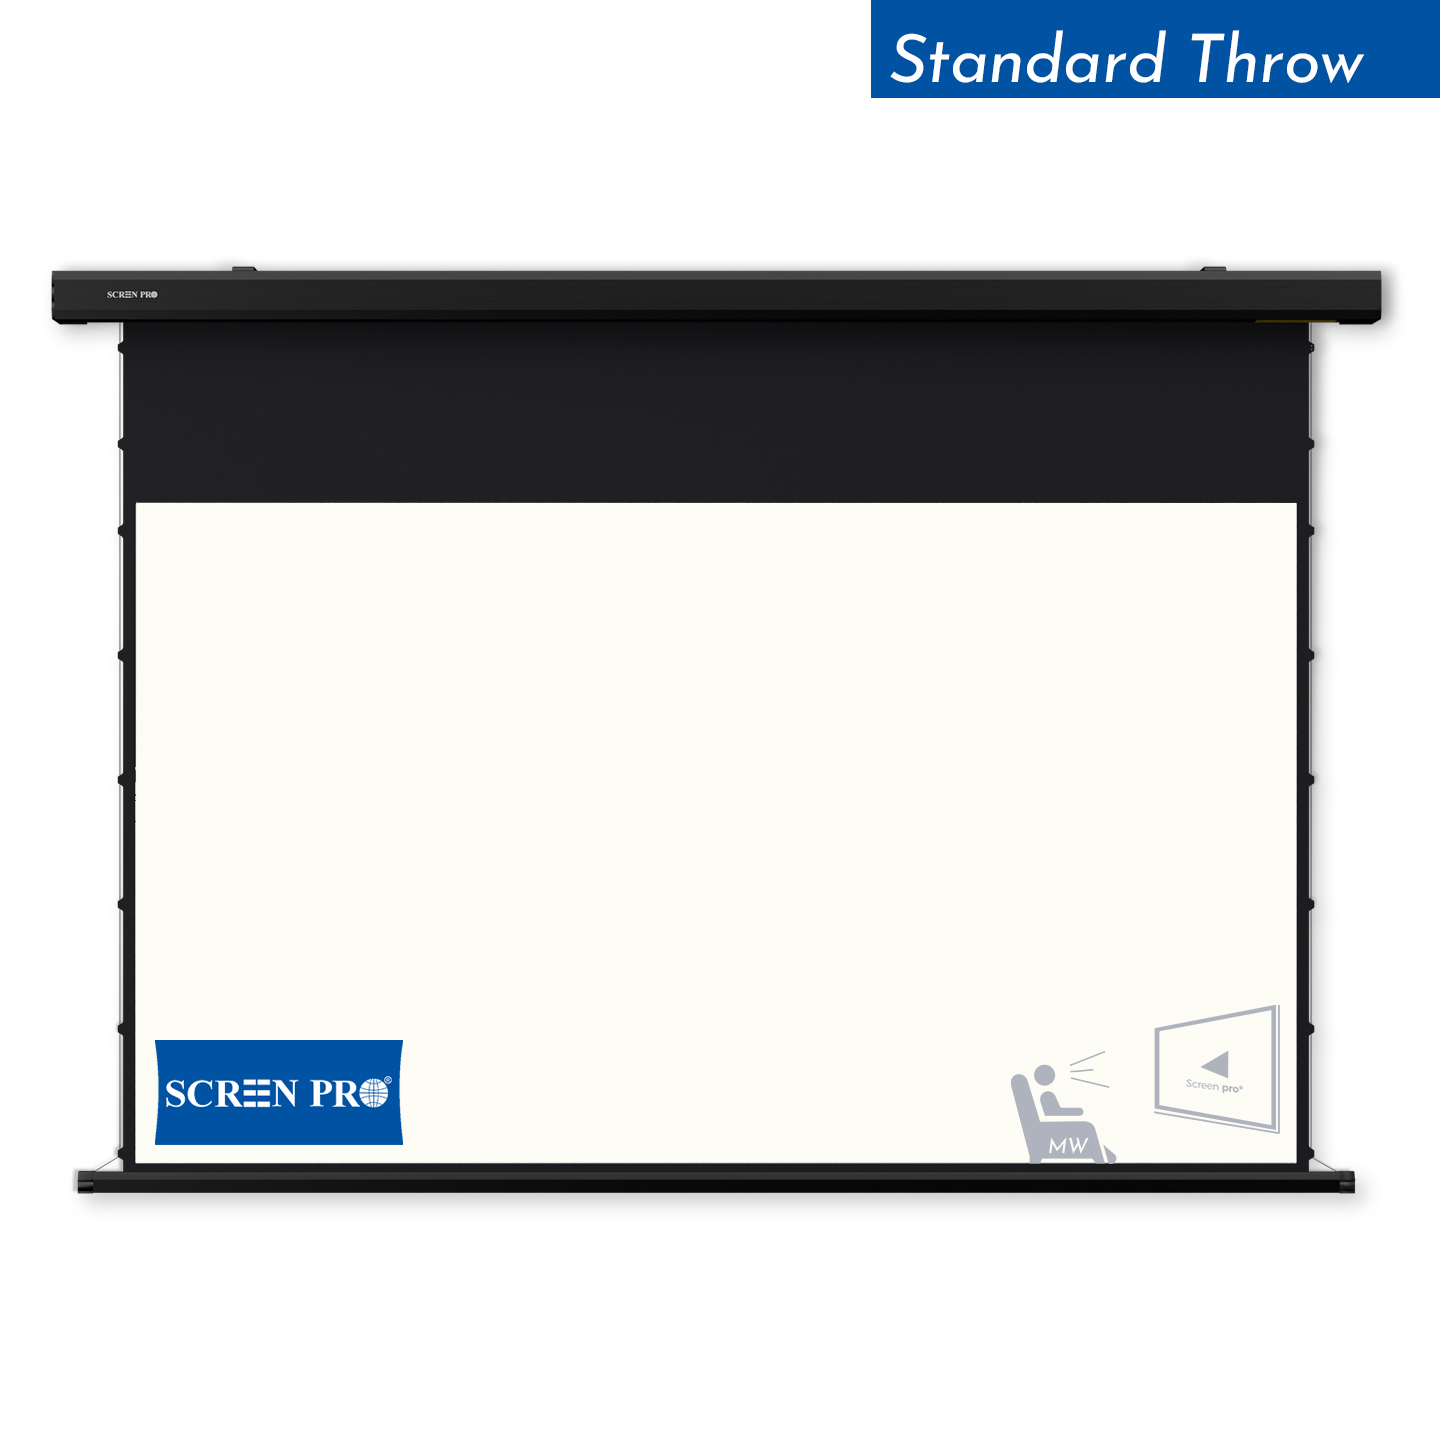
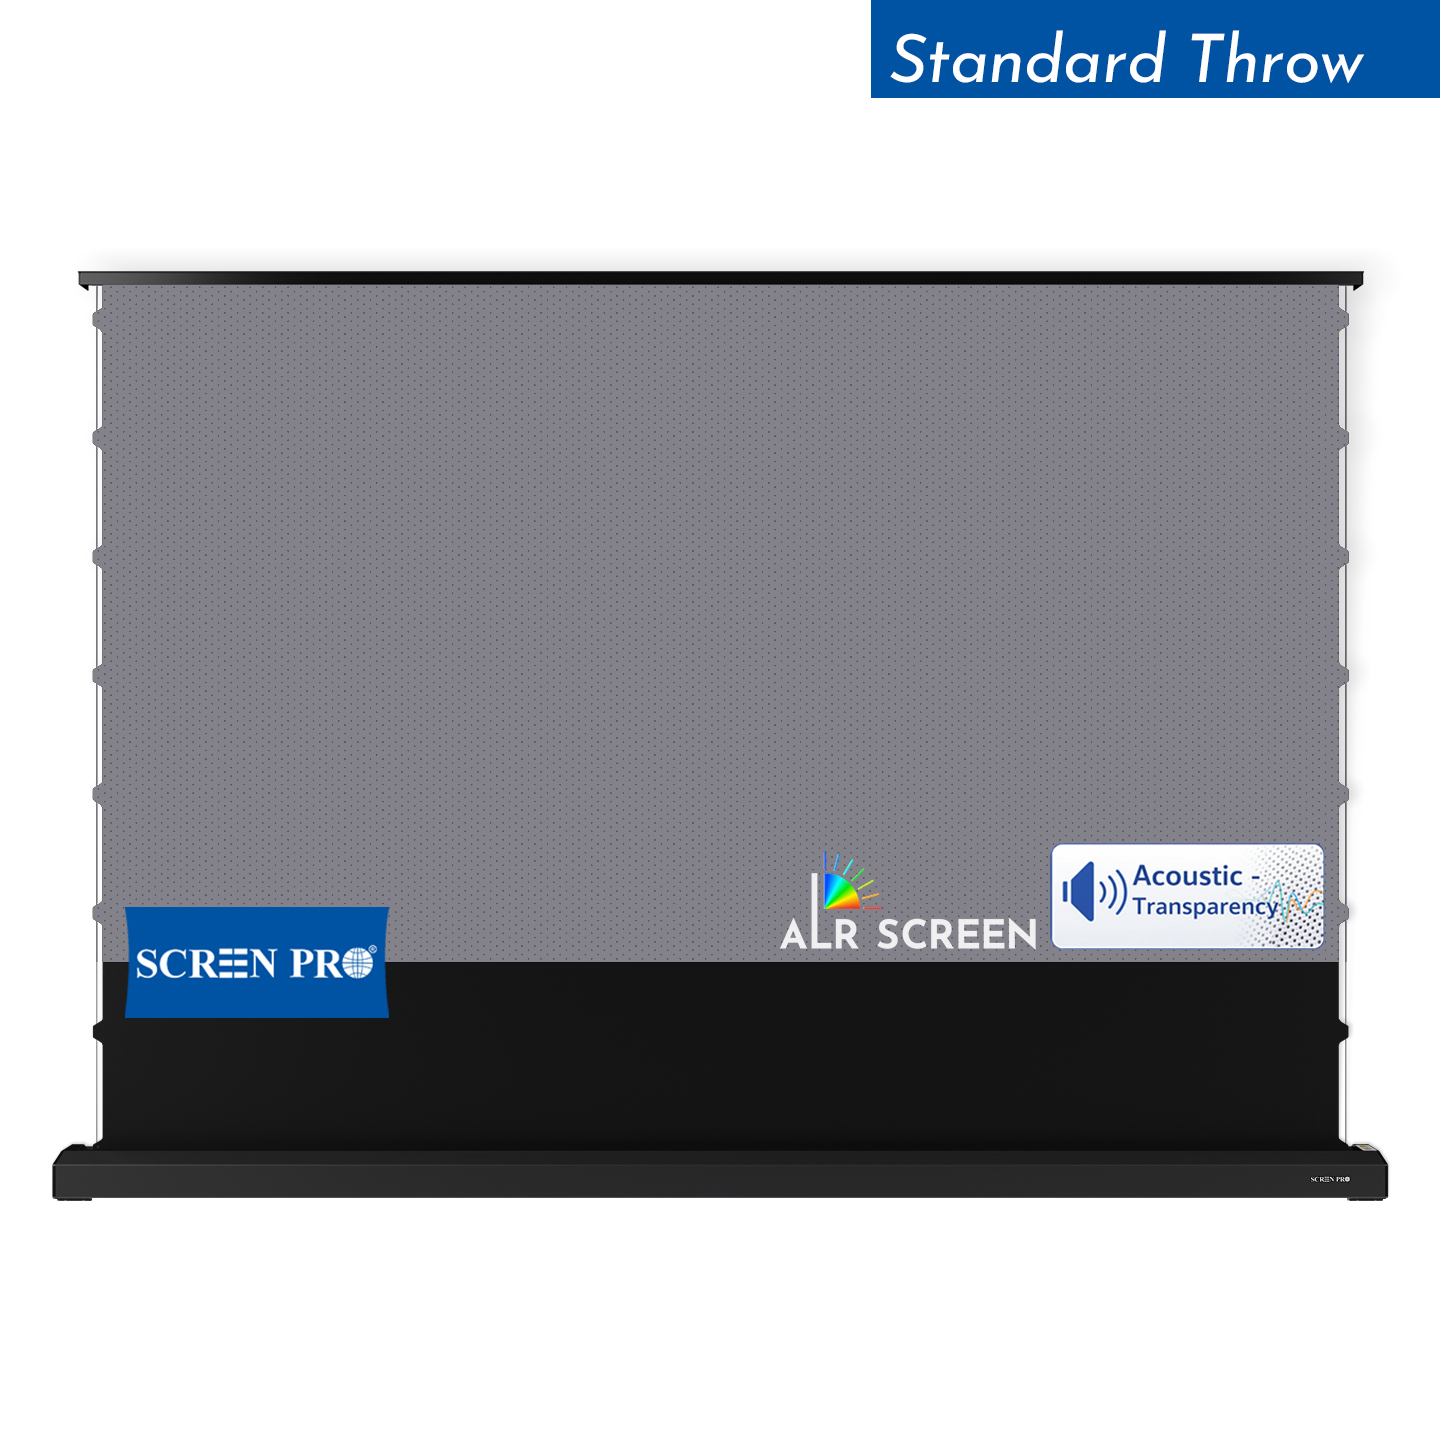
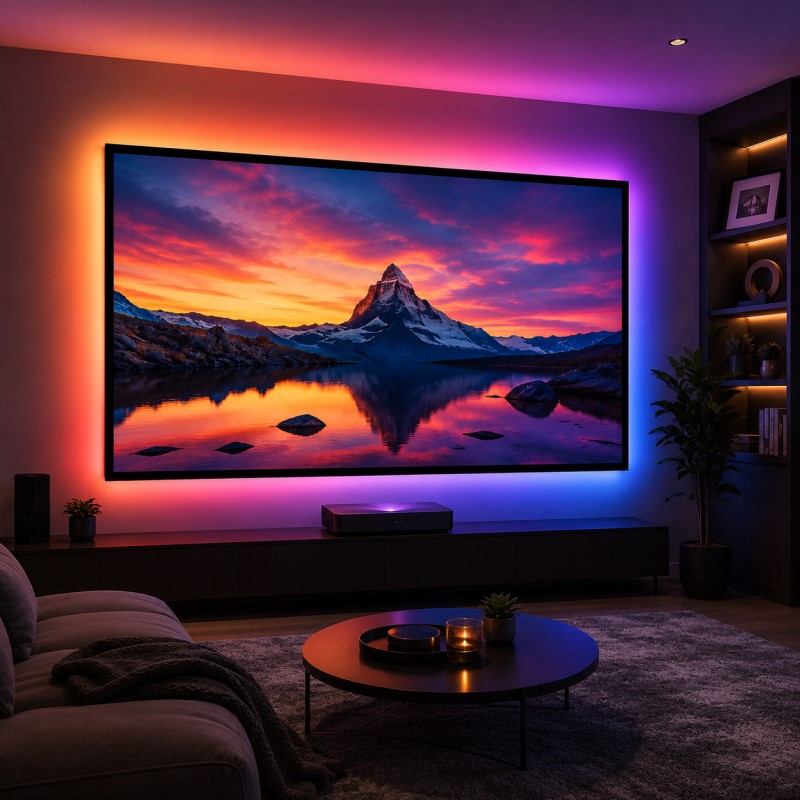
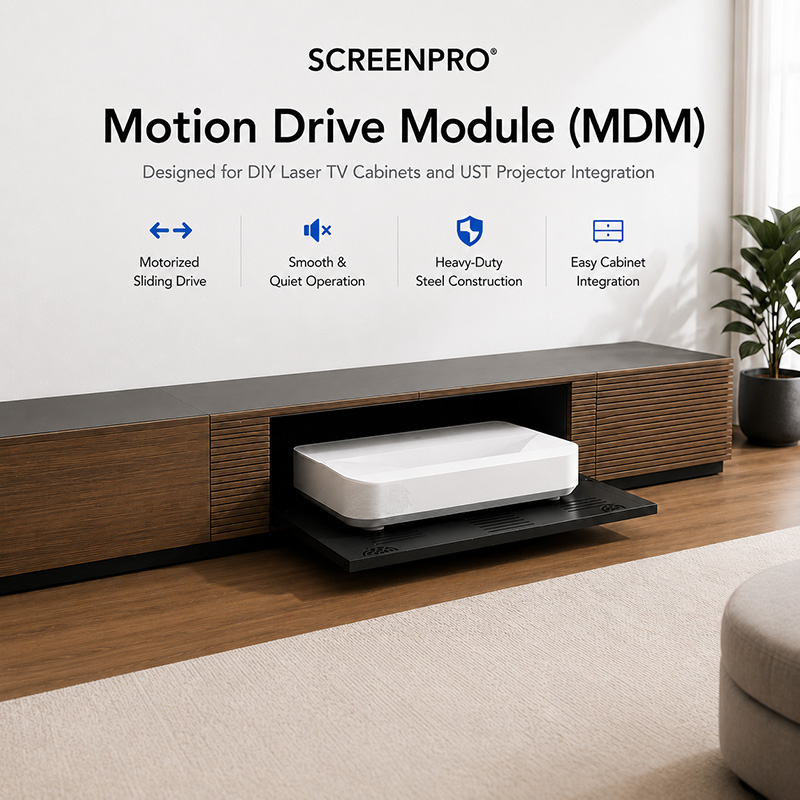
Combine a custom cabinet, a SCREENPRO® Motion Drive Module, a self-rising projection screen and a TBQ Synchronizer to create a clean, furniture-integrated Laser TV system that activates automatically when the projector is switched on.
A Modular Alternative to a Prebuilt Laser TV Cabinet
A fully integrated Laser TV installation does not always require a complete factory-built cabinet. For homeowners, furniture manufacturers and AV integrators who want greater control over dimensions, materials and exterior design, a modular DIY solution can provide greater flexibility.
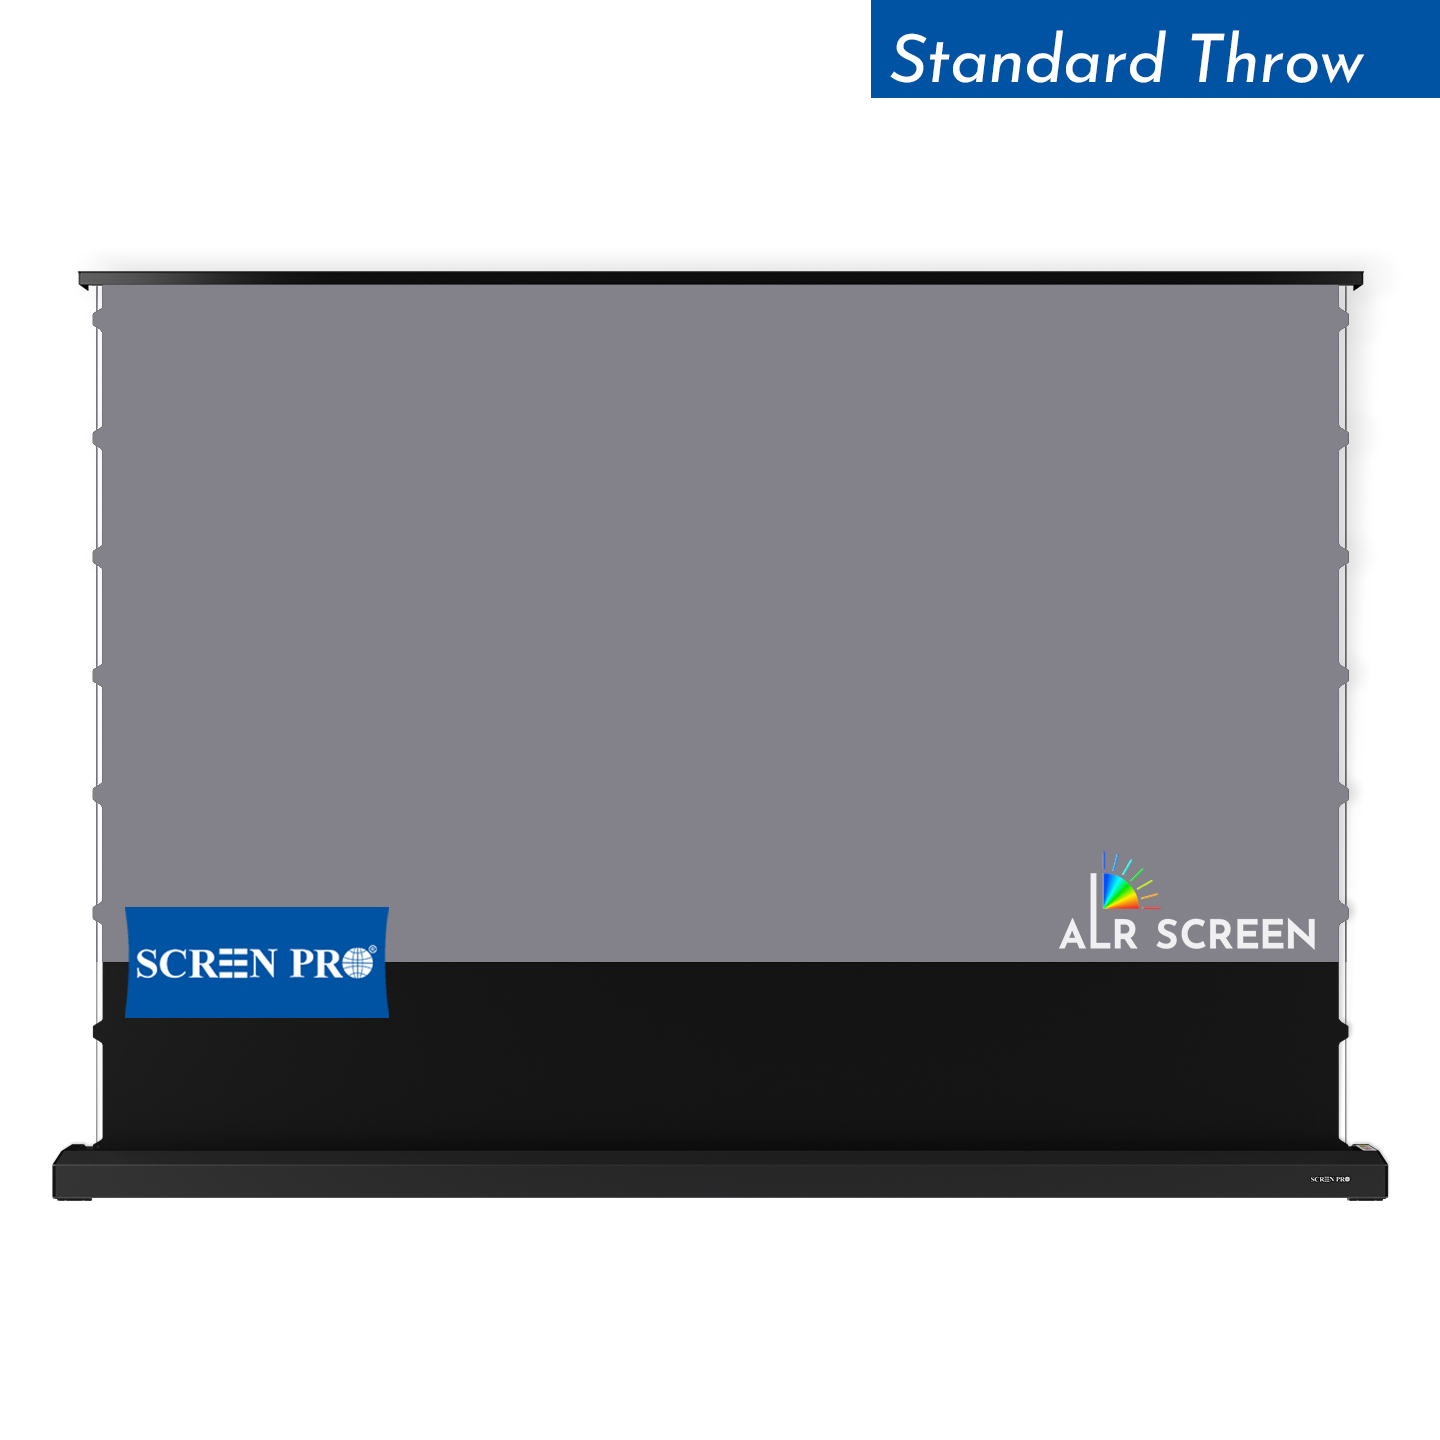
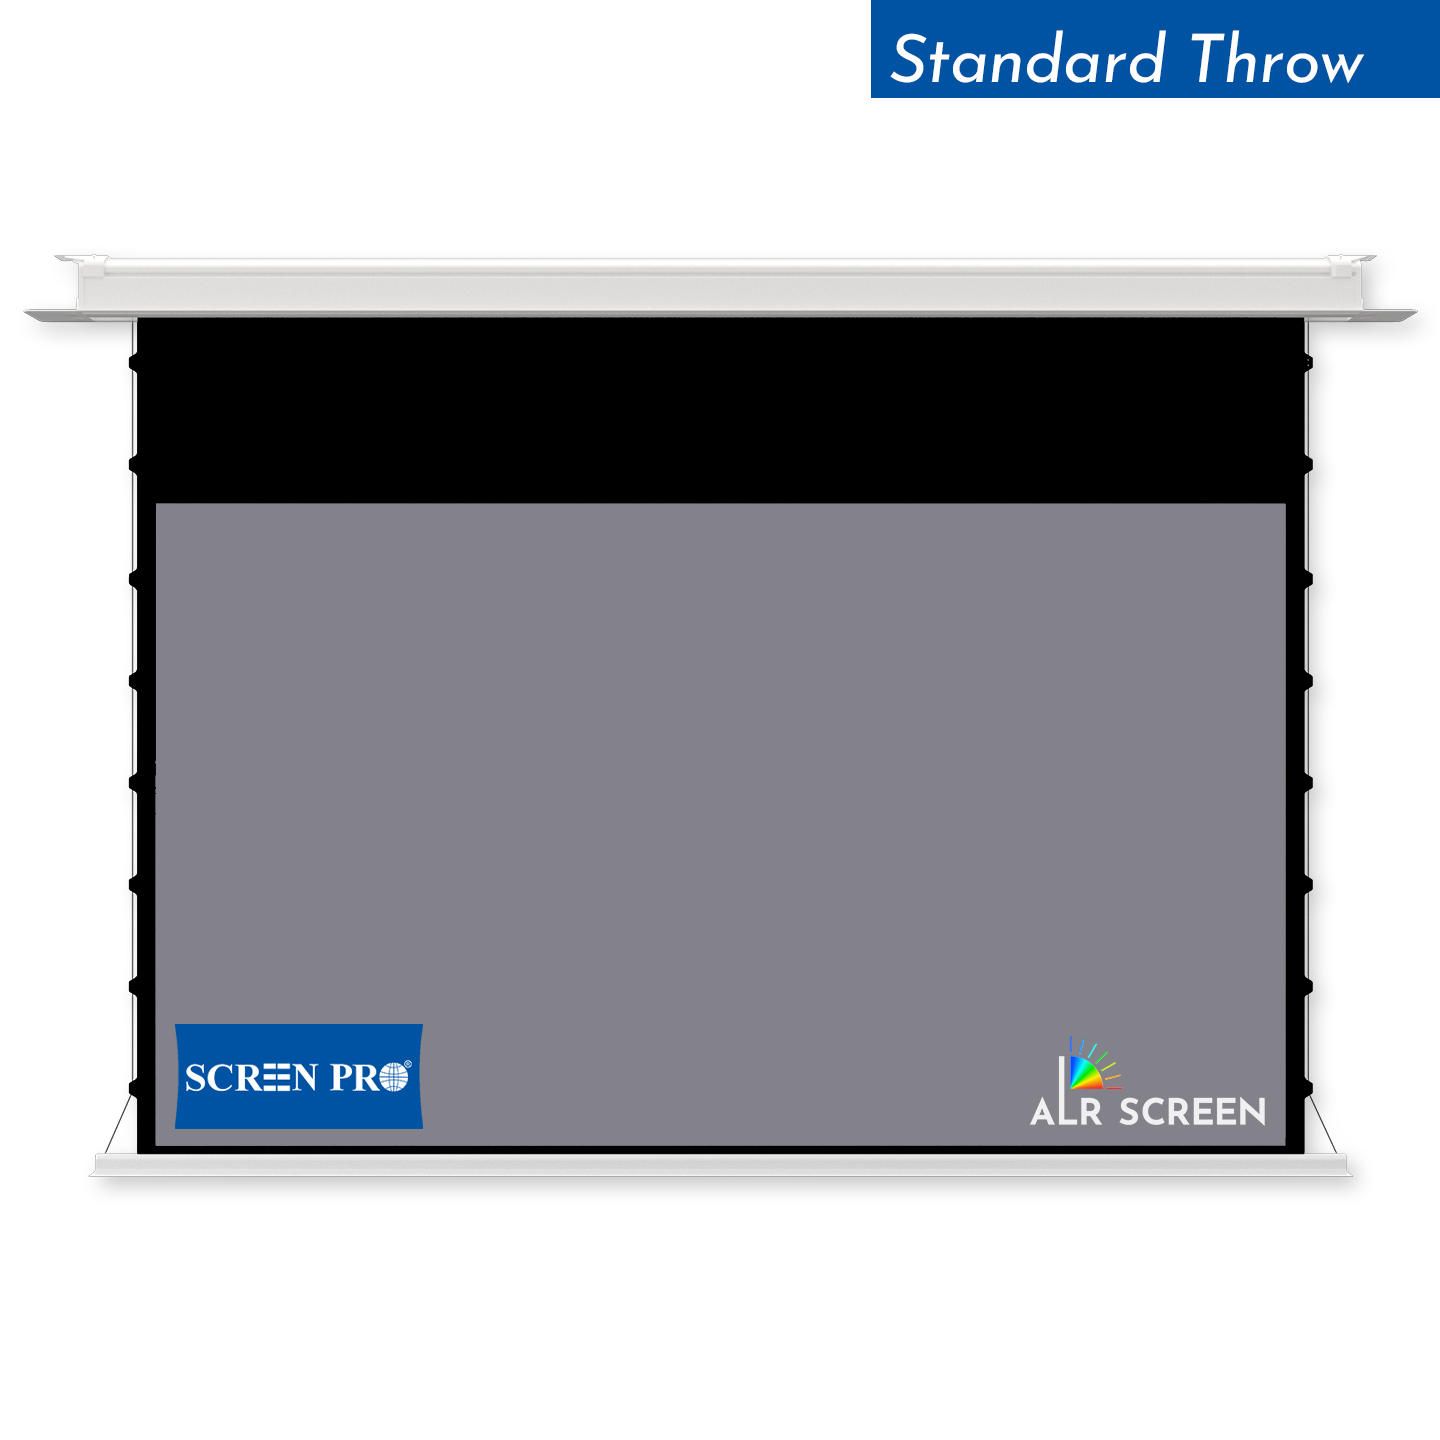
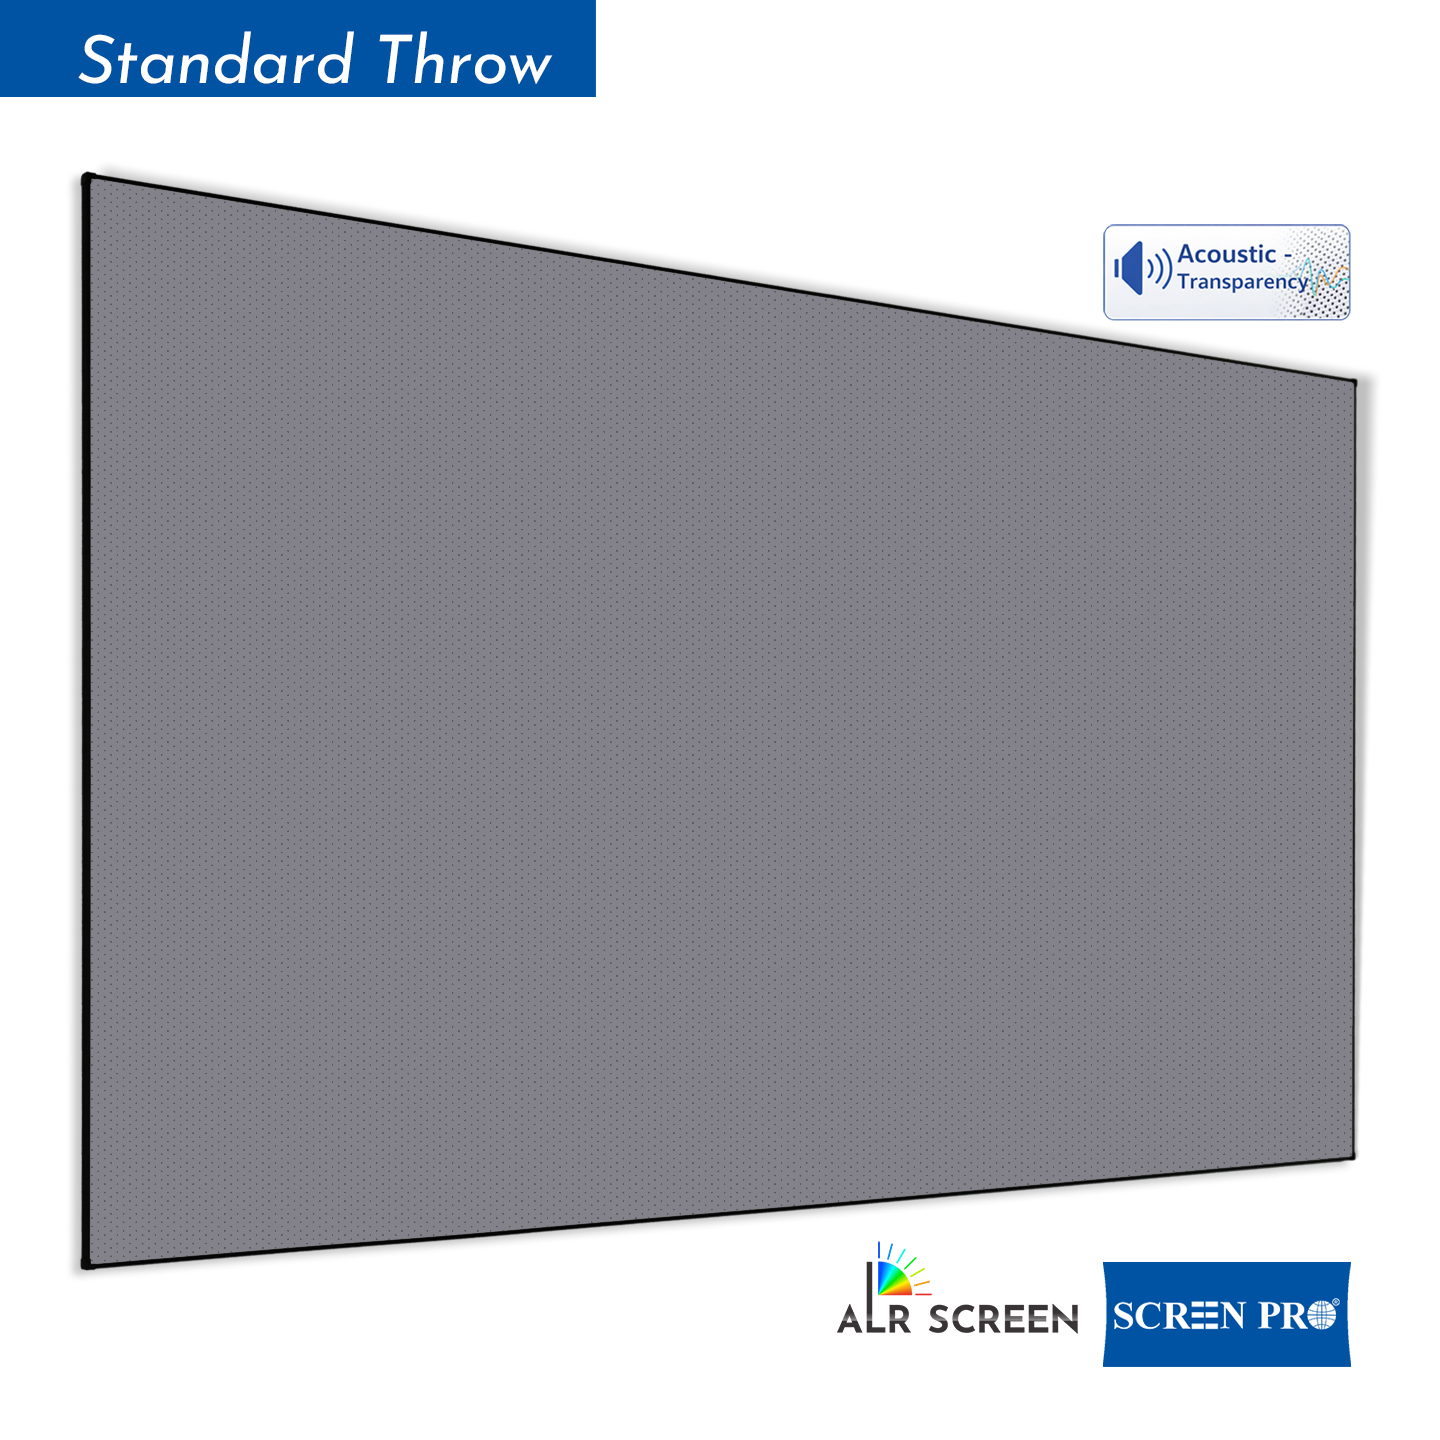
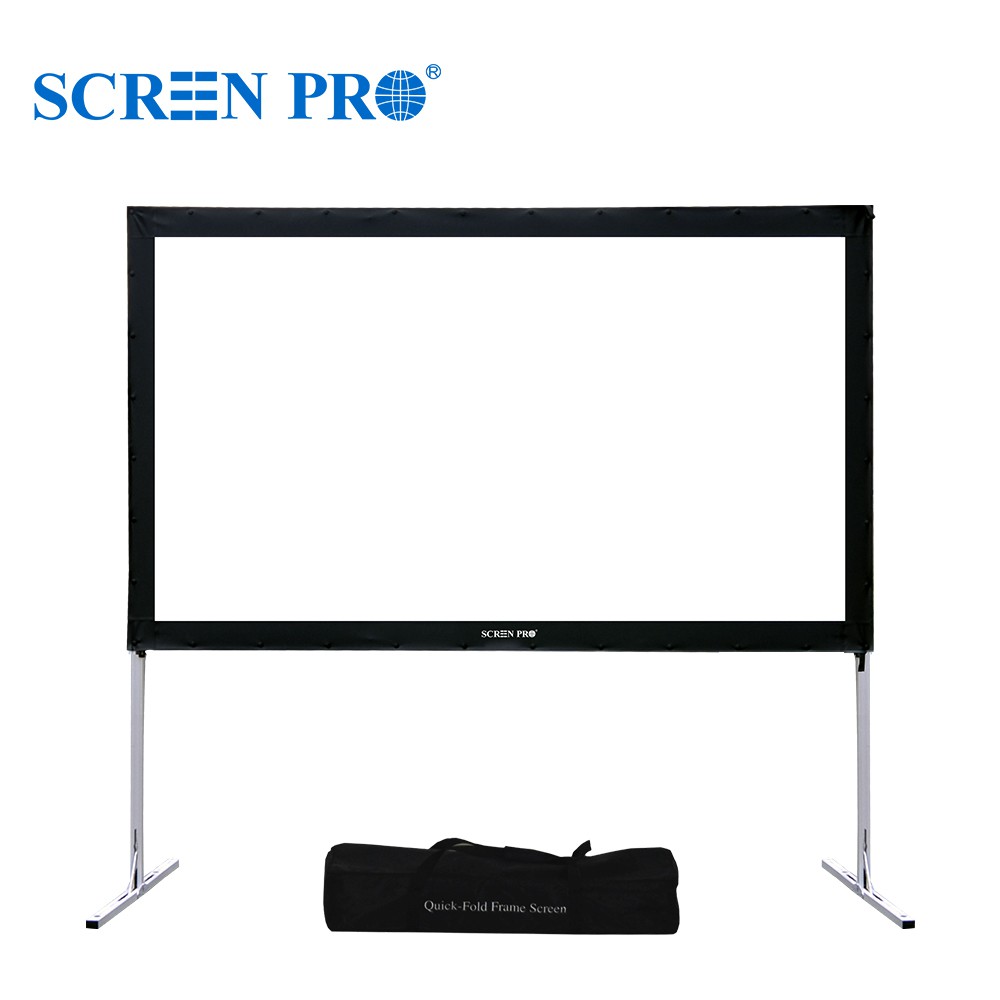
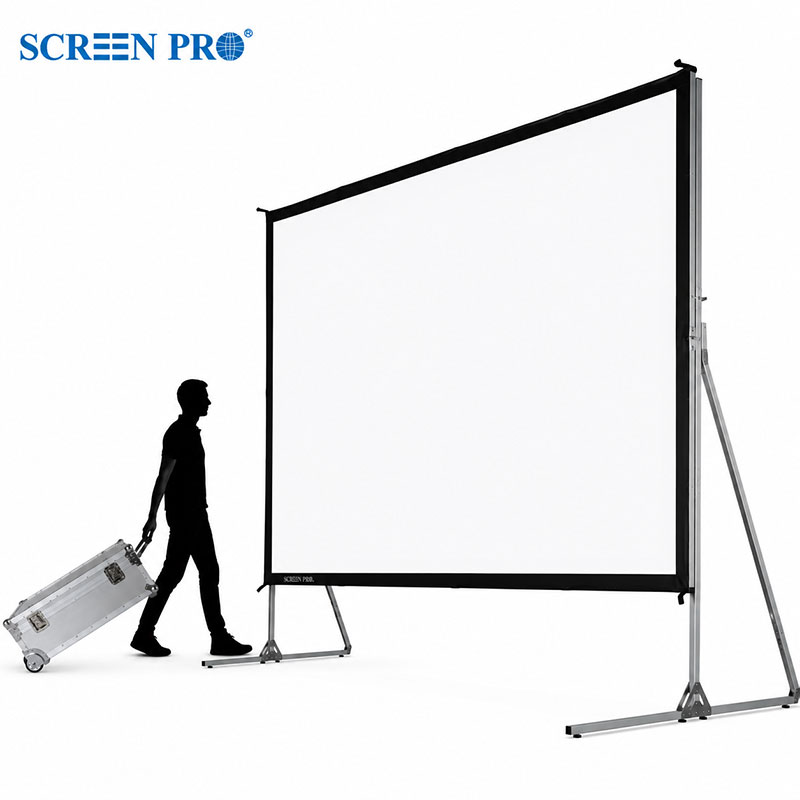
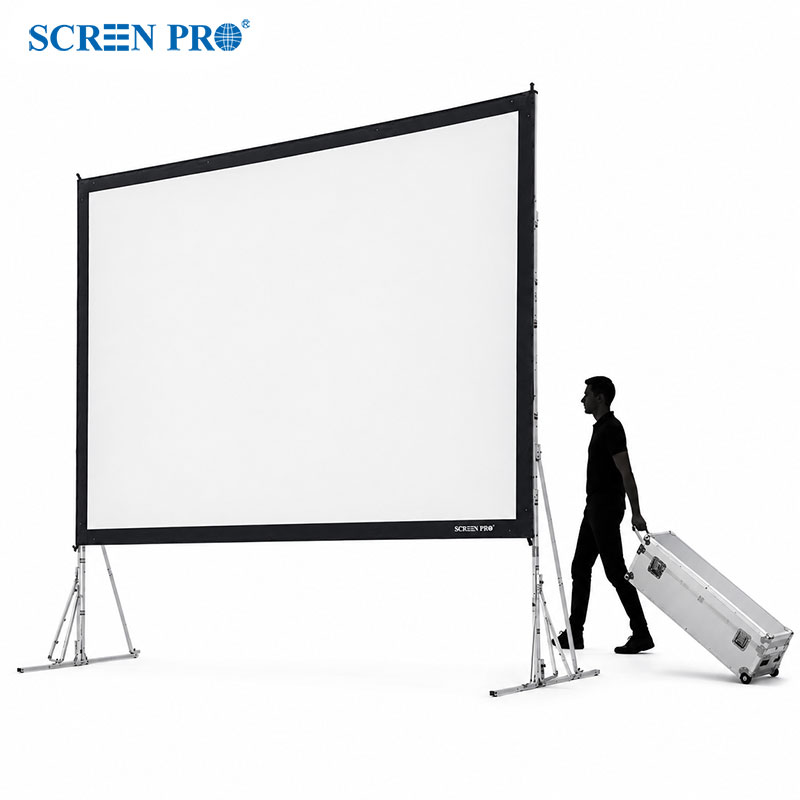
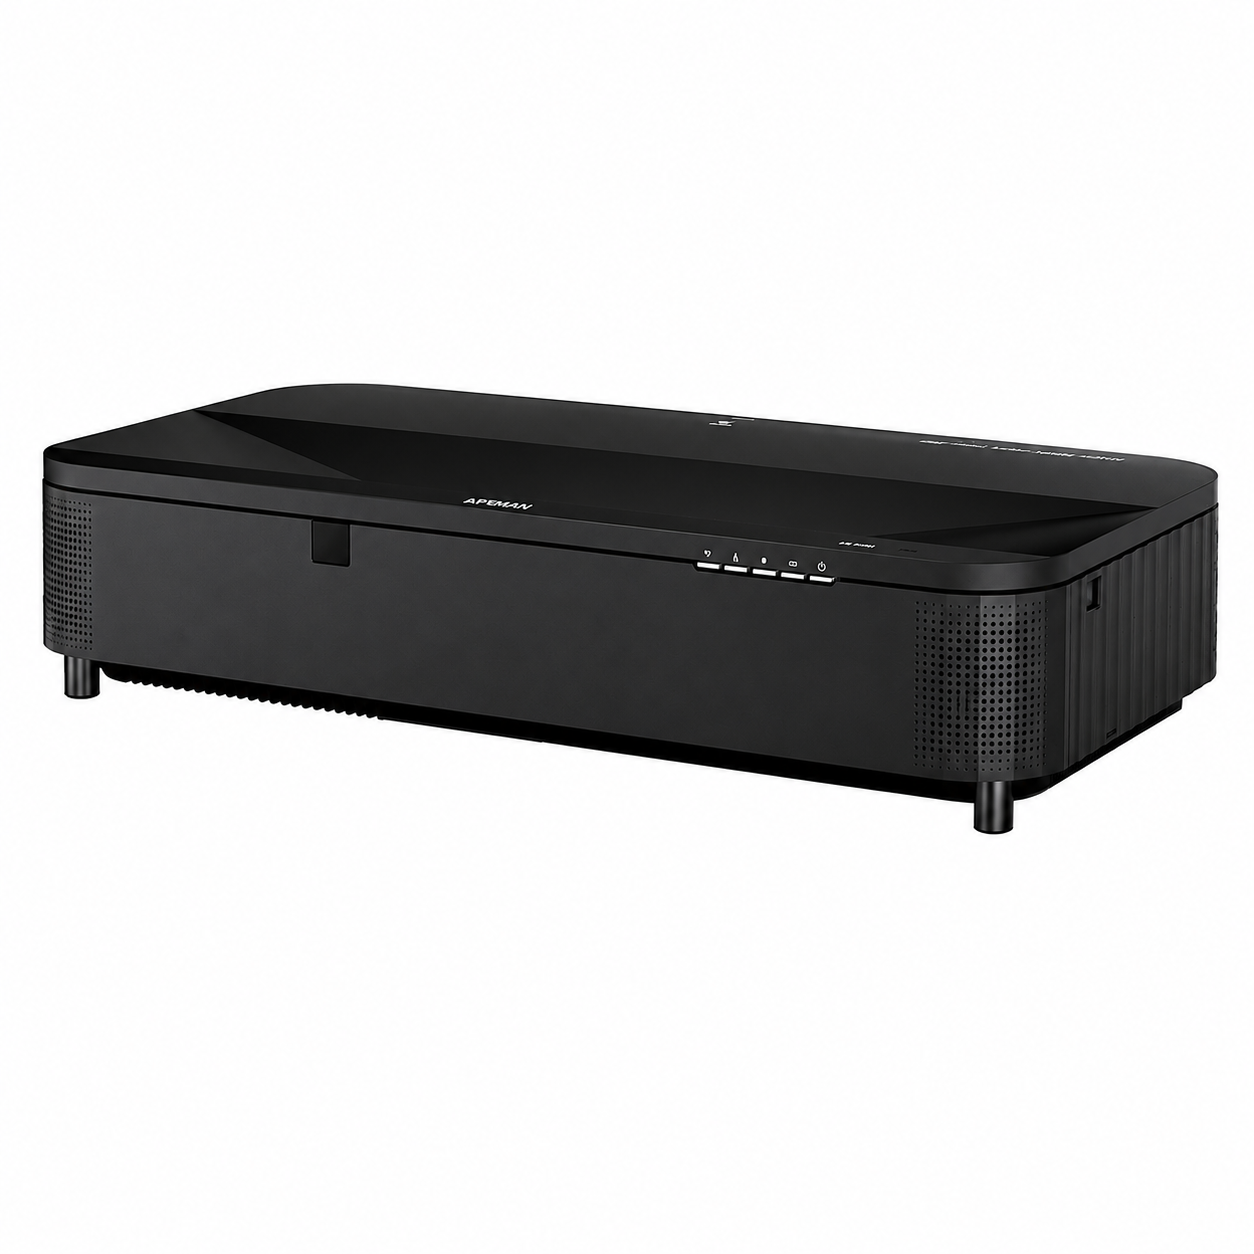
The concept is straightforward: build a cabinet that matches the room, install the Motion Drive Module inside it, place the projector on the moving platform, and integrate a compatible SCREENPRO self-rising projection screen.
Once the operating positions have been configured, the projector platform and projection screen can respond automatically to the projector’s power status.
How the Integrated System Works
Power On the Projector
The projector acts as the starting point of the automated operating sequence.
The MDM Extends
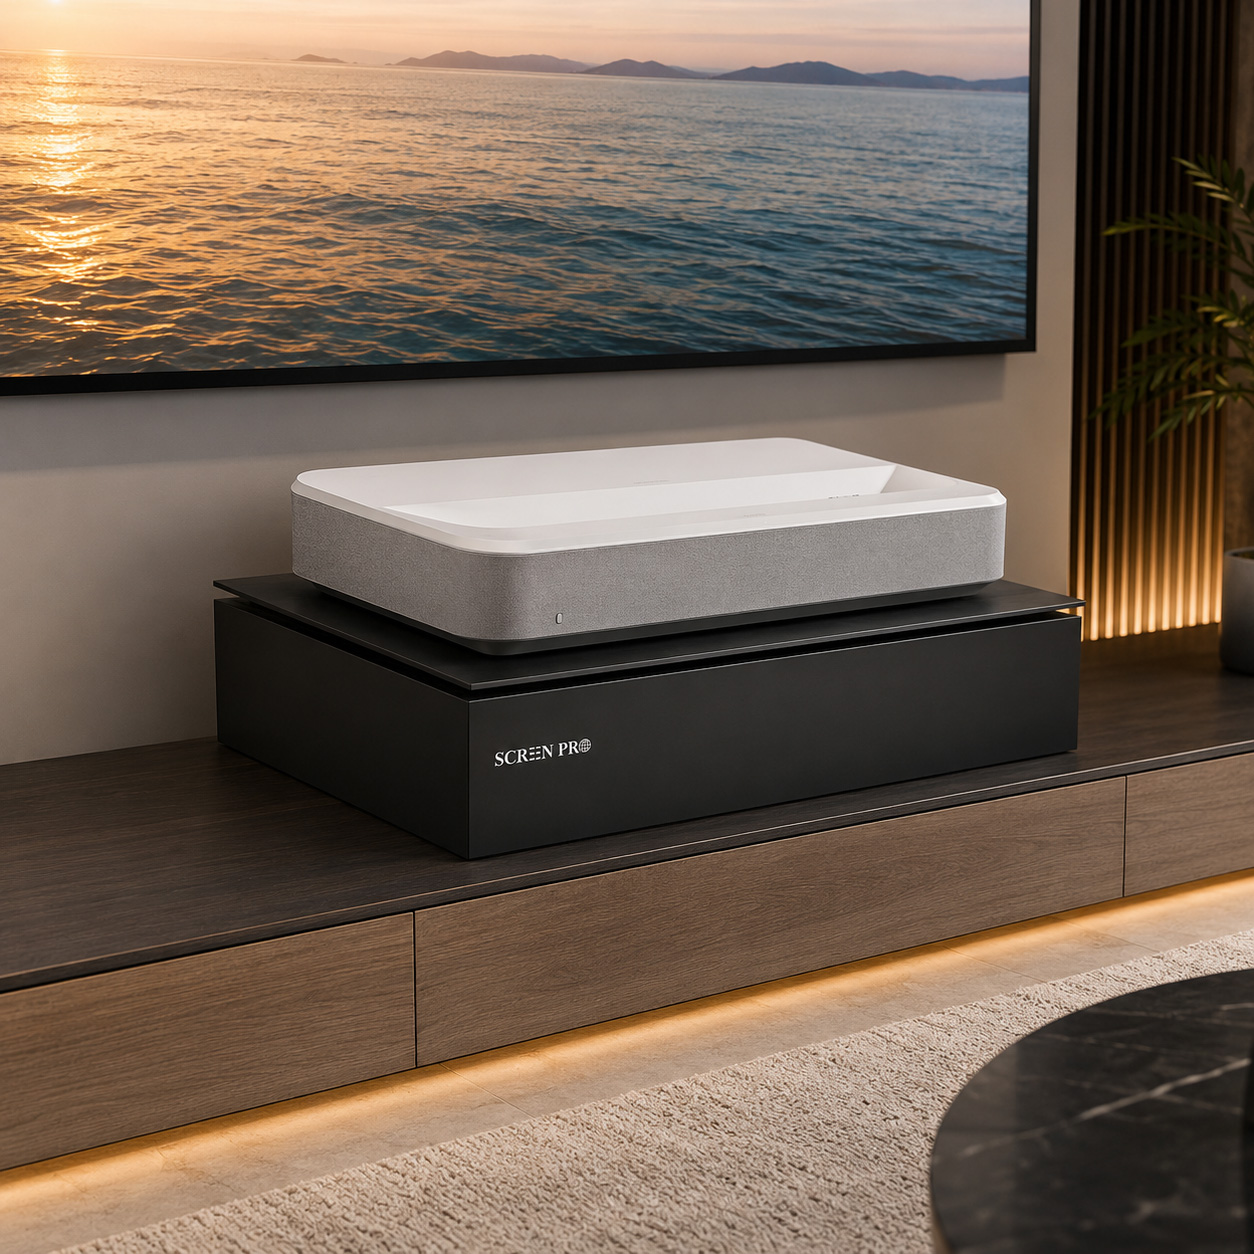
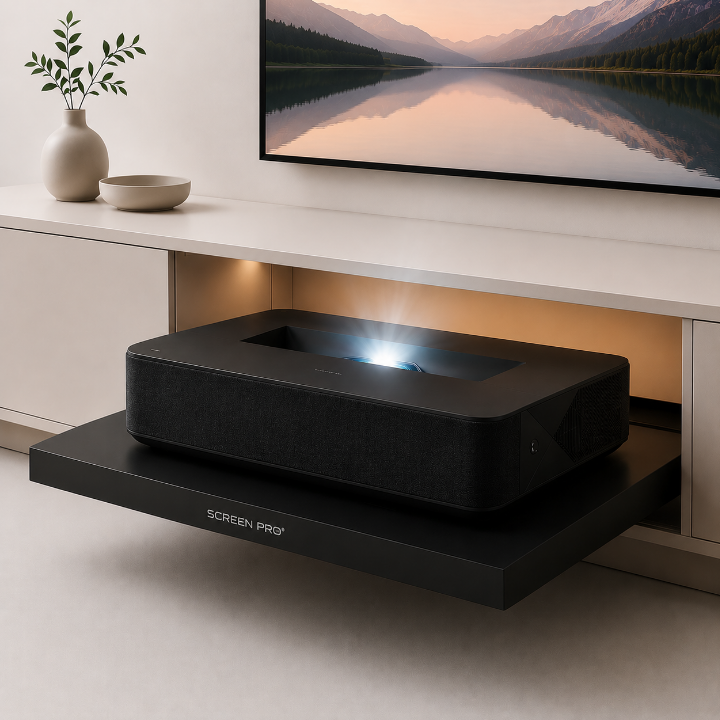
The Motion Drive Module moves the projector to its previously memorized operating position.
The Screen Rises
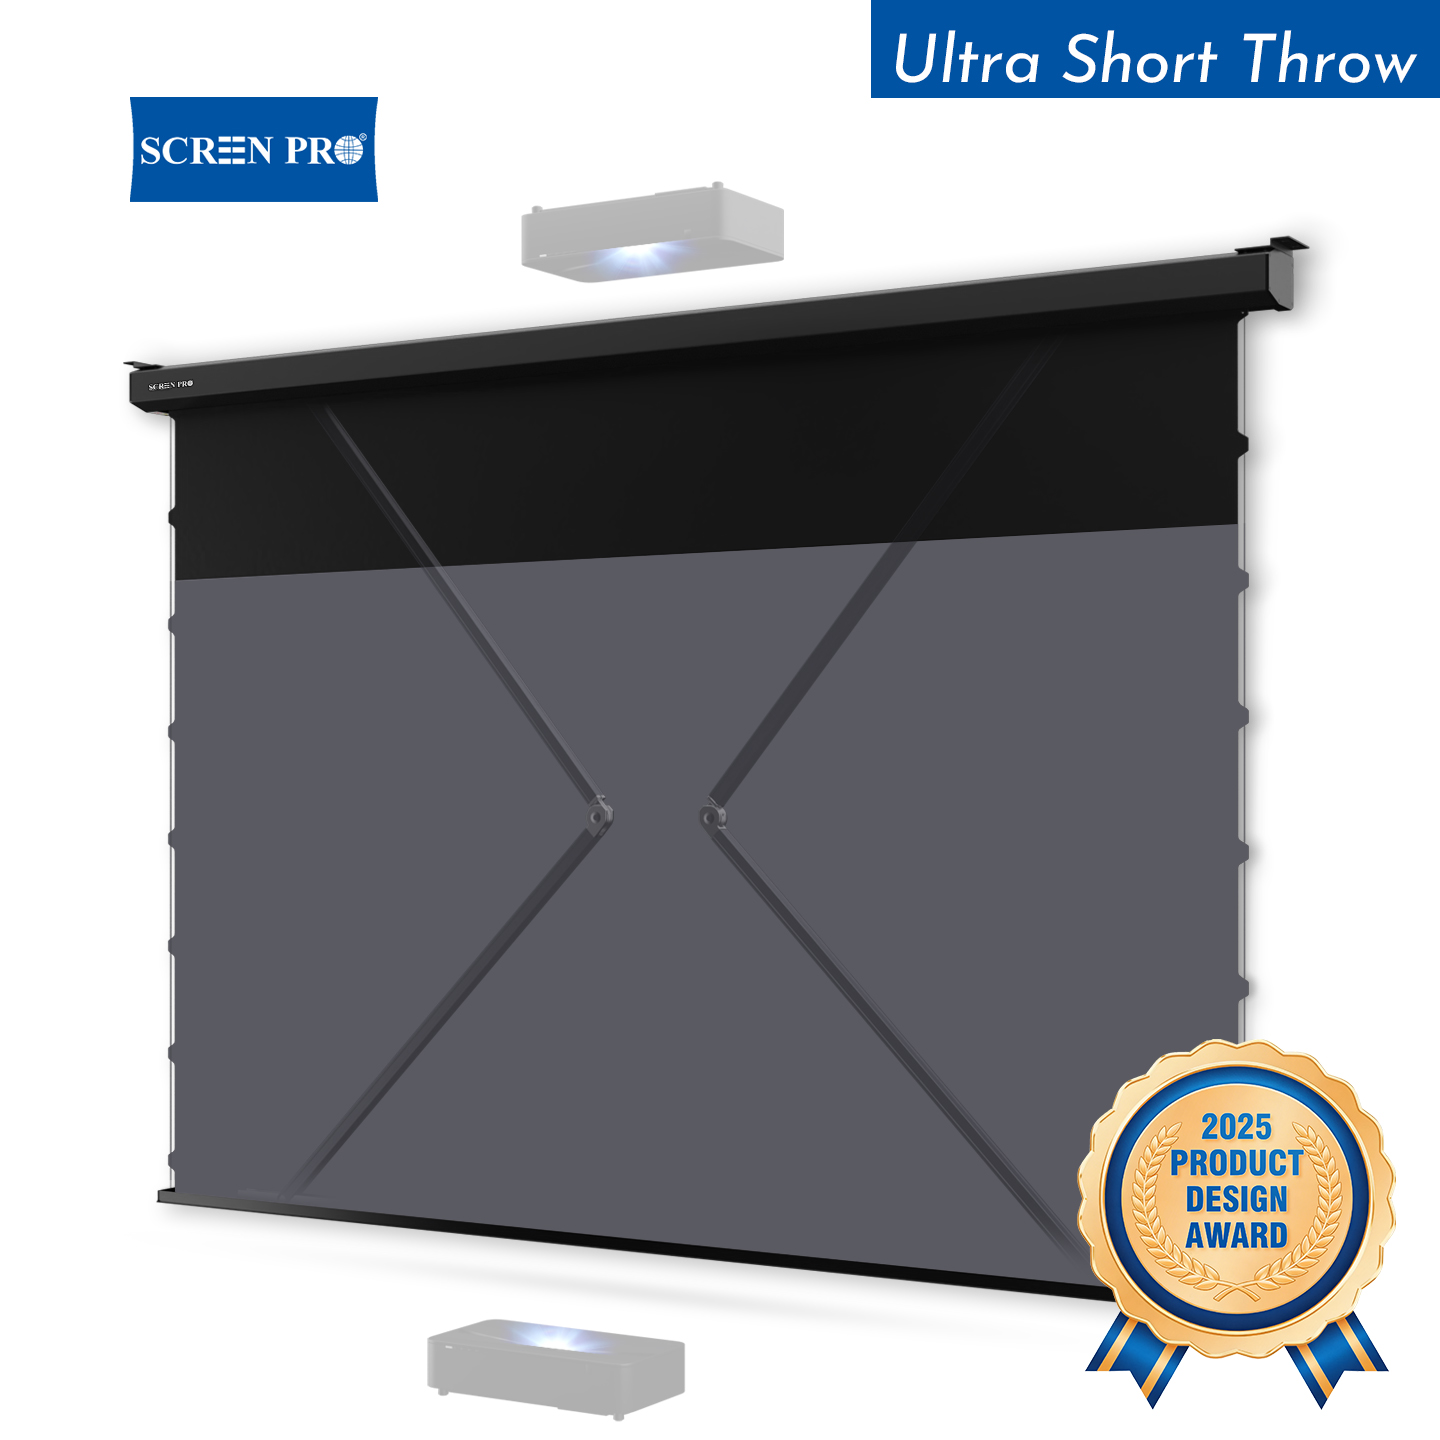
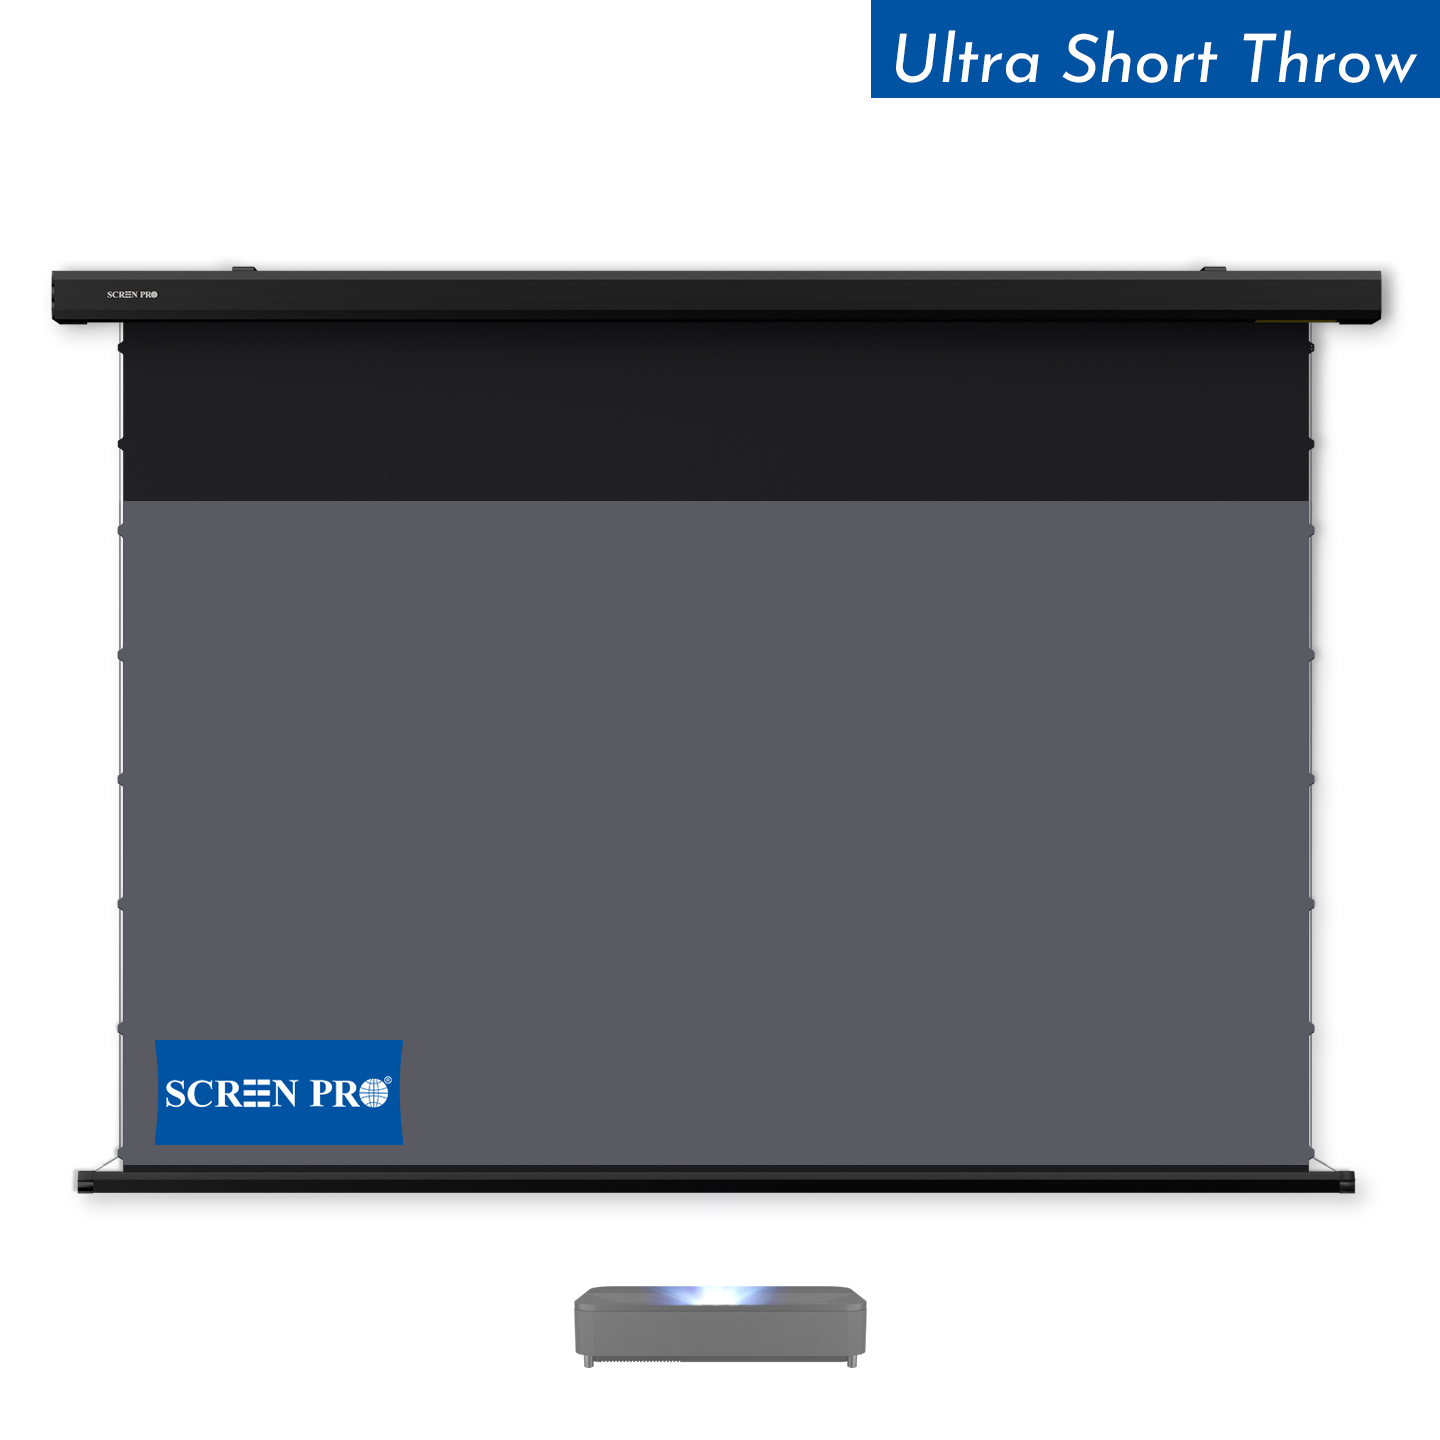
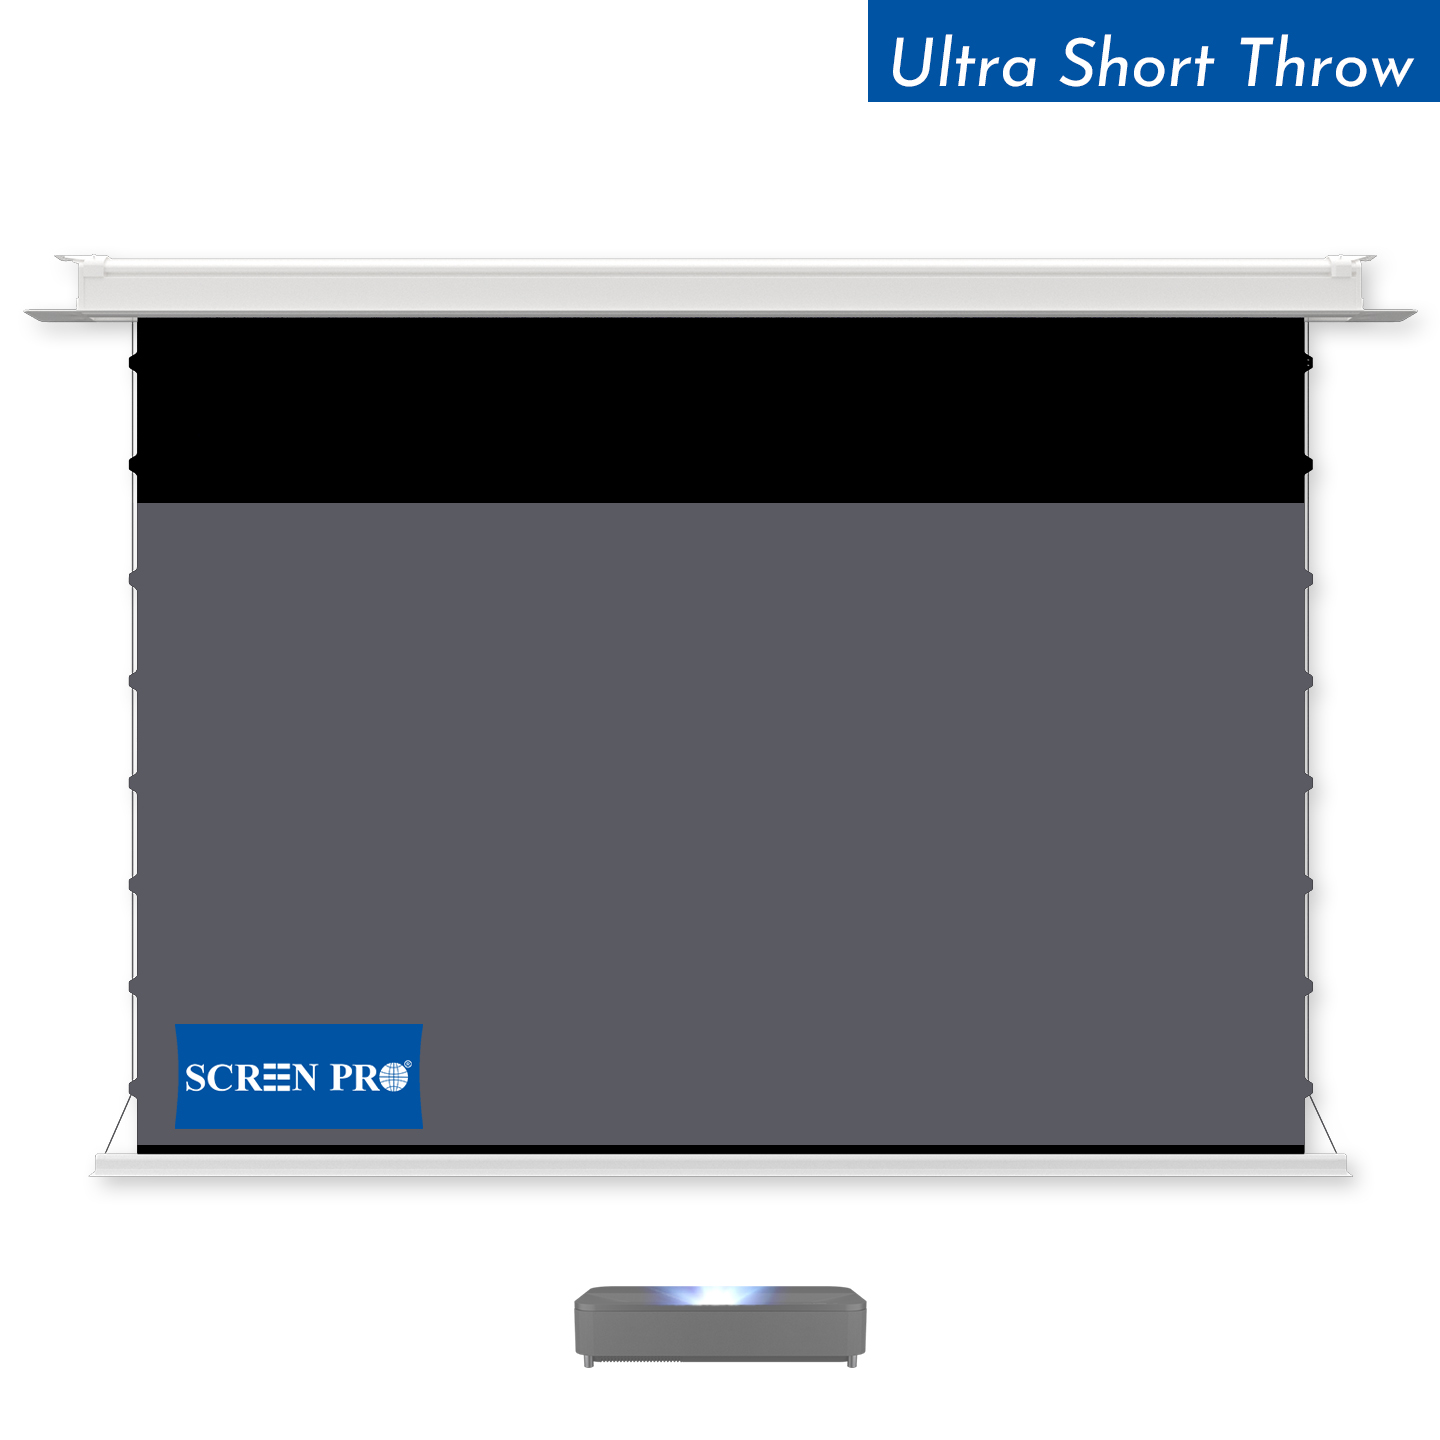
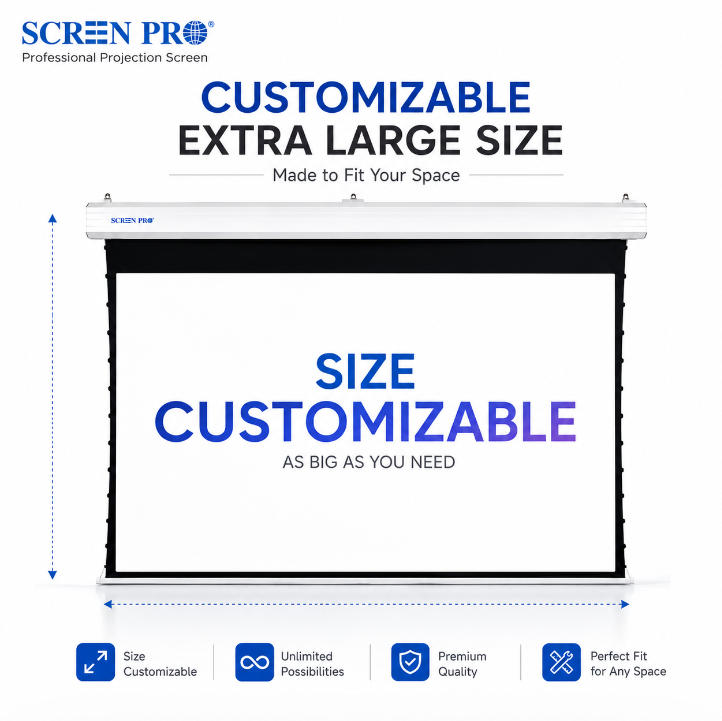
The TBQ Synchronizer detects the projector’s power status and triggers the compatible self-rising screen.
When the projector is powered off, the screen retracts into its housing and the projector platform returns to its concealed storage position inside the cabinet.
After the initial setup, the Motion Drive Module and self-rising screen operate as part of the same automated viewing experience.
The Role of the TBQ Synchronizer
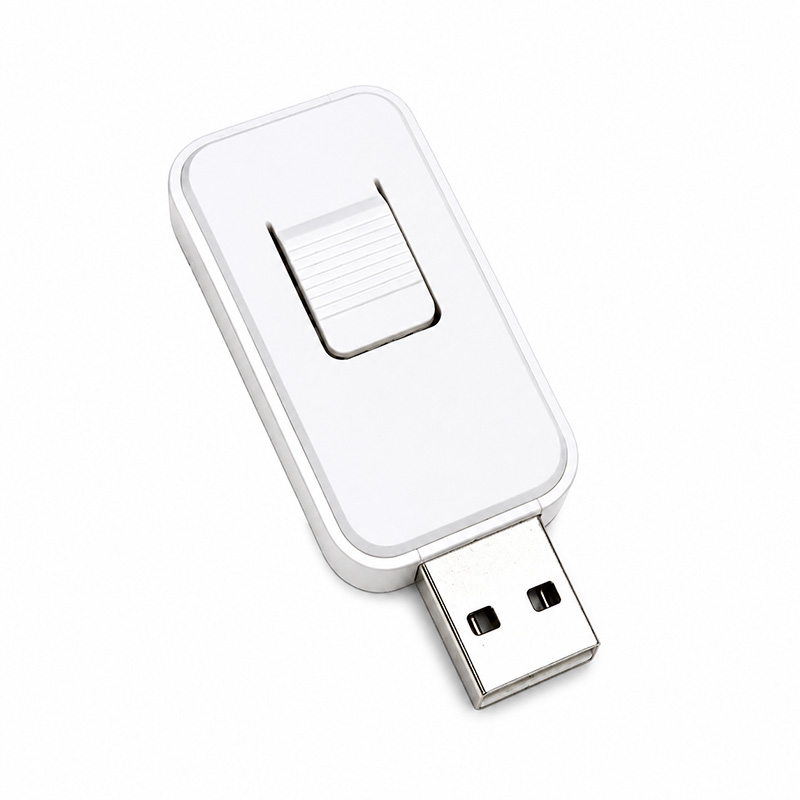
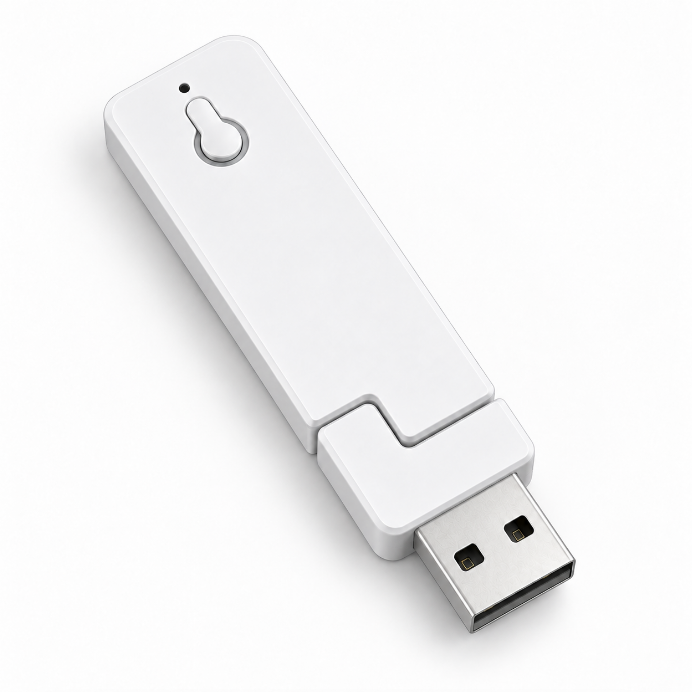
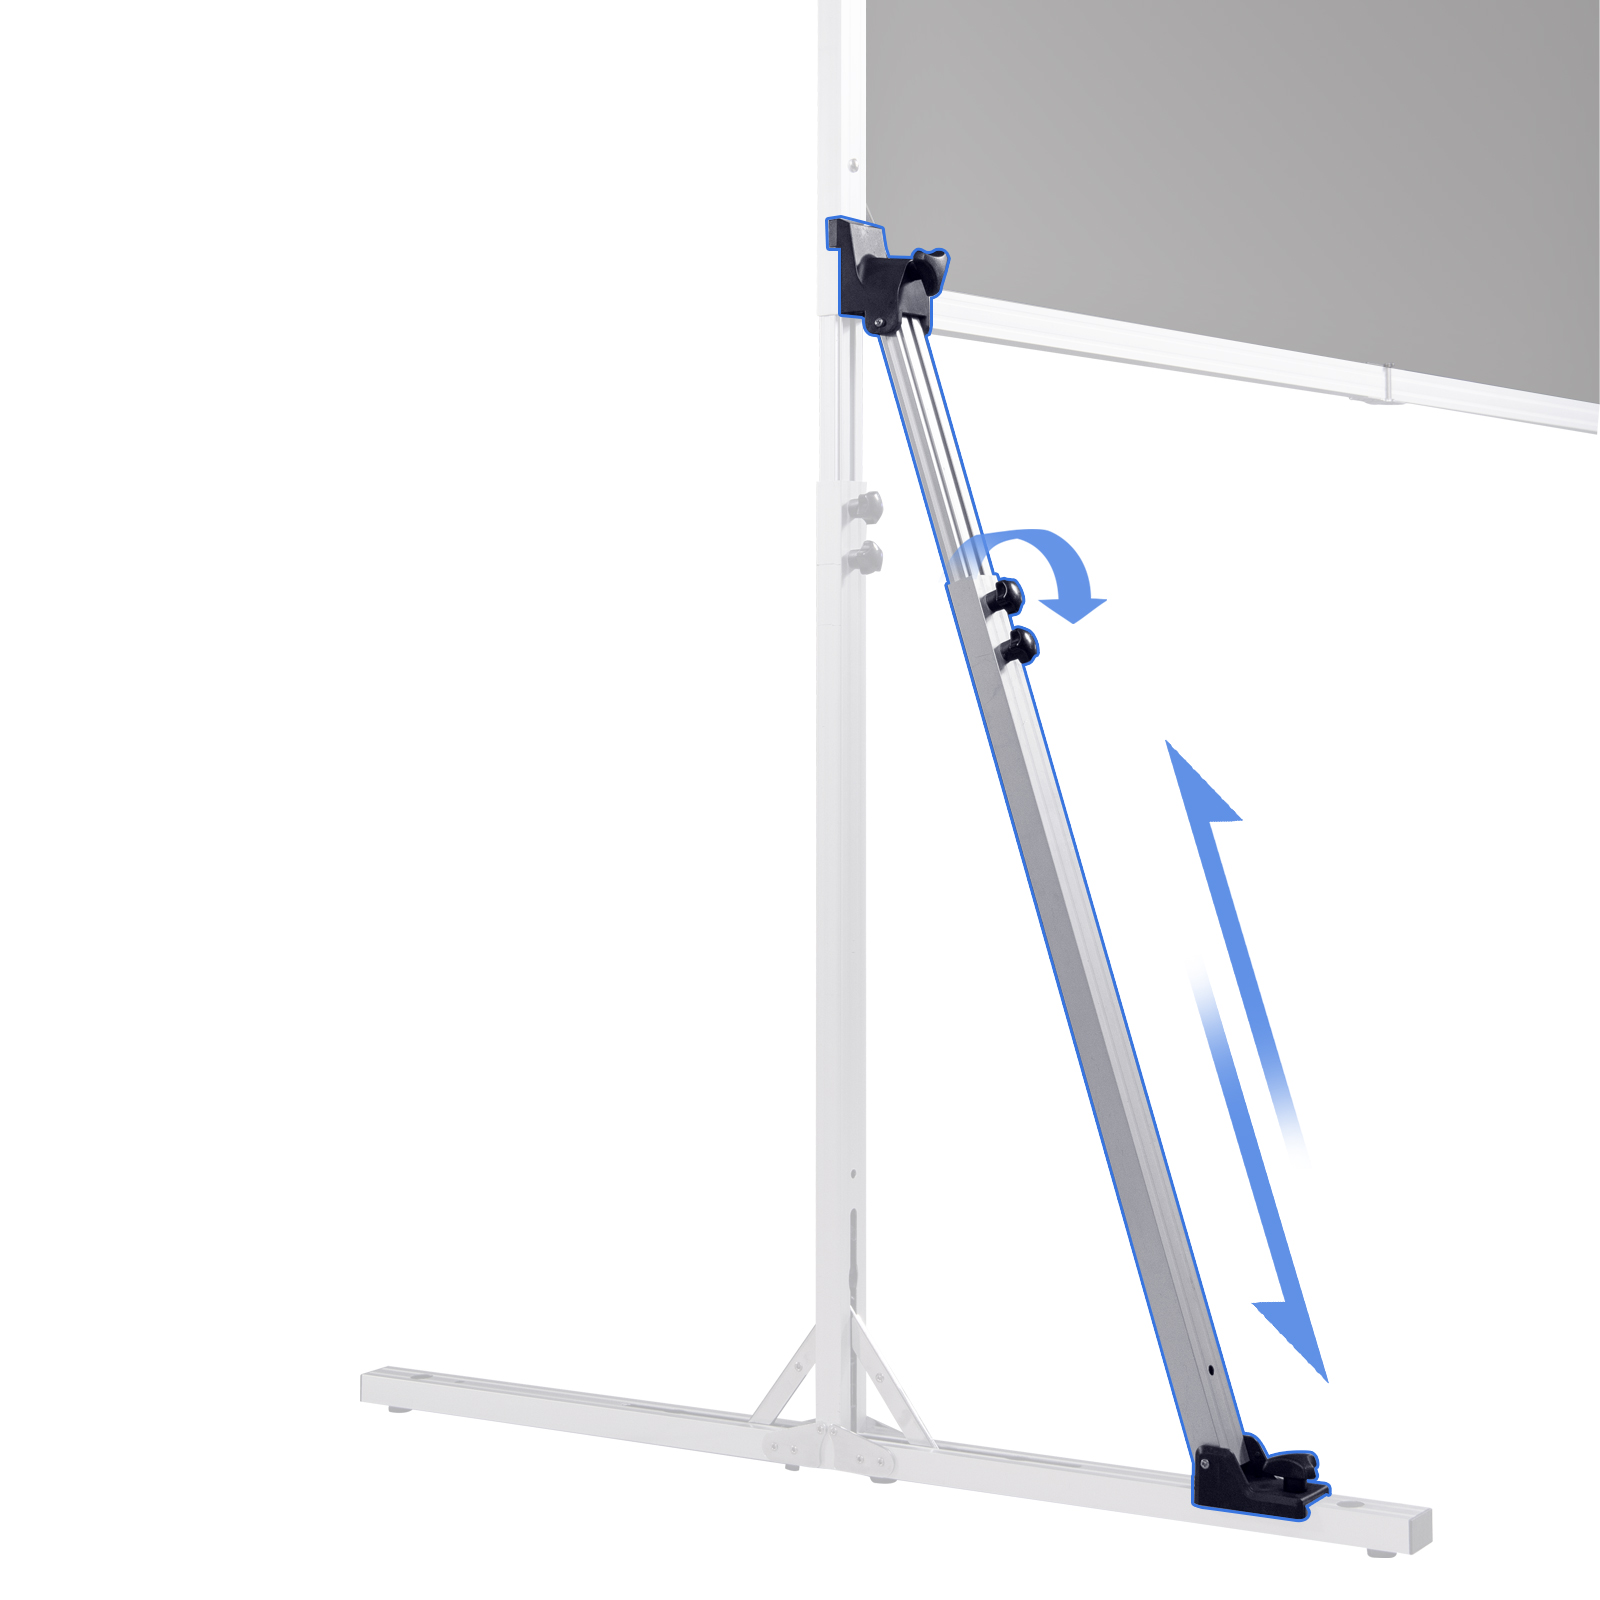
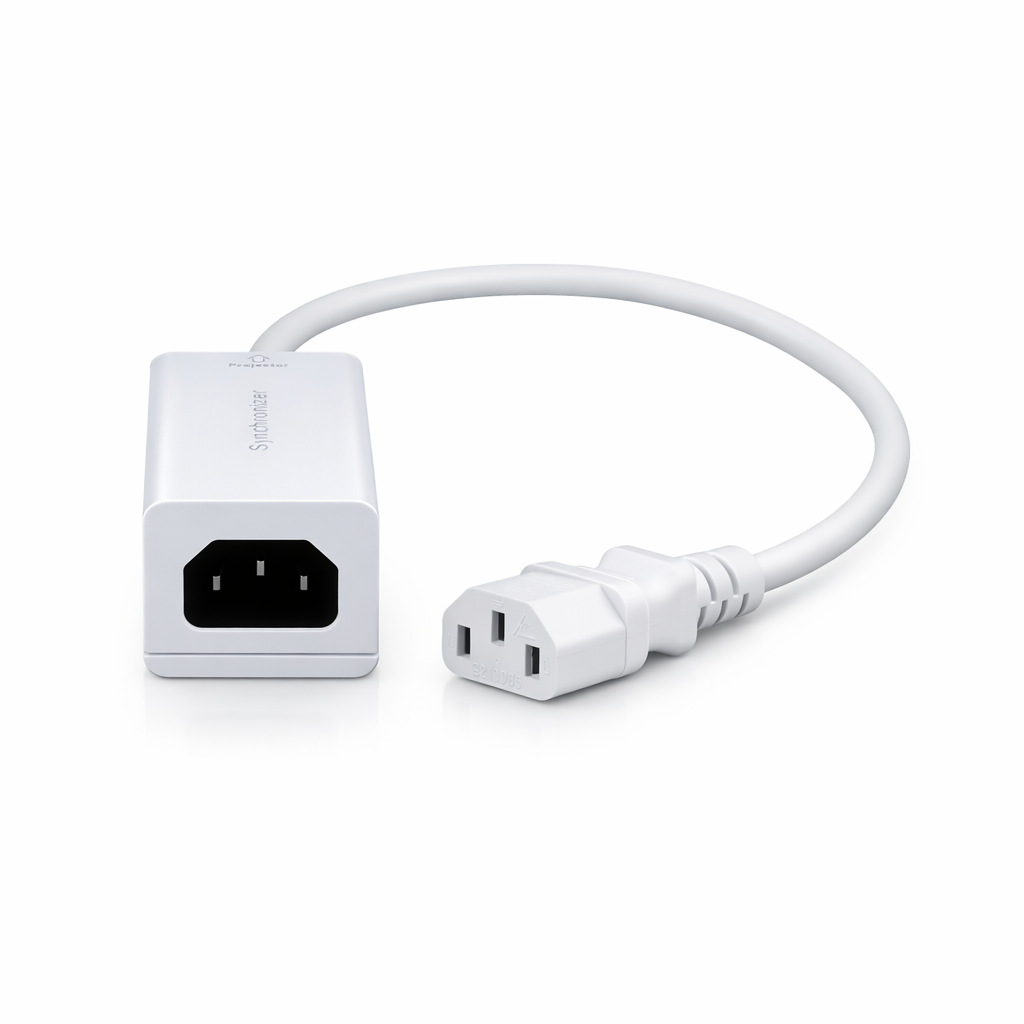
The self-rising screen communicates with the projector through the SCREENPRO® TBQ Synchronizer. The synchronizer monitors the projector’s power status and sends a wireless control signal to the compatible projection screen.
When the projector is switched on, the screen rises automatically. When the projector is switched off, the screen retracts automatically. This allows the projection surface to remain concealed when the system is not in use.
TBQ model selection and screen compatibility depend on the screen series and selected control configuration. Confirm the screen model before ordering.
Setting the Projector Platform Position
The Motion Drive Module uses a memorized operating position so the projector can return to a consistent location whenever the system is activated.
Secure the Motion Drive Module to the cabinet structure and place the projector on the moving platform.
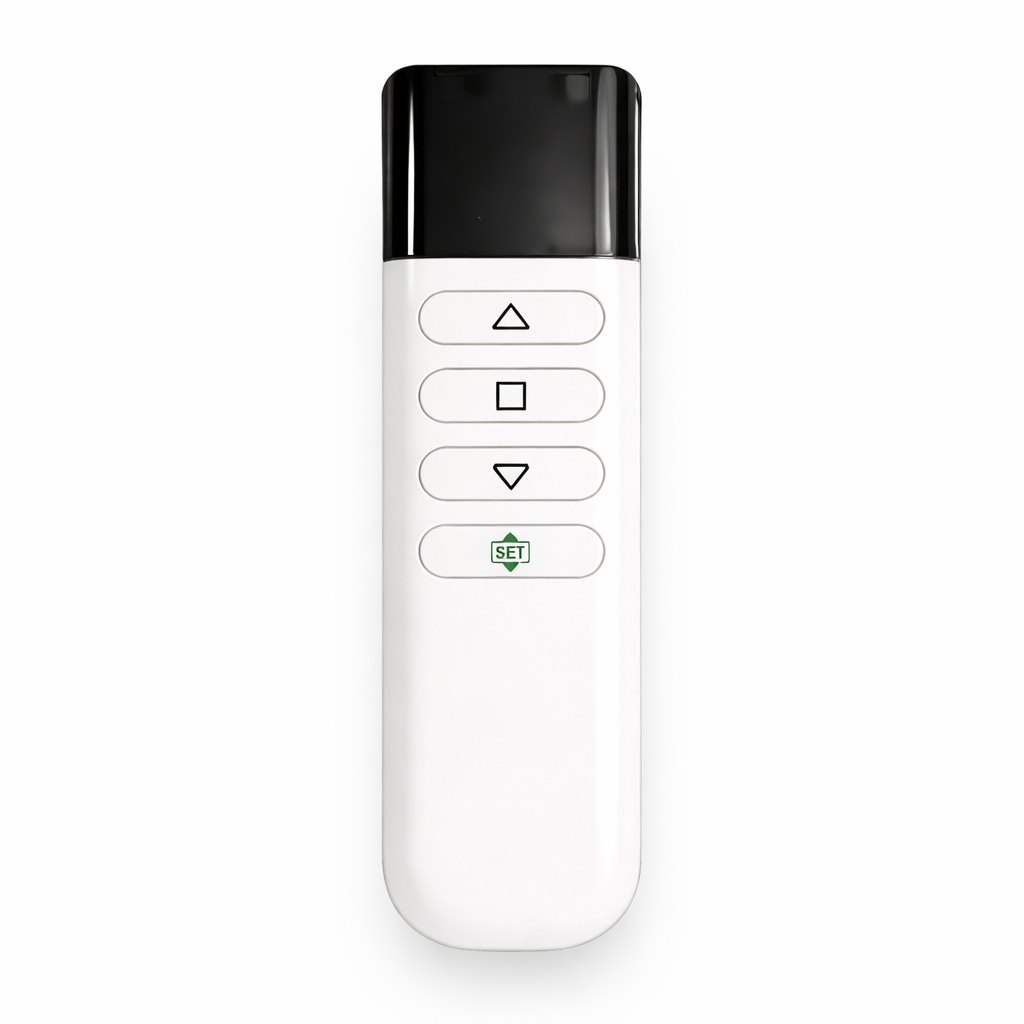
Press and hold the direction button on the remote until the projector reaches the required projection position.
Leave the platform stationary at the selected position for approximately 30 seconds so the operating position can be memorized.
Disconnect and restore power, then confirm that the platform returns to the intended memorized position.
After the initial setup, switching on the projector allows the MDM to move automatically to the saved position. This supports consistent projector placement and reduces repeated manual alignment.
What You Need
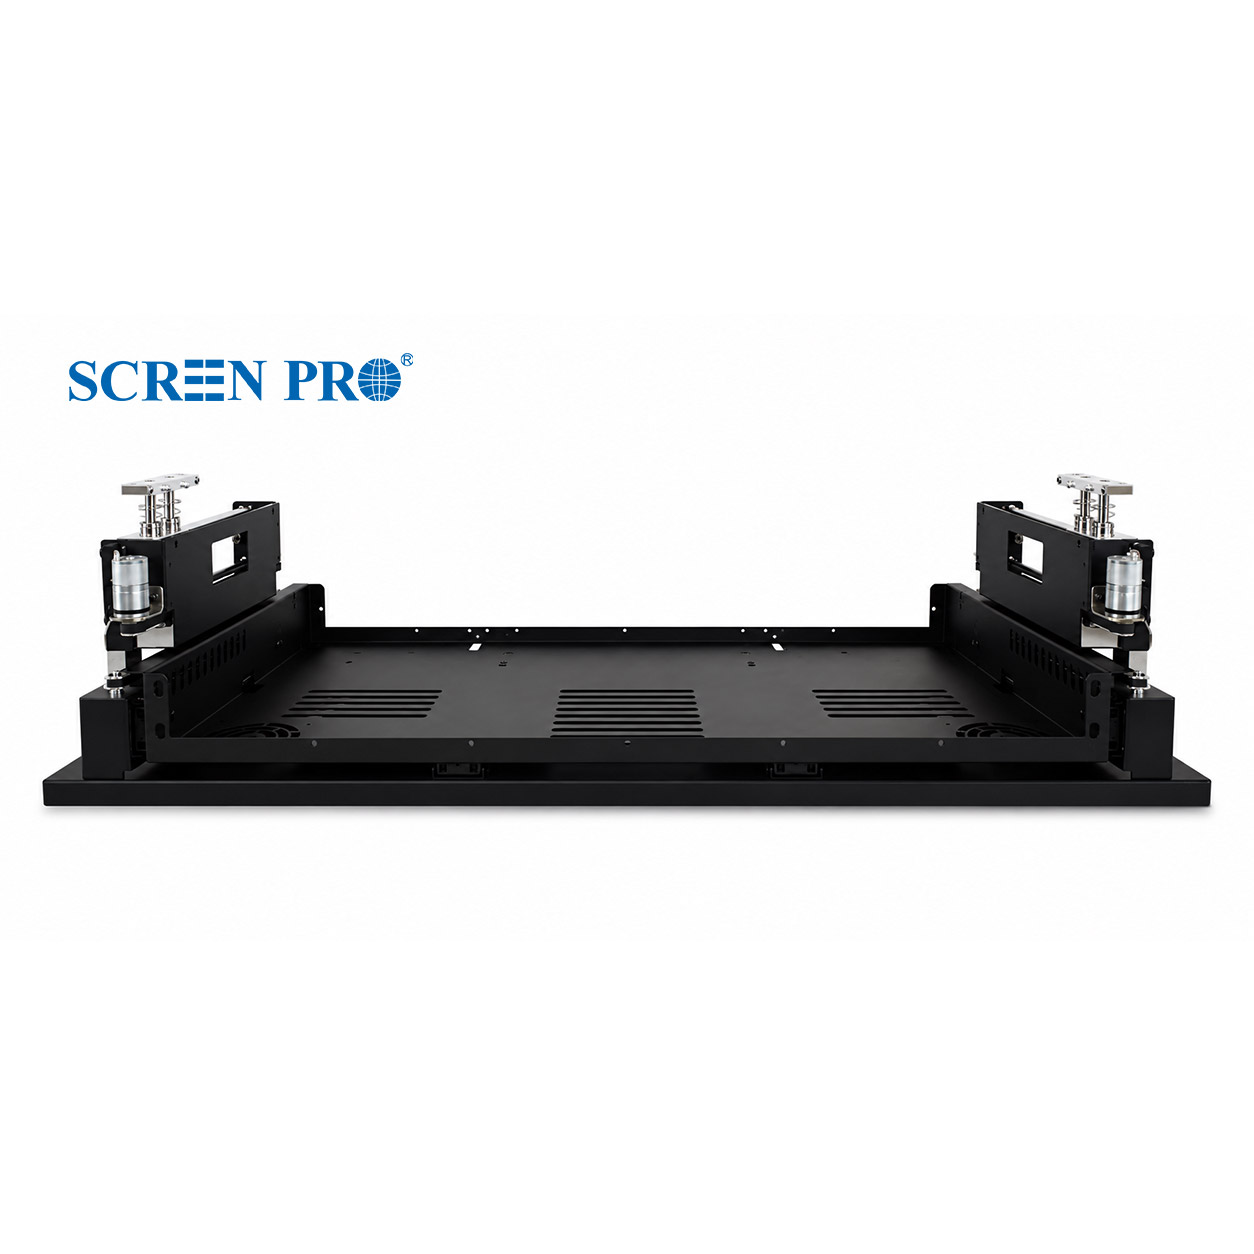
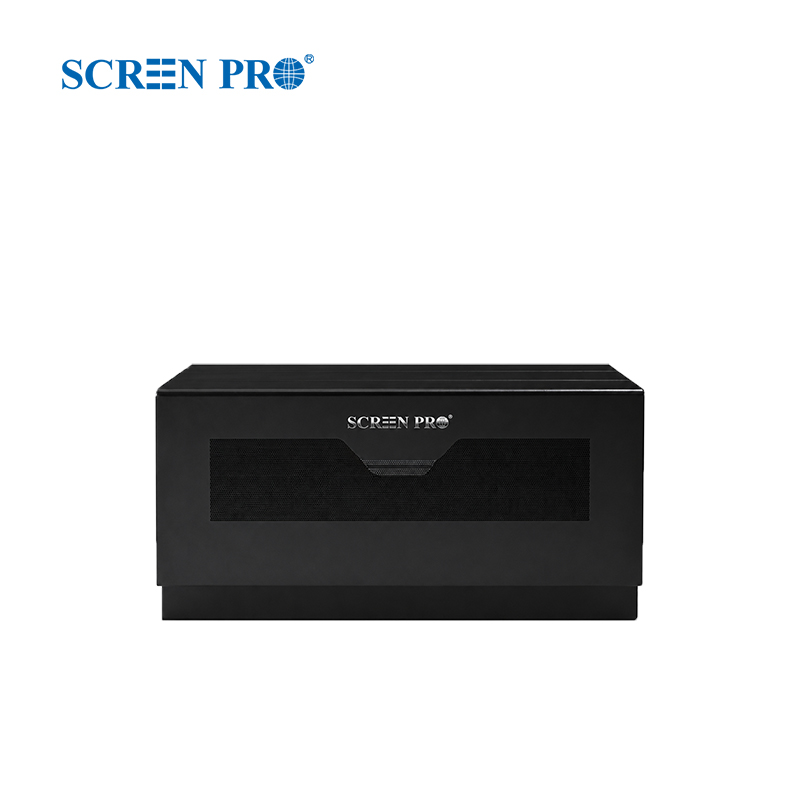
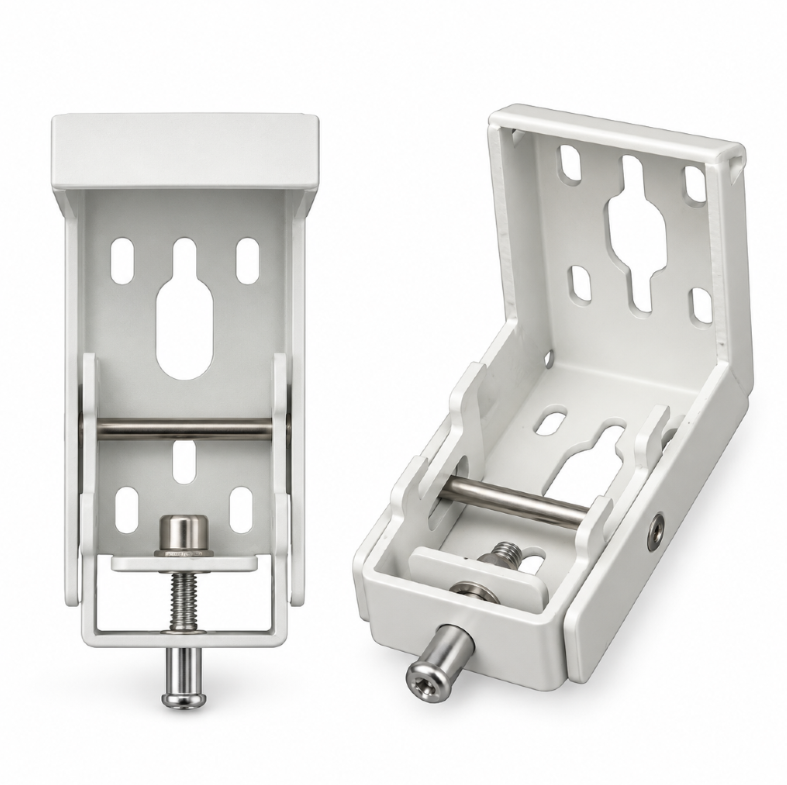
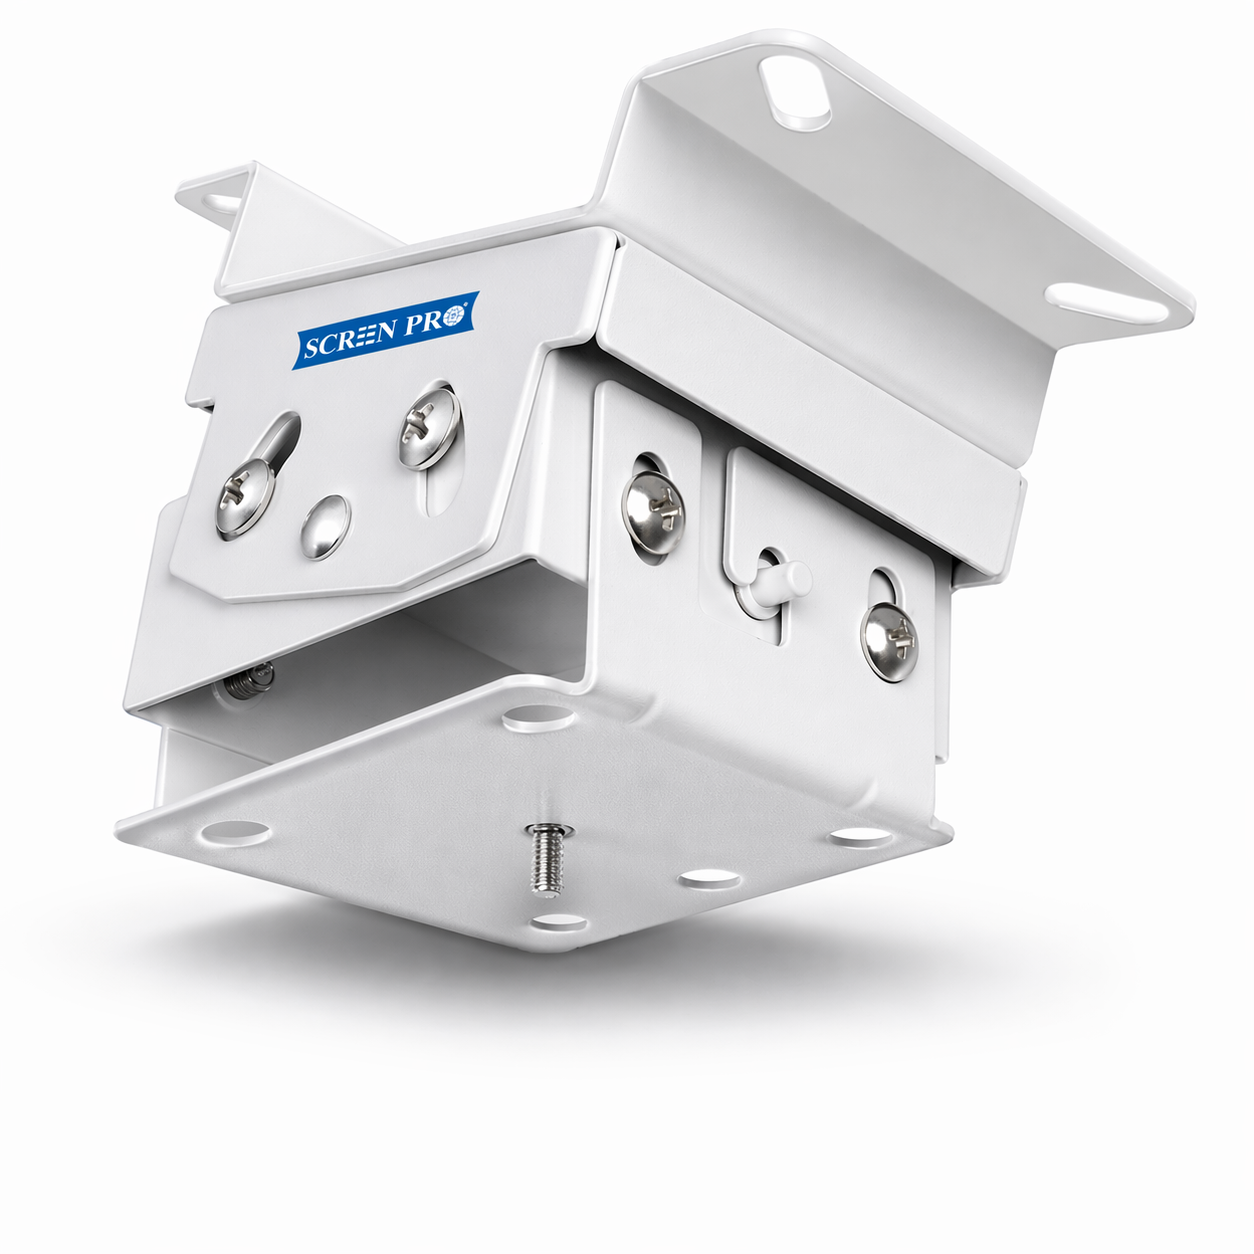
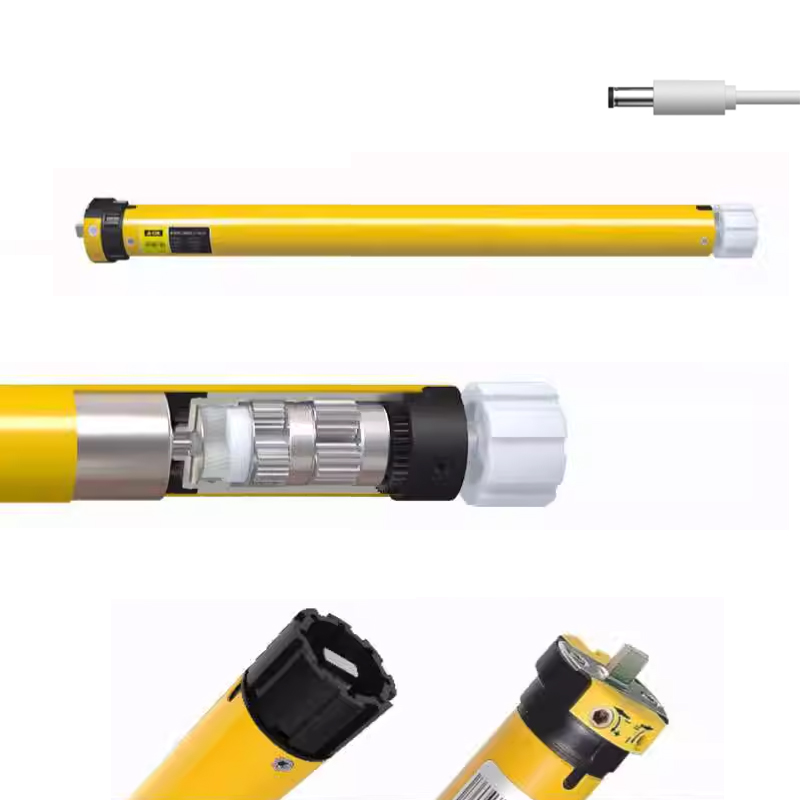
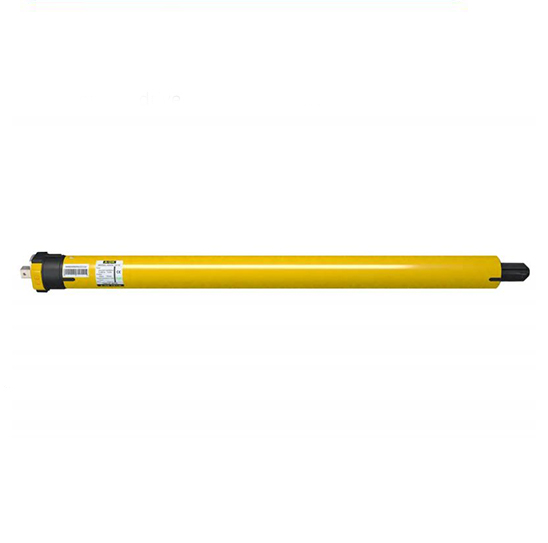
Motion Drive Module
Moves the projector between its concealed storage position and its memorized operating position inside the cabinet.
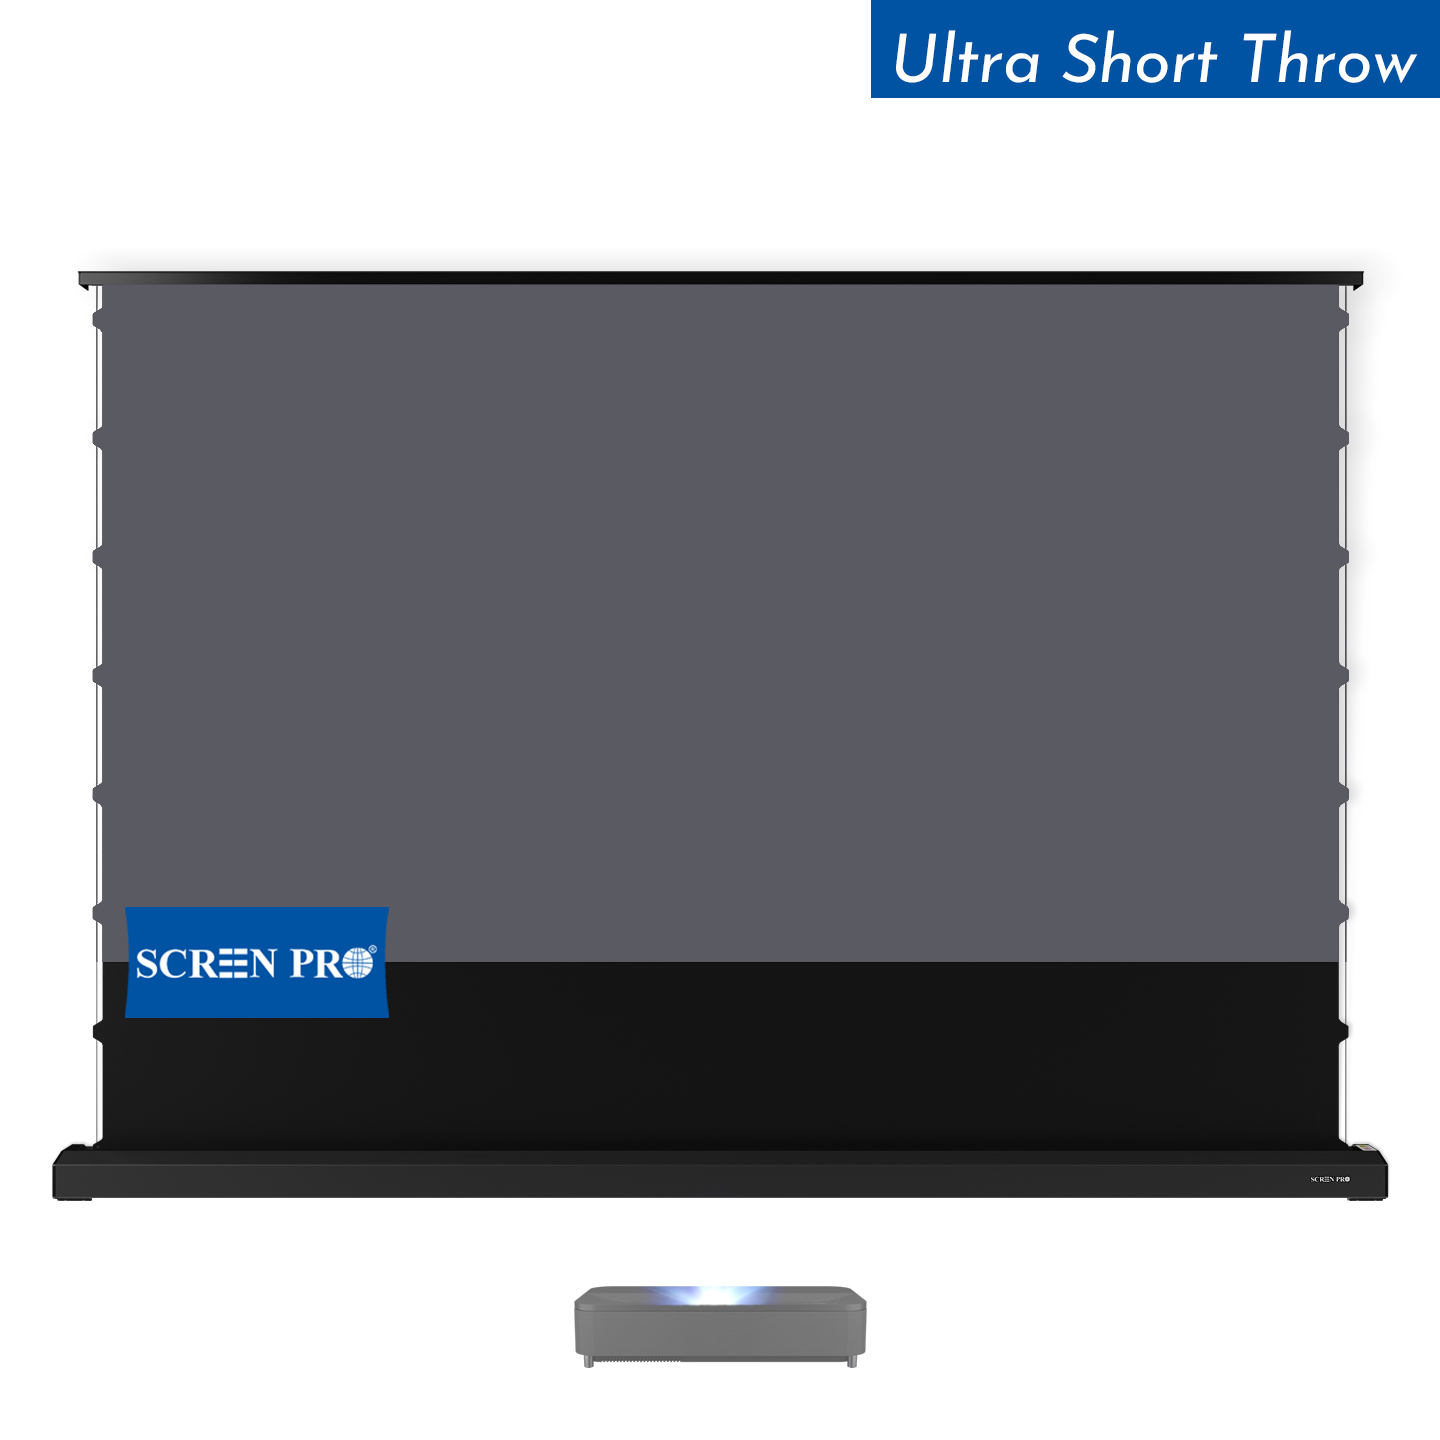
Custom Cabinet
Provides the exterior design, structural support, ventilation, service access and concealed installation space for the complete system.
Why Choose a DIY Integrated Cabinet?
- Match the cabinet dimensions to the available installation space.
- Select exterior materials and finishes that complement the room.
- Keep the projector and screen concealed when they are not in use.
- Create a cleaner living-room installation without permanently exposing AV equipment.
- Allow furniture manufacturers and AV integrators to create their own cabinet designs around modular motion components.
- Maintain repeatable projector positioning through the saved operating position.
Important Cabinet Design Considerations
The cabinet should be designed around the actual dimensions of the projector, Motion Drive Module and screen housing. Adequate space must be allowed for the complete movement path of every component.
- Provide sufficient internal width, depth and height for the projector and motion module.
- Confirm that doors, drawer fronts and cabinet panels do not obstruct the platform during movement.
- Allow suitable ventilation around the projector.
- Provide access for power connections, servicing and initial position adjustment.
- Ensure the cabinet structure can support the combined weight of the projector, motion system and projection screen.
- Complete projector alignment and full-movement testing before finalizing the cabinet openings and exterior panels.
Confirm the projector model, screen size, throw distance, platform travel and ventilation requirements before the cabinet enters final production.
Who Is This Solution For?
This modular integration concept is especially suitable for:
- DIY Laser TV and home theater projects
- Custom furniture manufacturers
- Home cinema designers
- AV installers and system integrators
- Interior designers working on media-room projects
- Residential automation and smart-home projects
It provides a practical way to combine customized furniture with automated projection hardware without limiting the project to one preconfigured cabinet design.
Prefer a Ready-Made Solution?
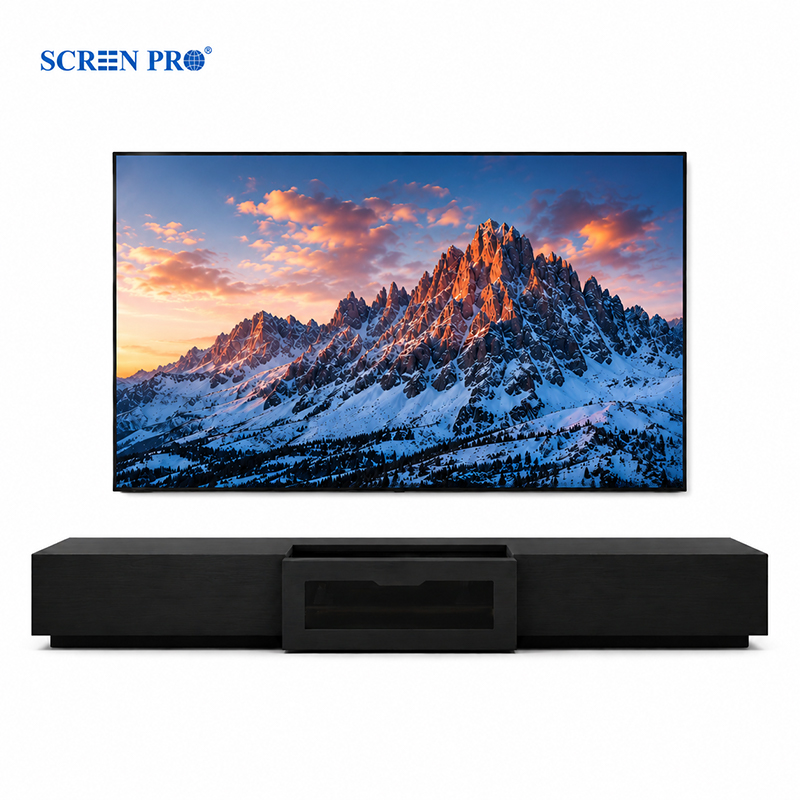
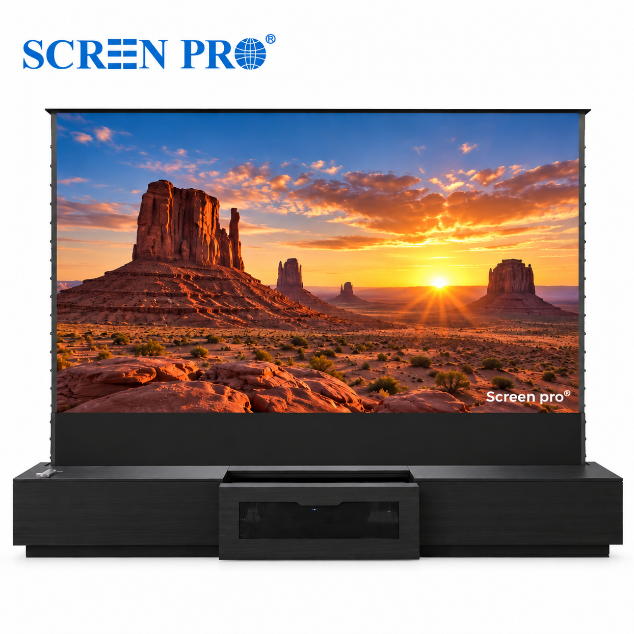
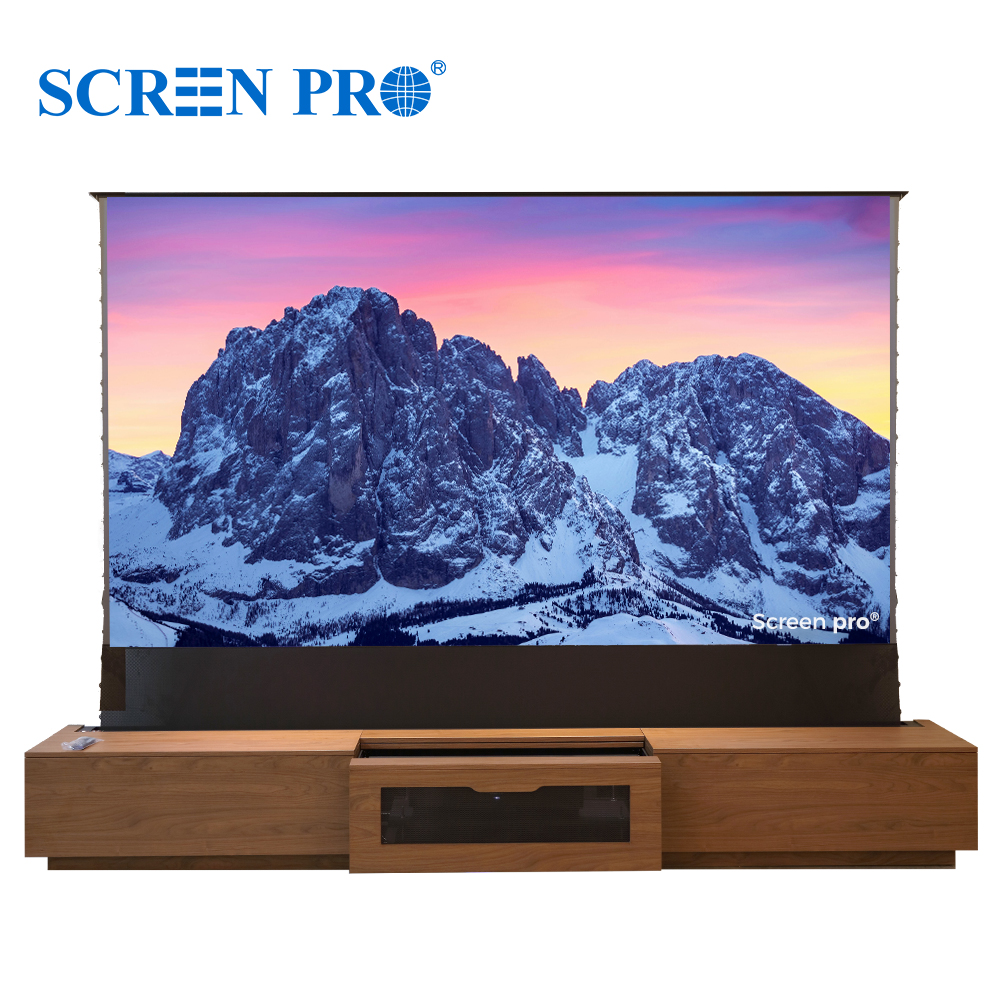
If you prefer not to design and build a custom cabinet, the SCREENPRO® CD Series provides a complete motorized Laser TV cabinet system for compatible ultra-short-throw projectors and SCREENPRO floor-rising UST ALR screens.
Its integrated motorized projector tray, concealed equipment storage and coordinated projector-and-screen operation reduce the cabinet engineering and component integration required for a DIY installation.
- Complete furniture-integrated Laser TV cabinet system
- Built-in motorized projector tray with automatic positioning
- Designed for compatible SCREENPRO floor-rising UST ALR screens
- Conceals the projector and screen when the system is not in use
- Walnut, matte black and matte white finishes available
The CD Series is made to order. Confirm the projector model, cabinet configuration, screen size and selected finish before production begins. Projector not included.
Best when you want full control over cabinet dimensions, materials, finishes and furniture design.
Best when you prefer a coordinated, furniture-ready system with less cabinet engineering and installation planning.
Frequently Asked Questions
Can the projector platform and self-rising screen operate together?
Is an additional controller required for the screen?
How is the projector extension position set?
Can I use my own cabinet design?
Is there a complete cabinet option if I do not want a DIY installation?
Should the cabinet be built before selecting the projector?
Build It Your Way. Automate It with SCREENPRO®.
Choose a modular DIY integration or a complete CD Series cabinet to create a cleaner, smarter Laser TV installation.
Discuss Your Project