





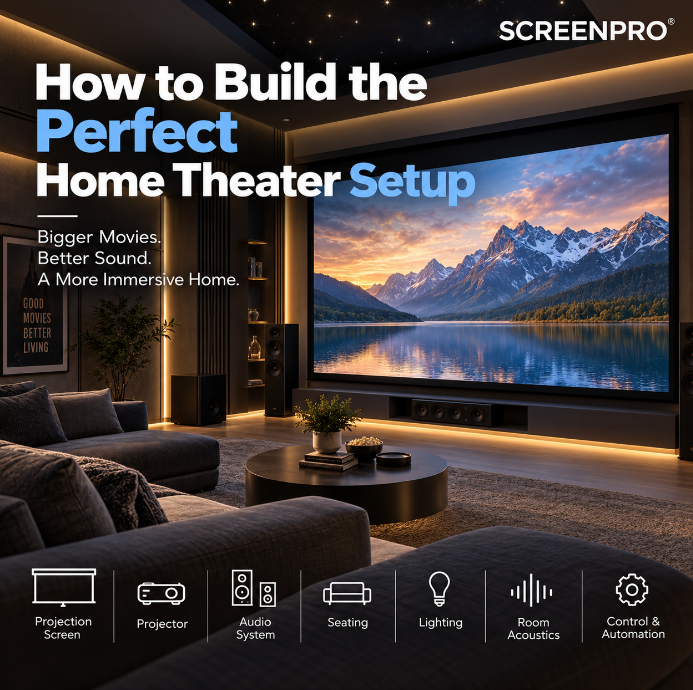
How to Build the Perfect Home Theater Setup
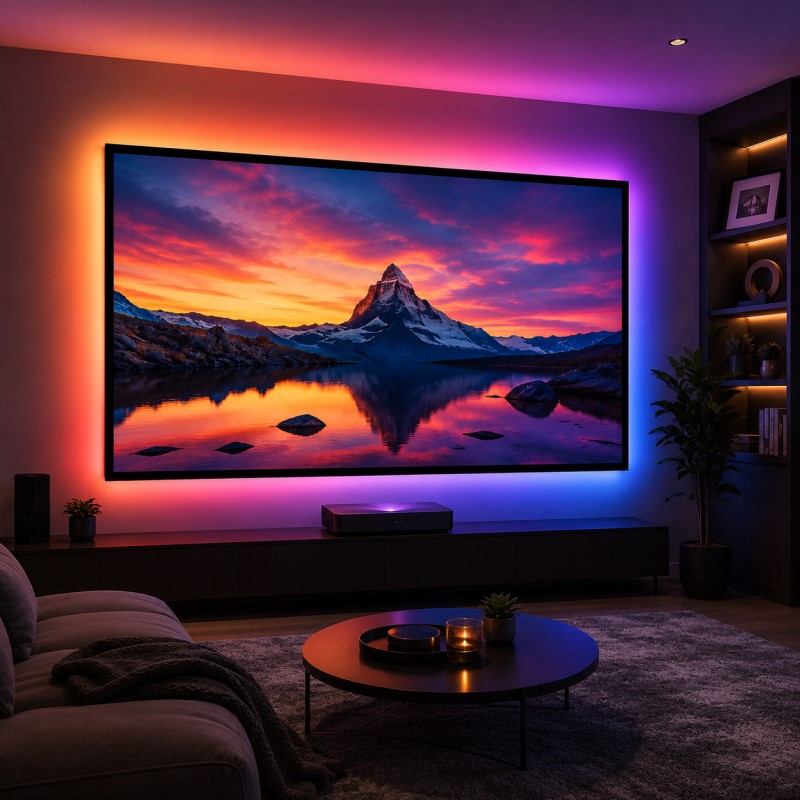
A great home theater is not created by simply buying the biggest projector or the largest screen. The best systems are designed as a complete environment where the projector, projection screen, audio system, room lighting, seating and control system all work together.
Whether you are converting a spare room into a dedicated cinema or upgrading a living room into a high-performance entertainment space, this guide explains how to plan a home theater setup from the screen outward.
If you are still comparing different screen materials, structures and installation methods, start with our Ultimate Projector Screen Buying Guide .
Start with the room, viewing position and screen size first. Then choose the projector, audio system and installation method around those dimensions.
The 7 Core Parts of a Home Theater System
Projection Screen
Determines image size, contrast, viewing angle and how well the image performs under the room's lighting conditions.
Projector
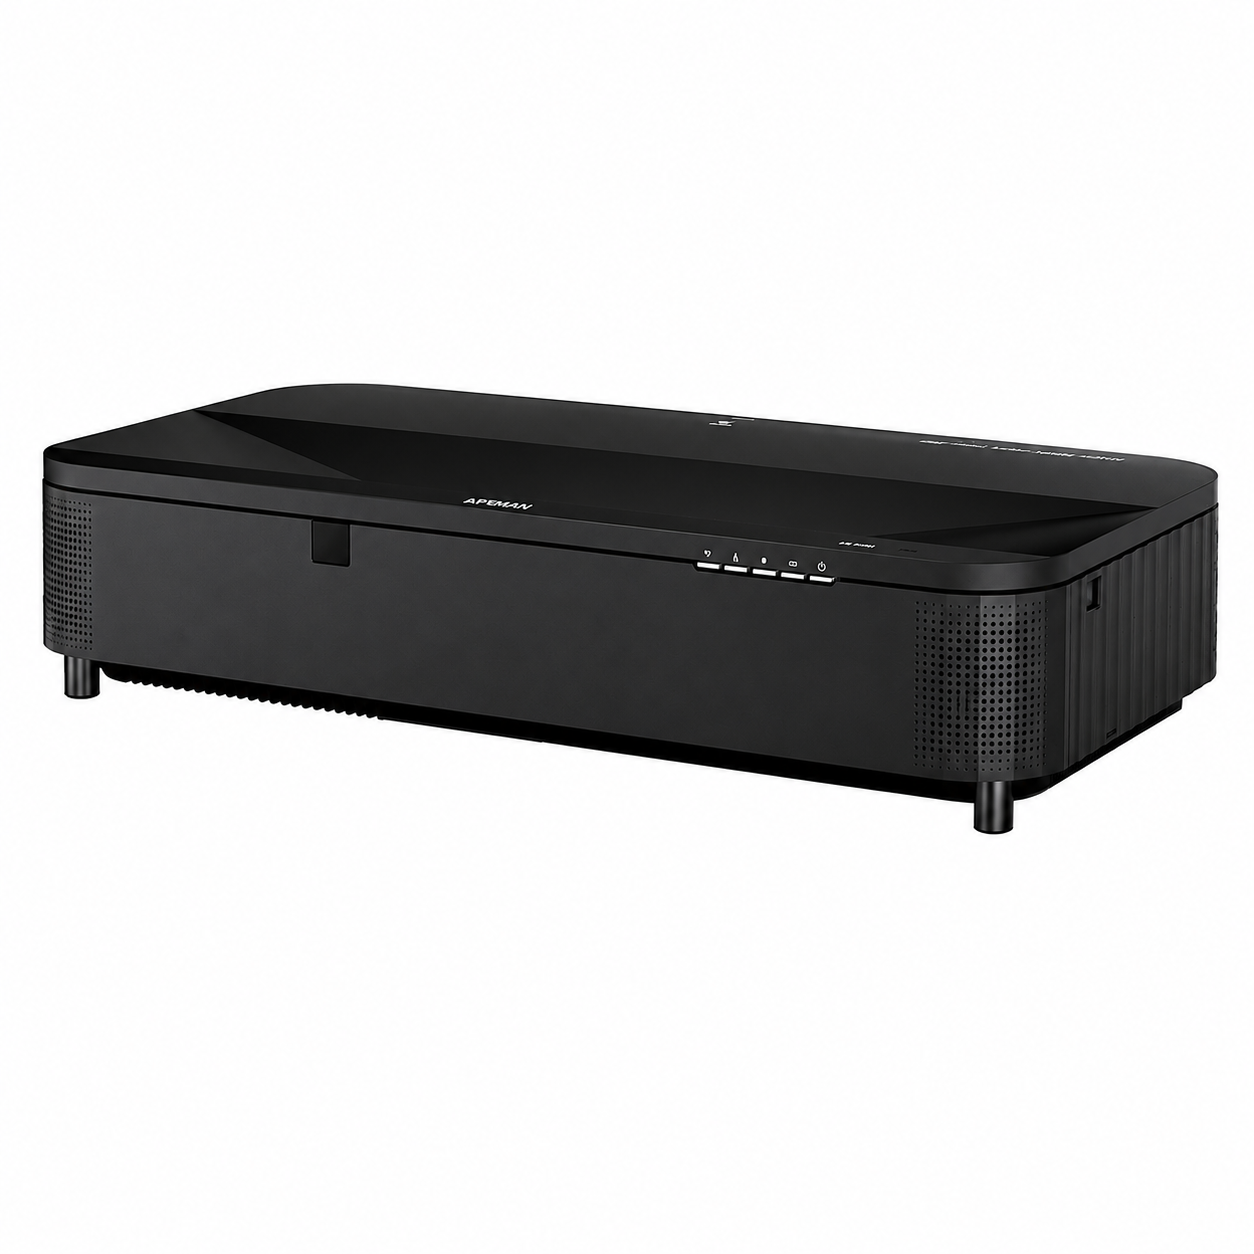
Provides the image and must match the screen size, throw distance, screen material and ambient-light conditions.
Audio System
Surround speakers, subwoofers and amplification create the immersive sound field that separates a cinema system from a large television.
Room Acoustics
Controls reflections, reverberation and bass behavior to improve dialogue clarity and sound localization.
Seating
Determines viewing distance, sightlines and where the primary listening position should be located.
Lighting
A well-designed cinema uses controlled, dimmable lighting that does not wash out the projected image.
Control & Automation
Screens, projectors, lighting and AV equipment can be integrated into one simple control experience.
Step 1: Choose the Right Room
The room has a major influence on the final performance of the theater. Before buying equipment, evaluate the available wall width, ceiling height, window placement, seating positions and projector mounting options.
Dedicated rooms are easier to optimize because lighting, wall colors and acoustics can be controlled. Living-room theaters require more flexibility because the space normally serves several purposes.
If your cinema is being built inside a shared living space, see Best Projector Screen for Living Rooms for screen recommendations specifically designed around multipurpose rooms, daylight and interior integration.
Step 2: Decide Your Screen Size
Screen size should be based on viewing distance rather than simply the maximum width available on the wall.
A screen that is too small reduces immersion. A screen that is too large can make viewers uncomfortable and may exceed the projector's brightness capability.
| Screen Size | Typical Application | Experience |
|---|---|---|
| 100–120" | Compact rooms and living rooms | Large-screen entertainment without dominating the room |
| 120–150" | Medium home theaters | Strong cinematic immersion |
| 150–180" | Large dedicated cinema rooms | Premium theater-scale viewing |
| 180"+ | Large residential theaters | Requires careful projector brightness and room planning |
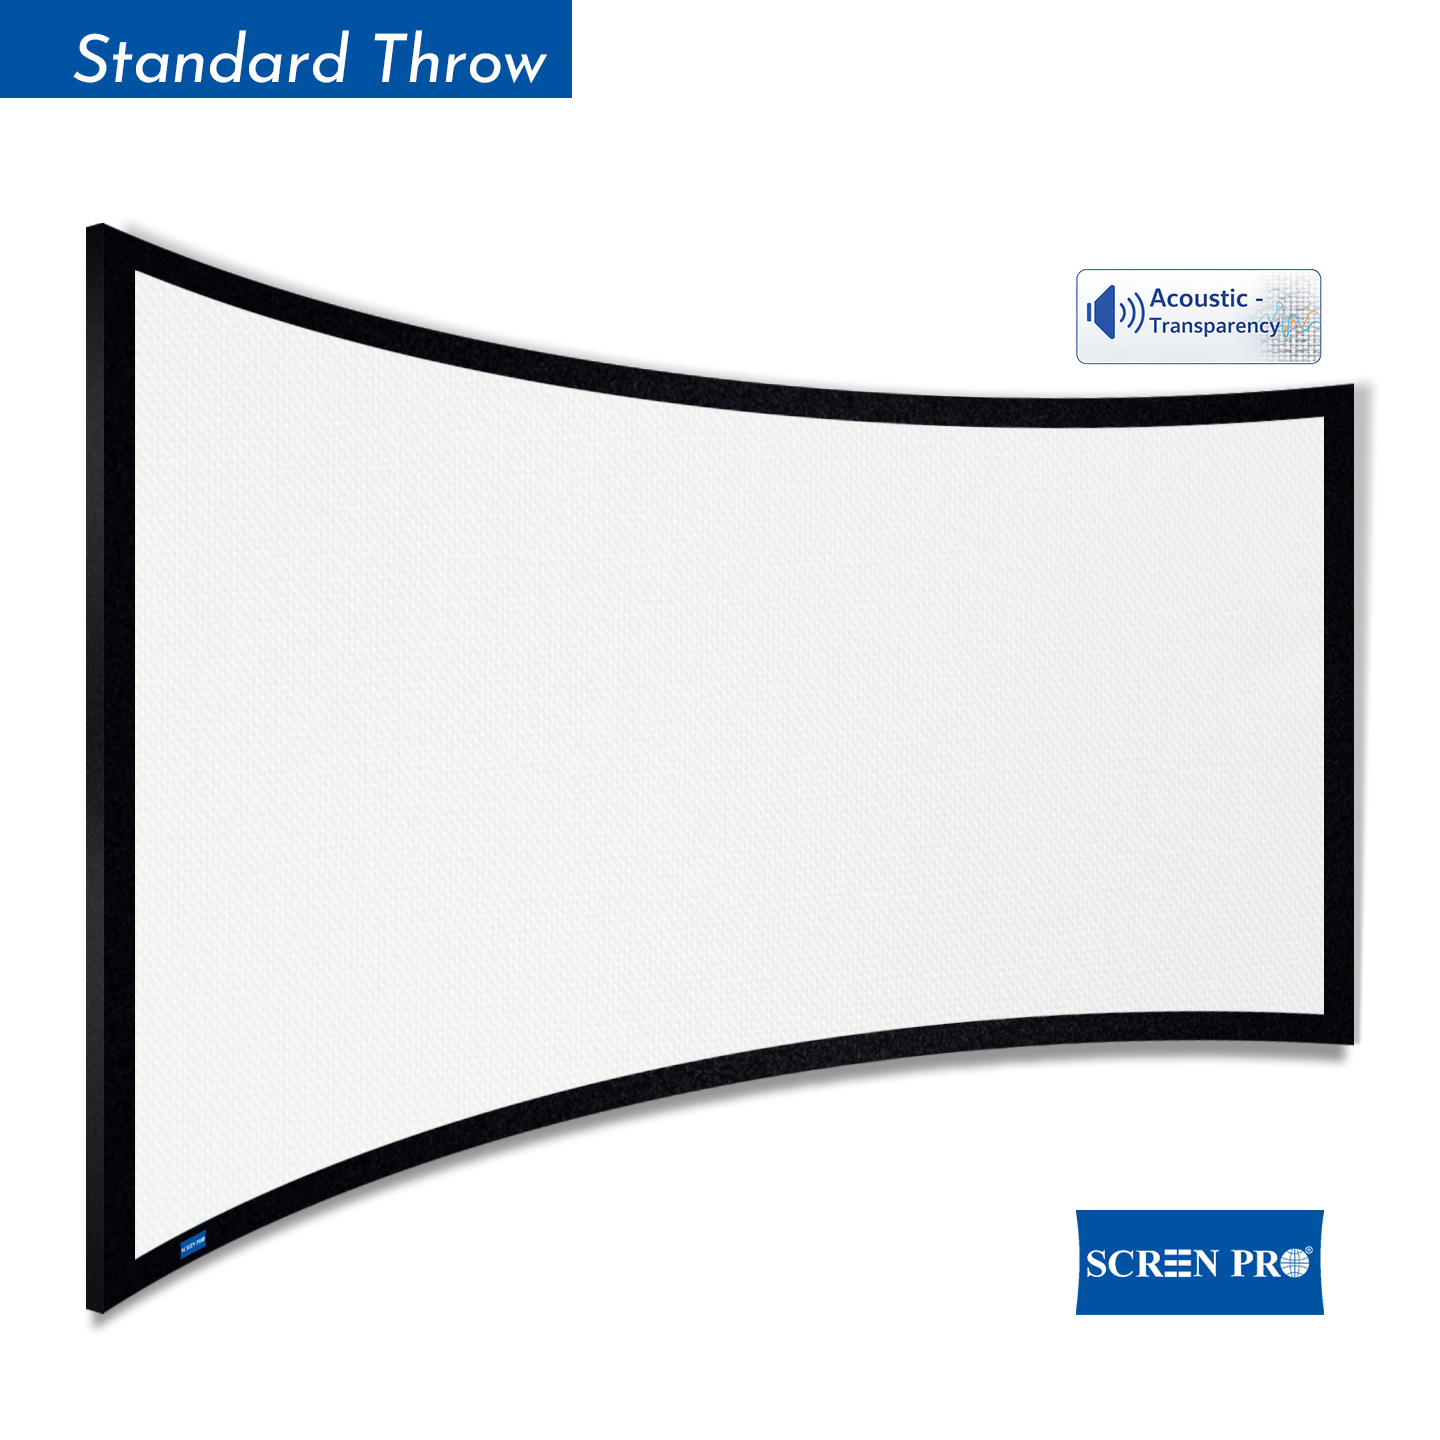
Screen format matters as well. Most general-purpose home theater systems use 16:9, while movie-focused installations may consider wider formats such as 2.35:1 or 2.40:1.
Before choosing the final dimensions, see our Projector Screen Buying Guide for a broader overview of screen size, aspect ratio, material and installation type.
Step 3: Choose the Right Projection Screen
The projection screen is one of the most important parts of the system because it is the final optical surface that the viewer actually sees.
The correct screen depends on projector type, room lighting, speaker layout and whether the screen should remain visible when not in use.
Screen gain also affects brightness, viewing angle and image behavior. If you are unfamiliar with gain, read Projector Screen Gain Explained before selecting a material.
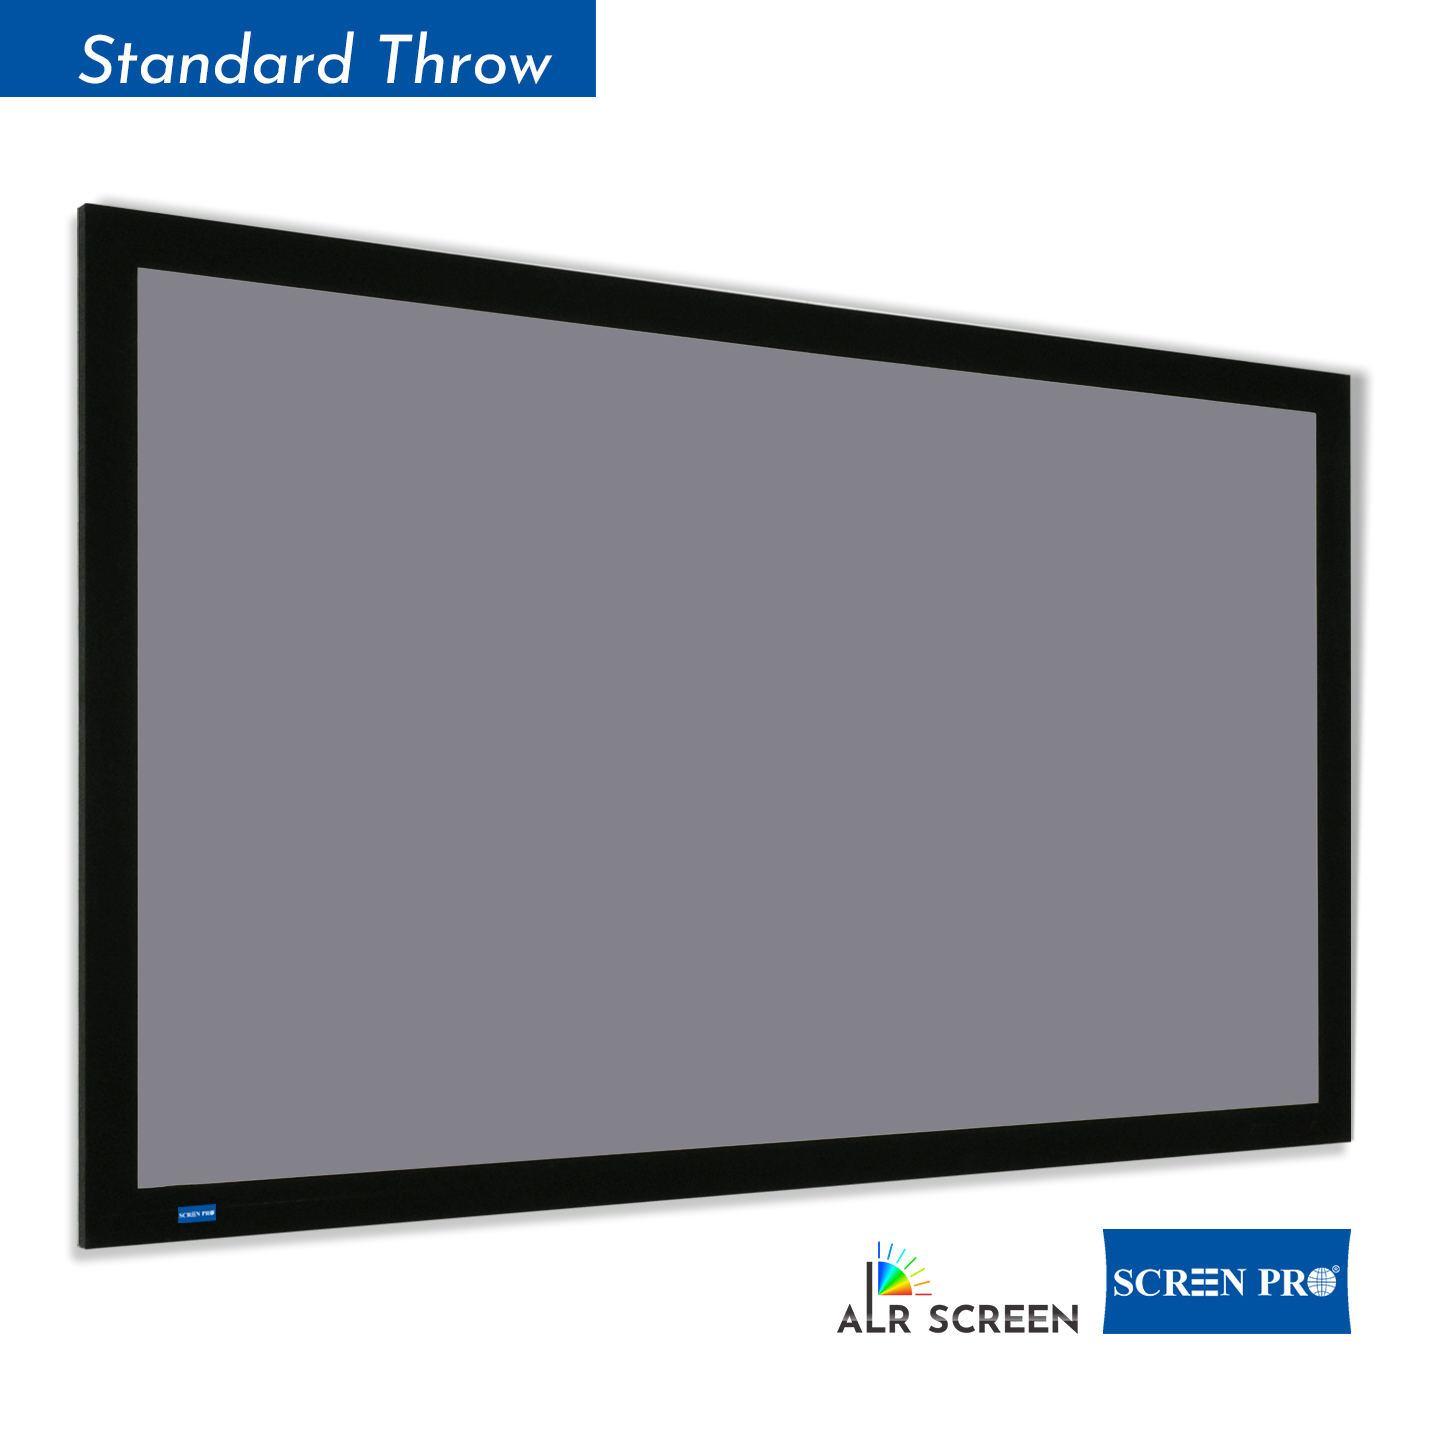
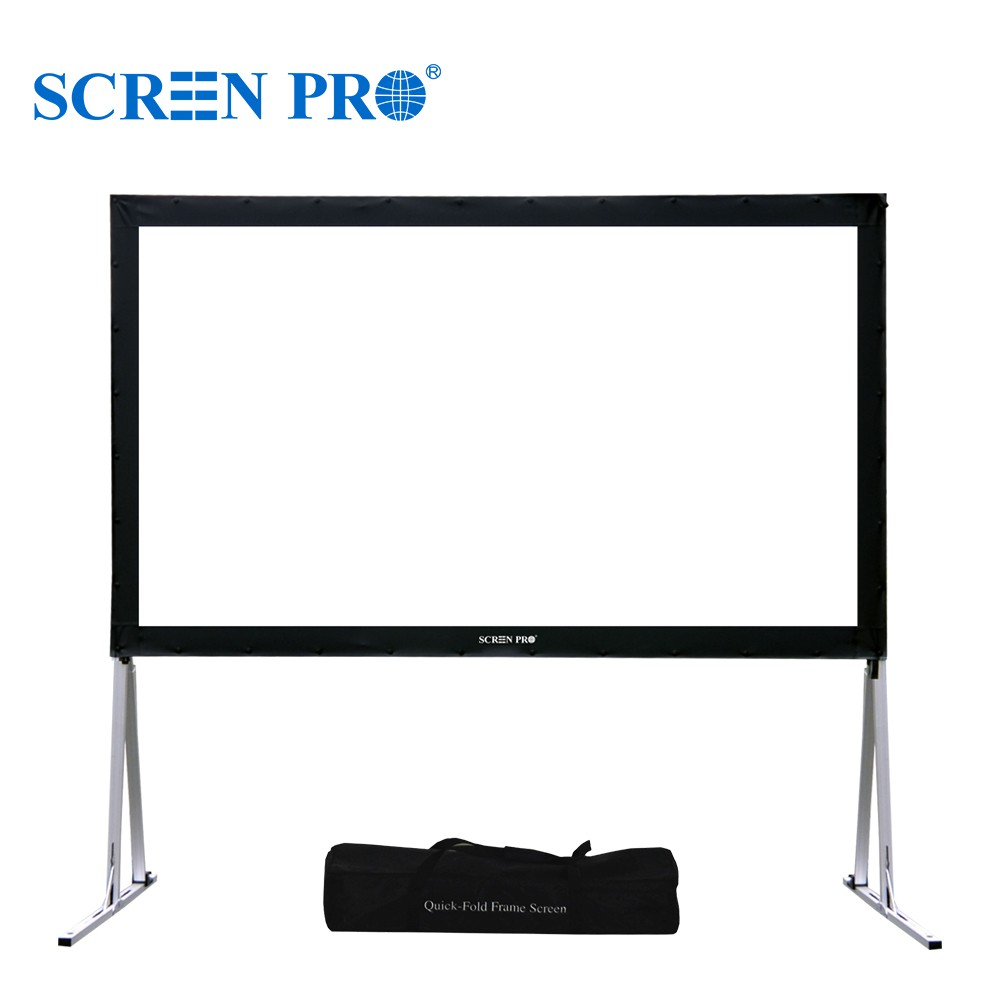
Fixed-Frame Screen
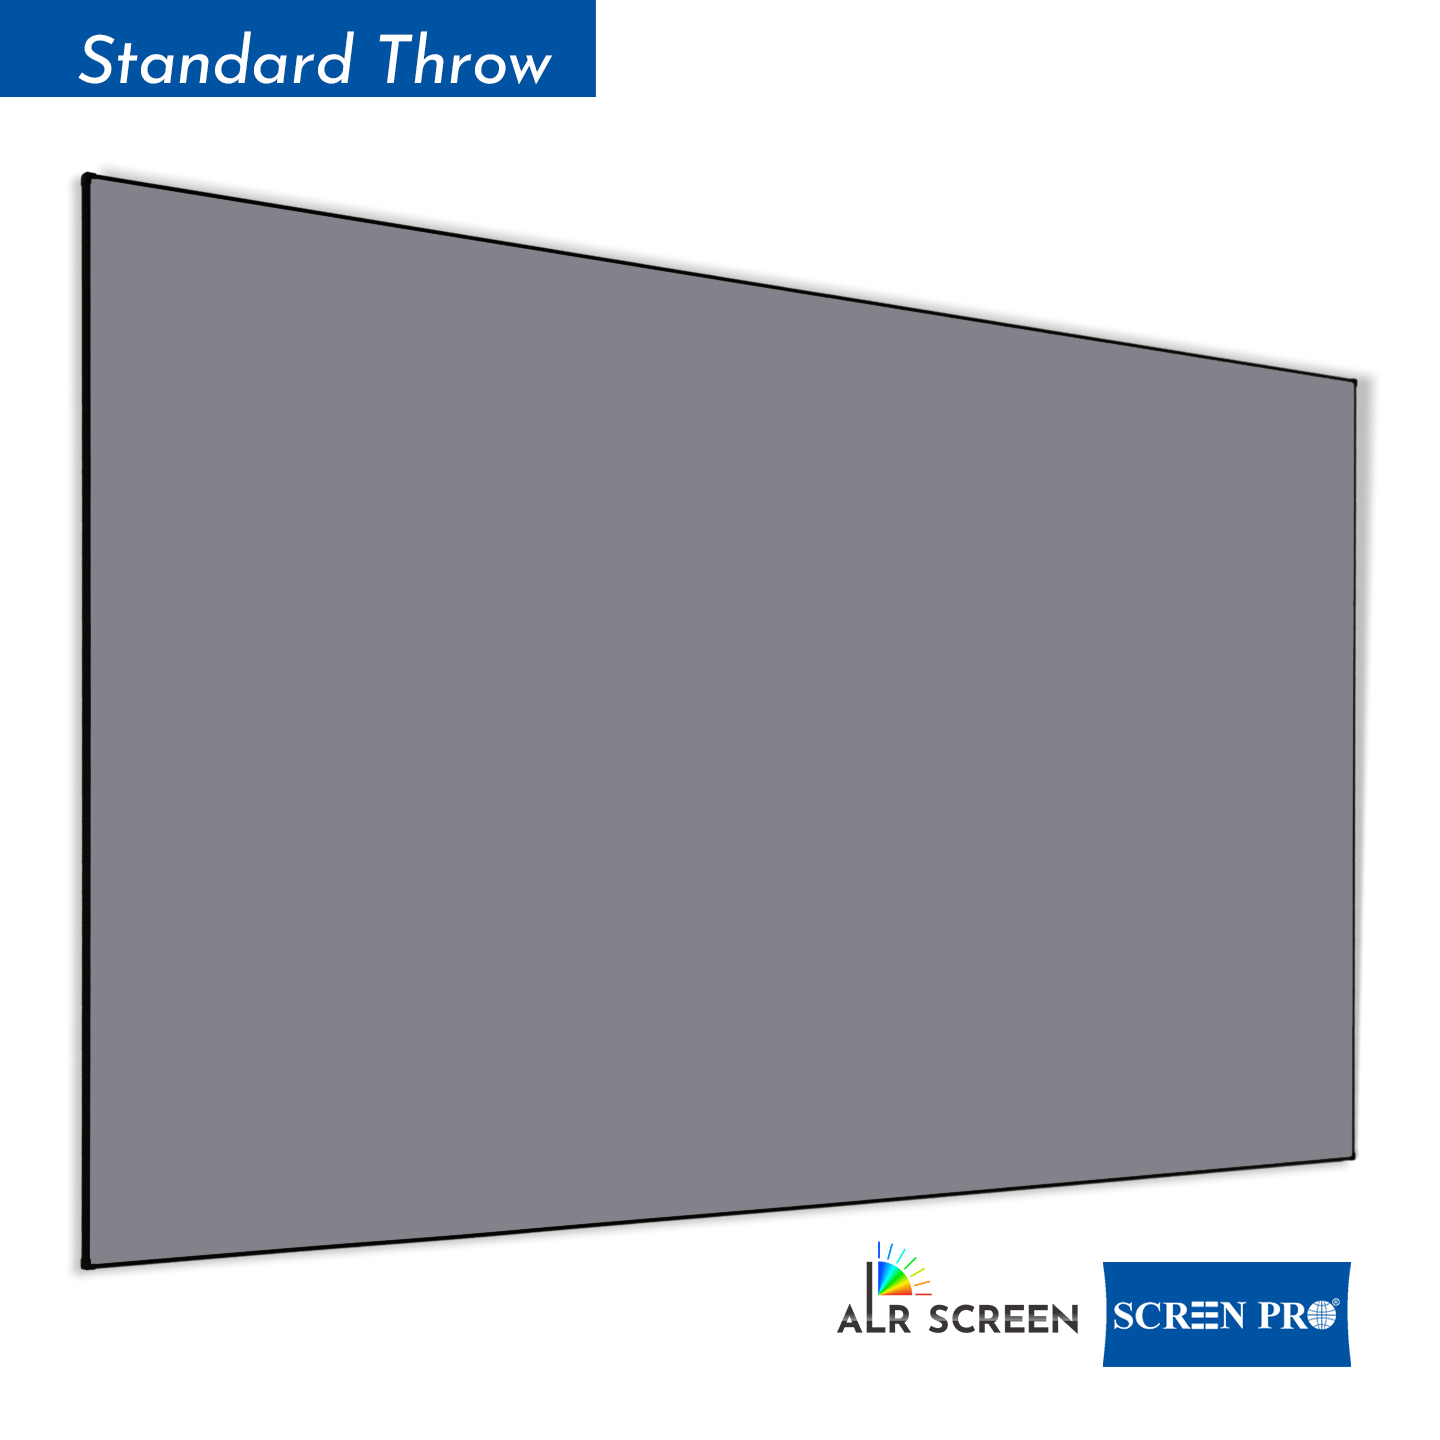
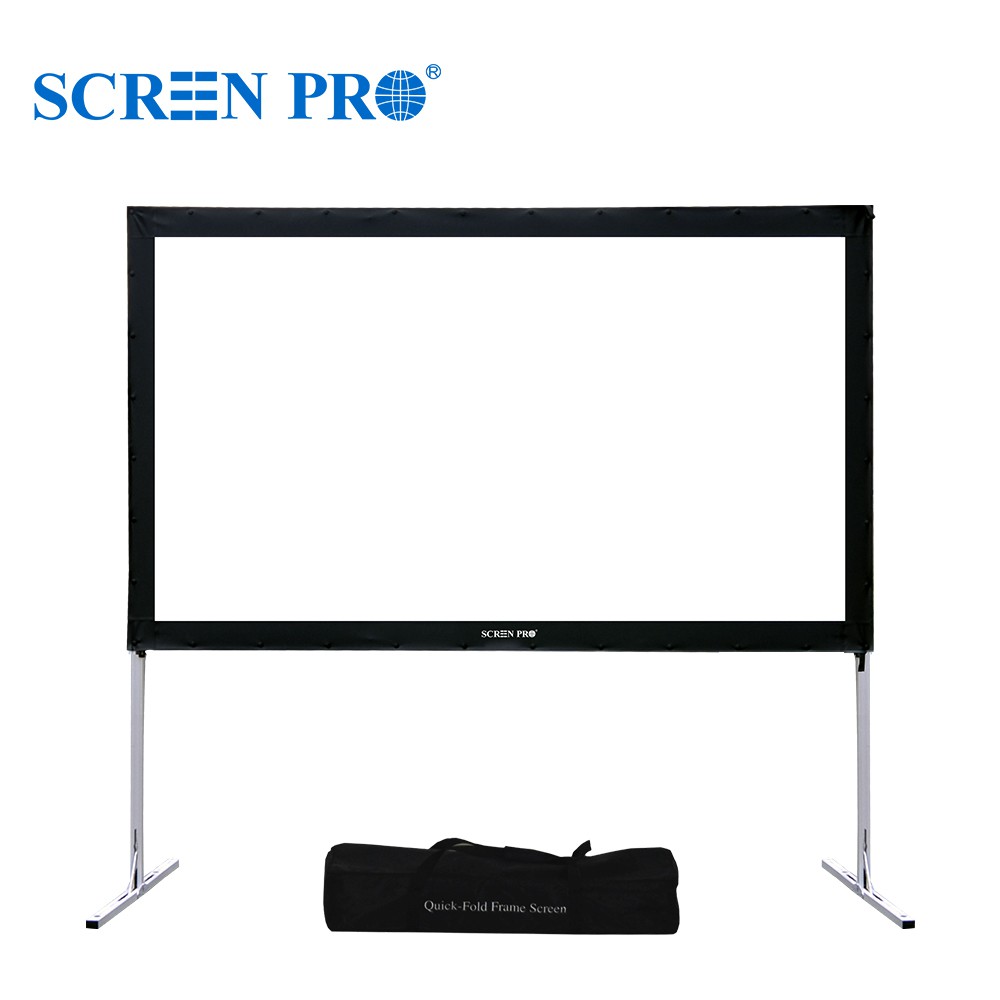
A fixed-frame screen is often the best choice for a dedicated home theater because the material is continuously tensioned and remains flat.
It is particularly suitable when the screen is part of the permanent cinema design and does not need to disappear when the system is turned off.
If you are deciding between a permanent and retractable installation, compare the two options in Fixed Frame vs Motorized Screen: Which One Is Better? .
Explore SCREENPRO FP Fixed Frame Projection Screens →
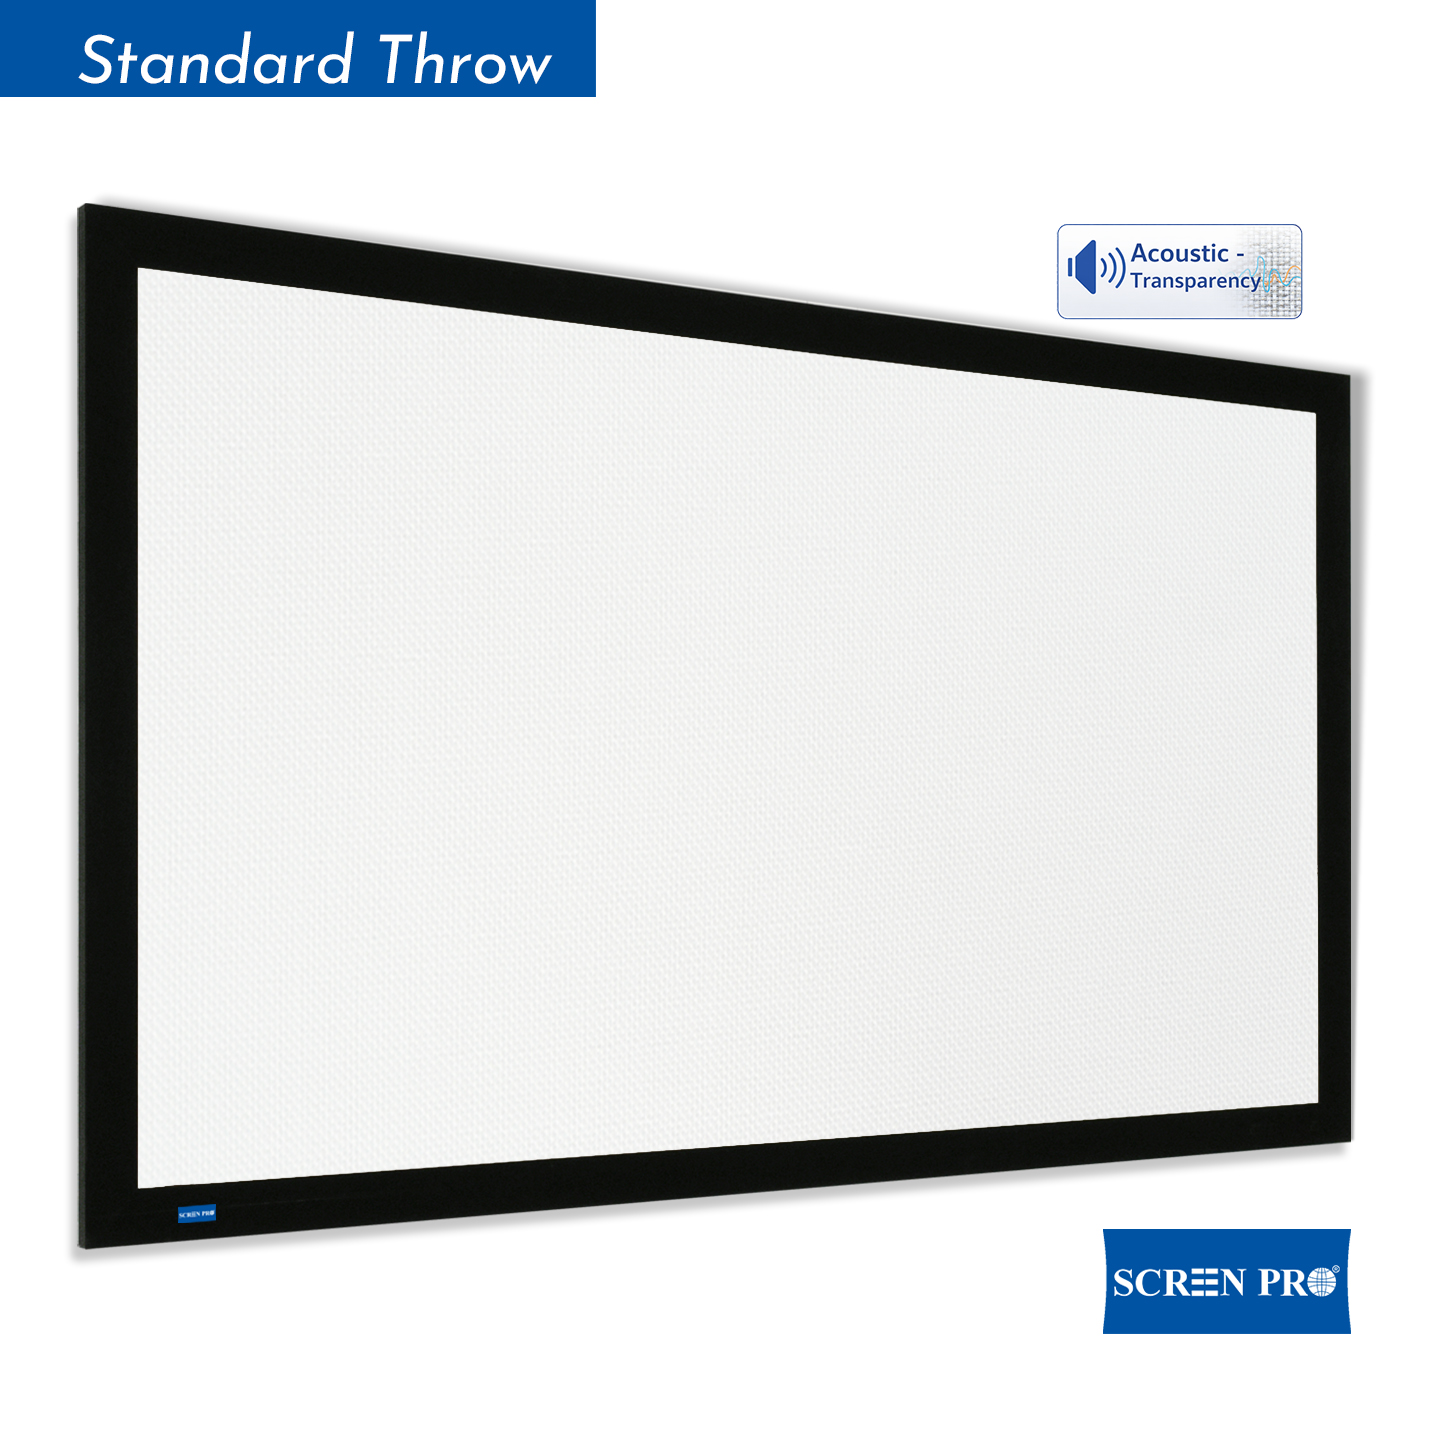
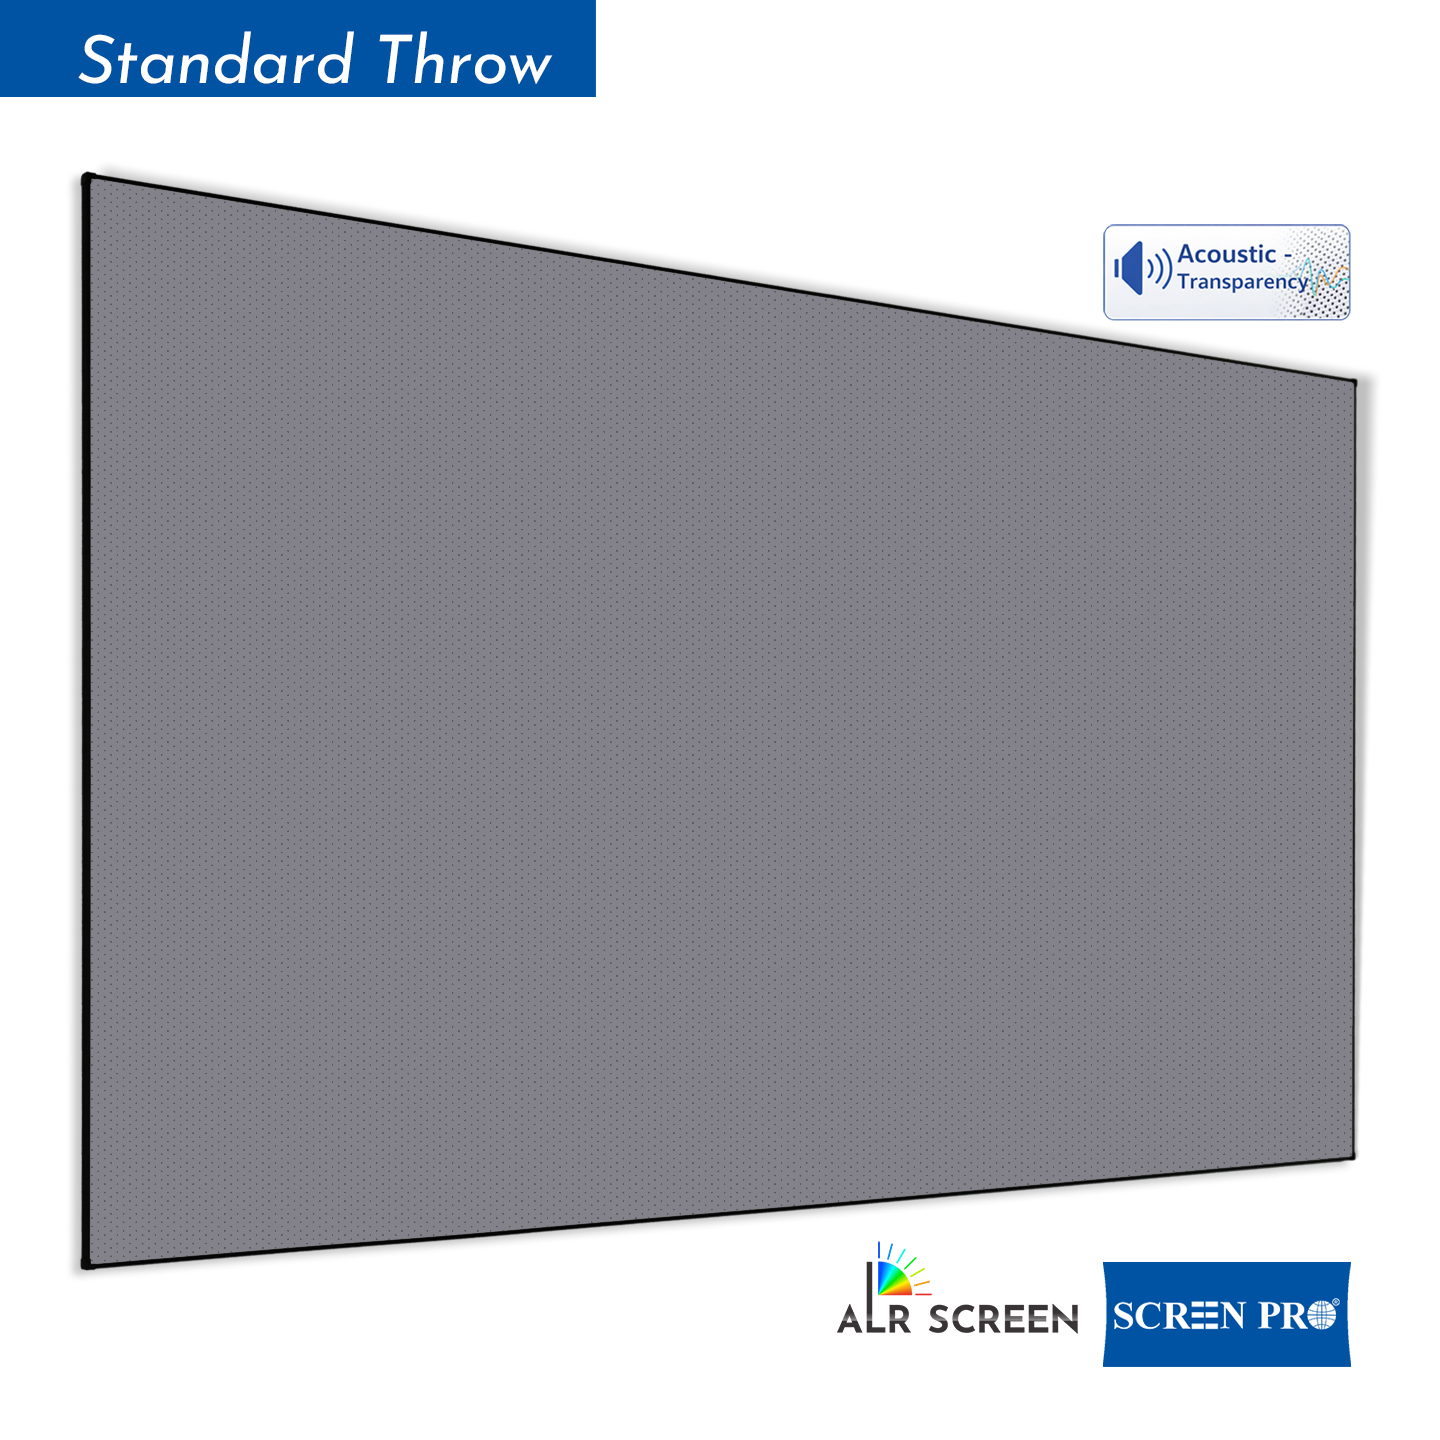
Acoustically Transparent Screen
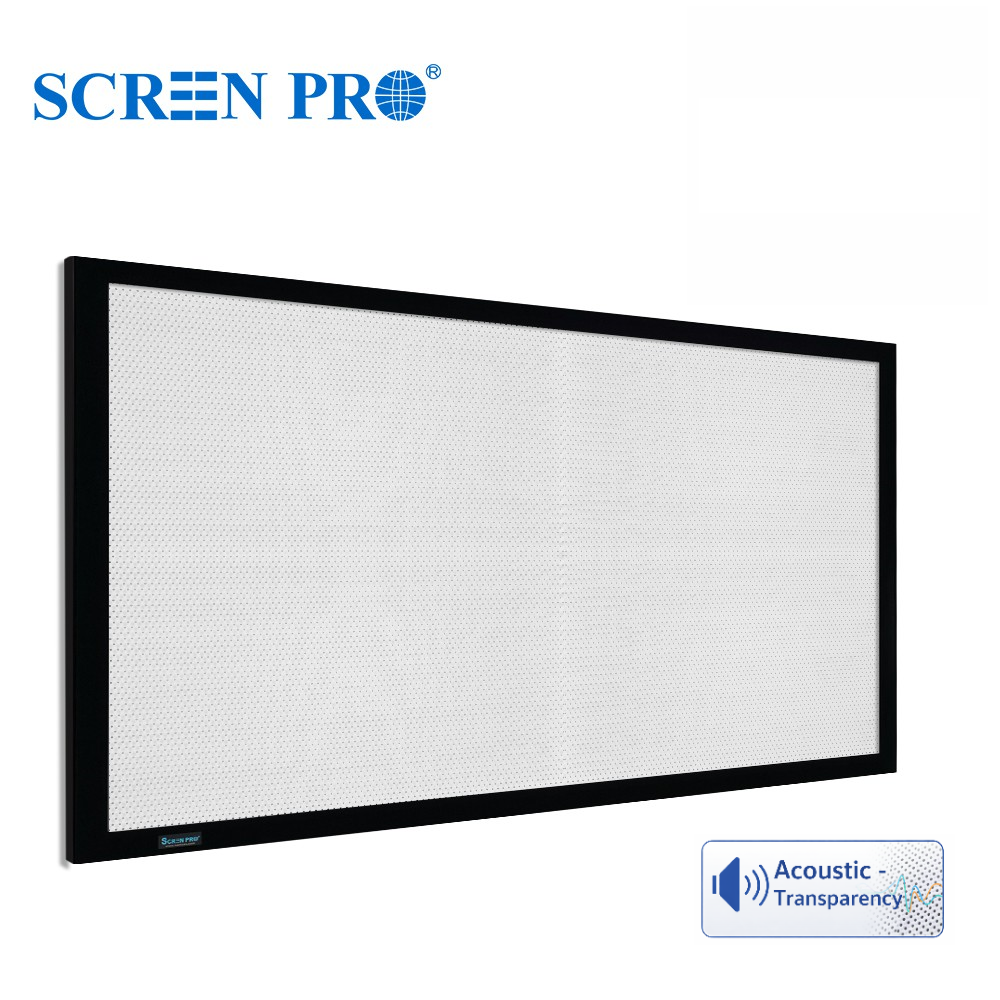
In premium cinema rooms, the front speakers can be placed behind the image using an acoustically transparent projection screen.
This allows the center channel and left/right speakers to align more closely with the projected picture, producing a cinema-style soundstage where dialogue and effects appear to originate directly from the image.
Acoustically transparent materials are generally based on woven or perforated constructions. Each behaves differently in terms of acoustic transparency, image texture, viewing distance and installation requirements.
See: Woven vs Perforated Acoustic Transparent Screens .
Explore SCREENPRO FP-TW Woven Acoustic Transparent Screen →
ALR Screen
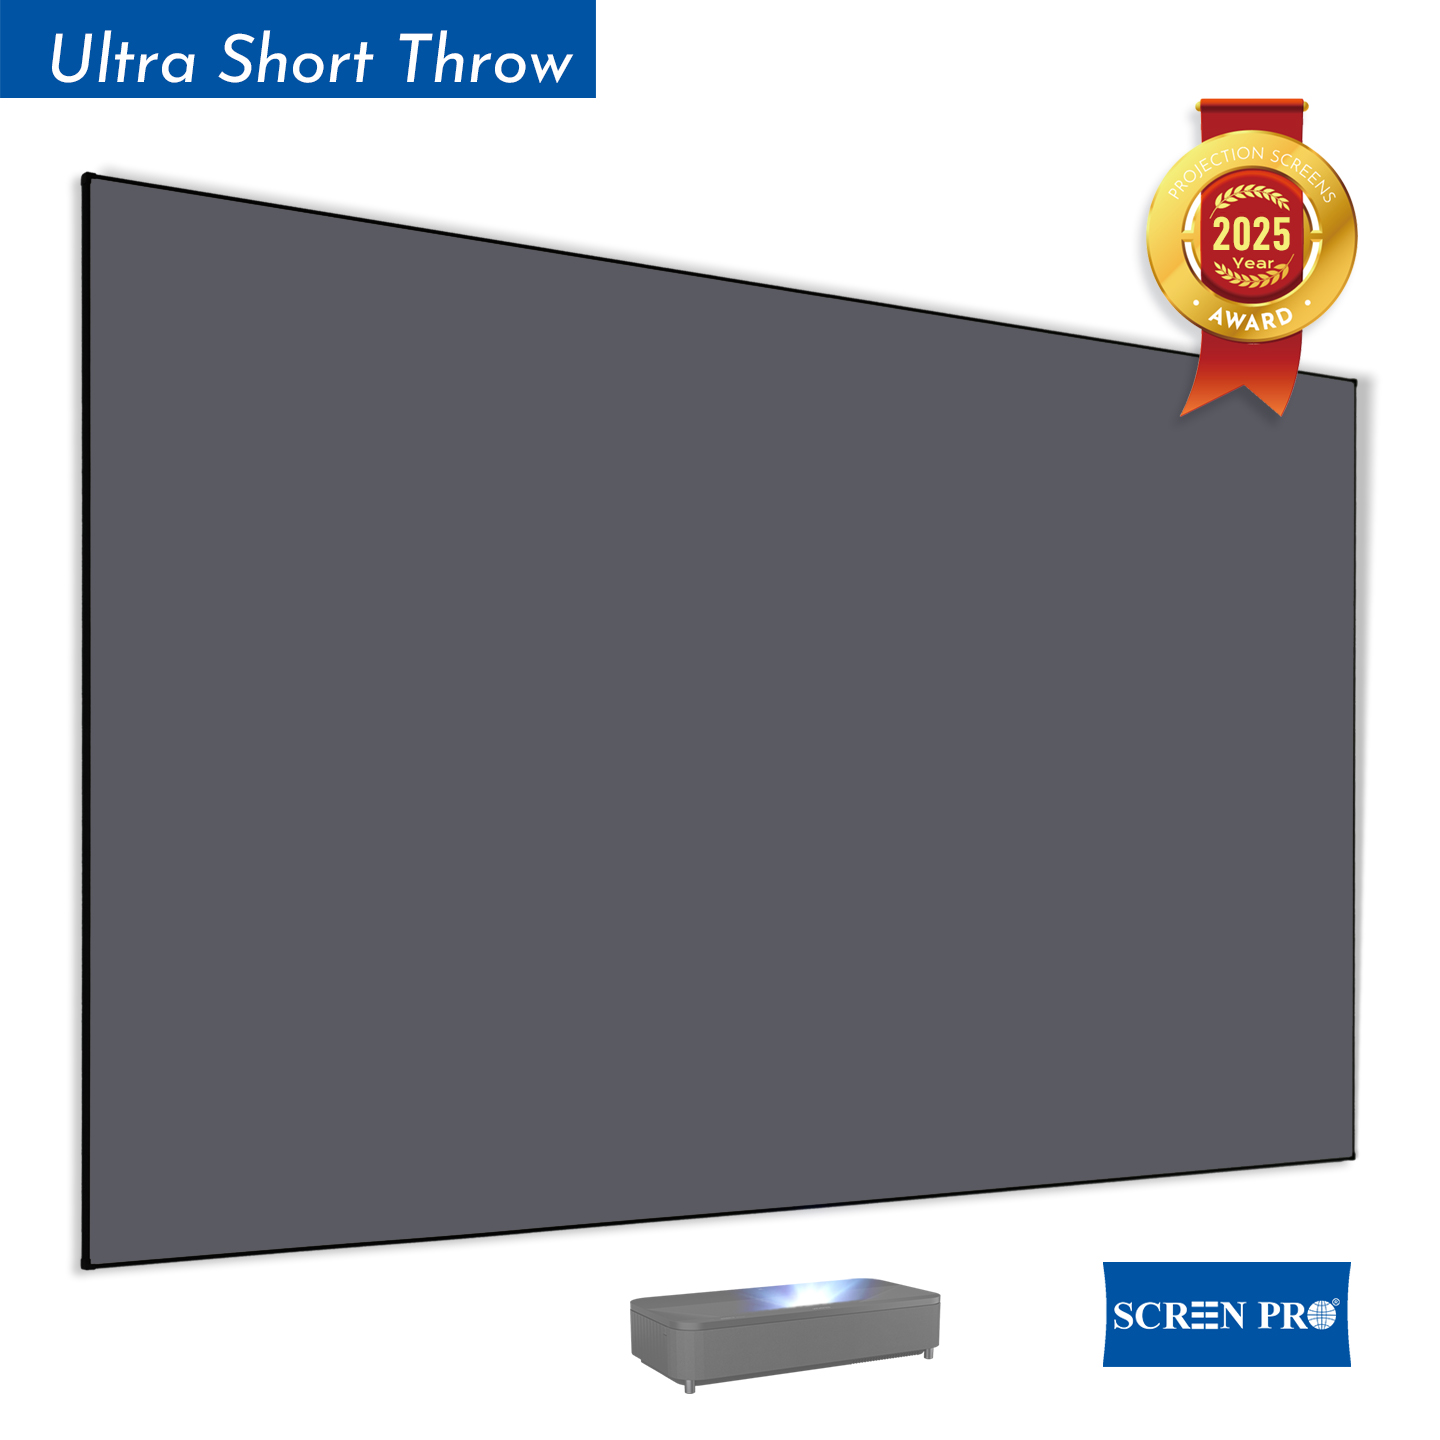
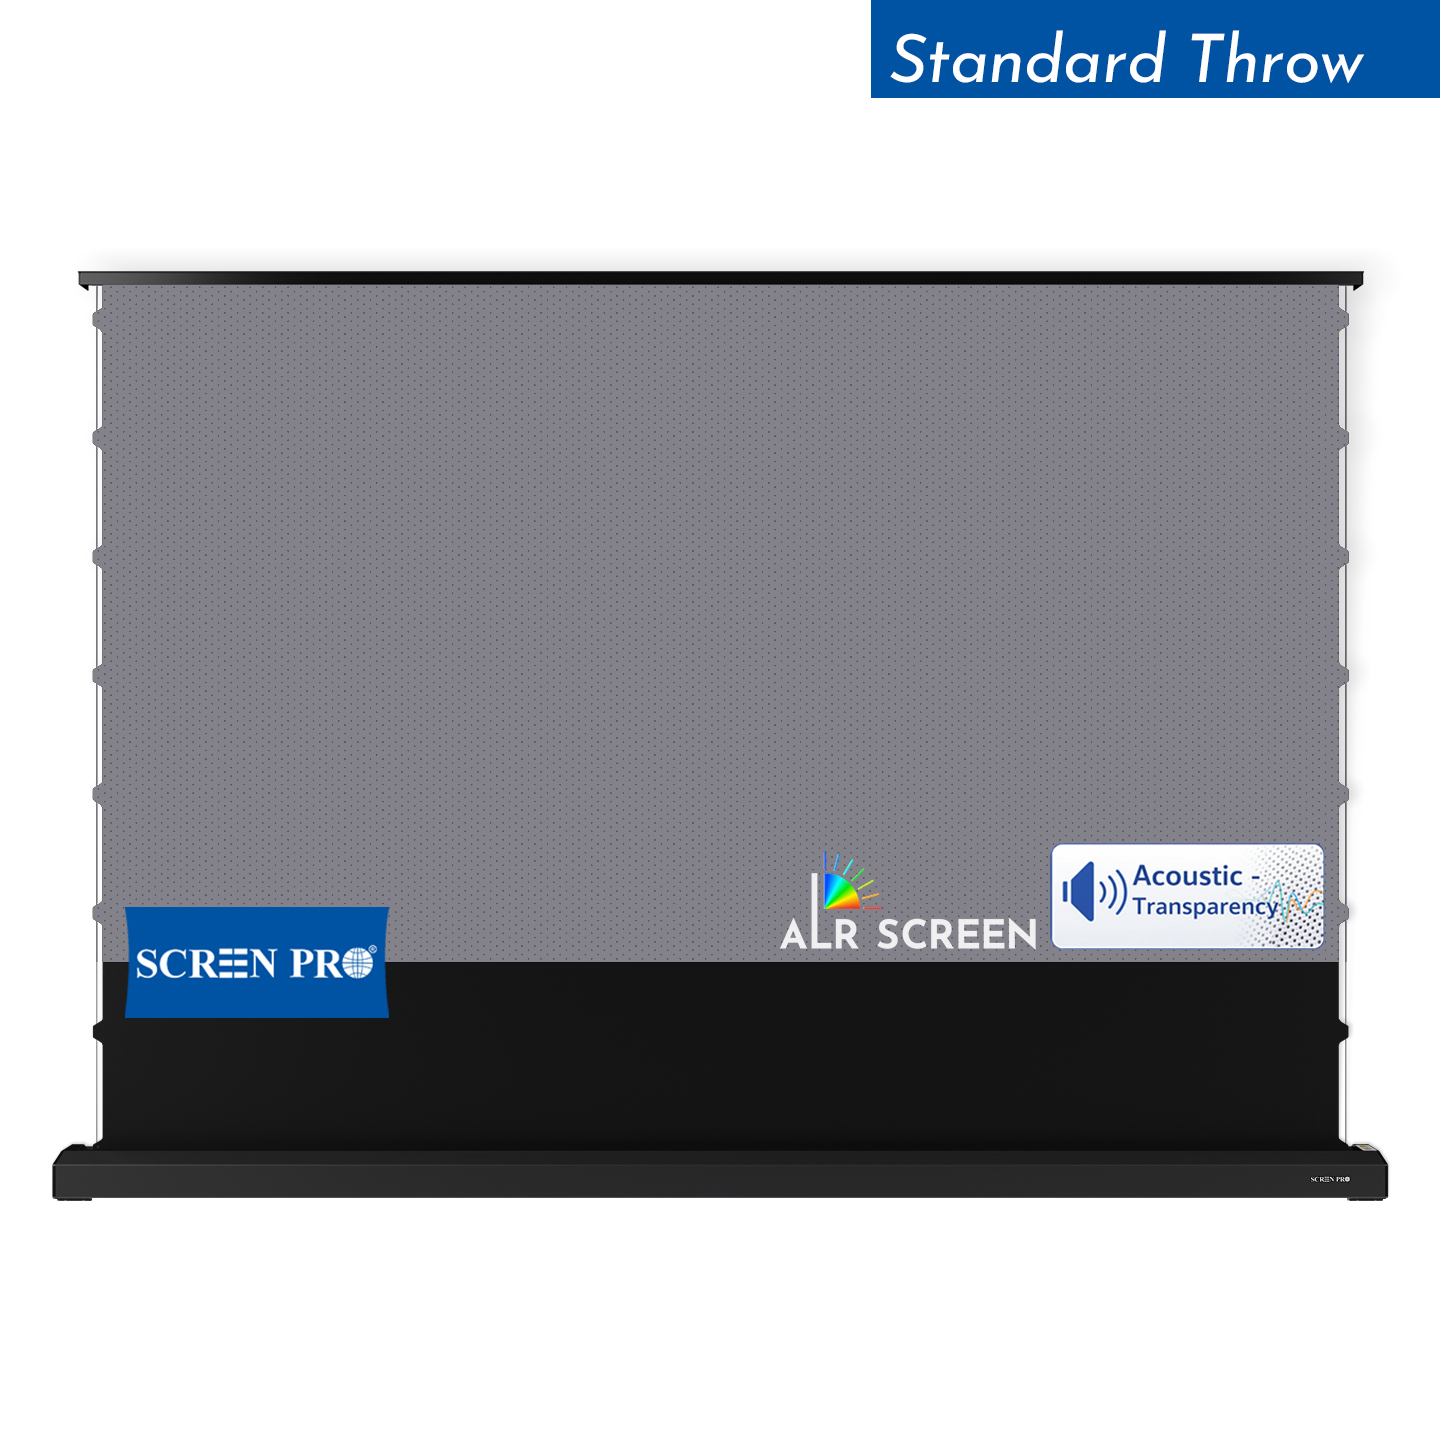
If ambient light cannot be completely controlled, an ambient-light-rejecting screen may improve perceived contrast by reducing unwanted room light from selected directions.
However, ALR technology must match the projector type. Screens designed for ultra-short-throw projectors use a different optical structure from screens designed for conventional long-throw projectors.
To understand how these surfaces work, read What Is an ALR Projector Screen and How Does It Work? .
You can also compare conventional surfaces with ambient-light-rejecting materials in ALR vs Standard Projection Screens .
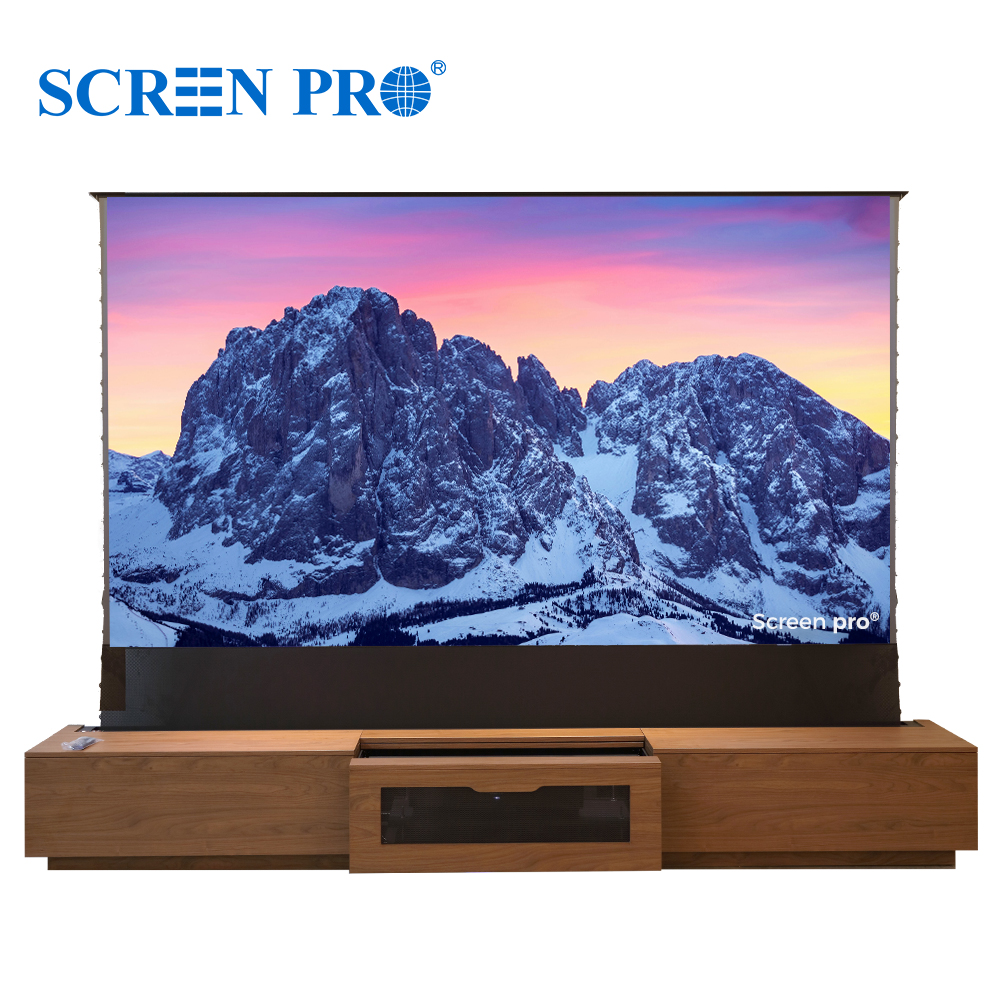
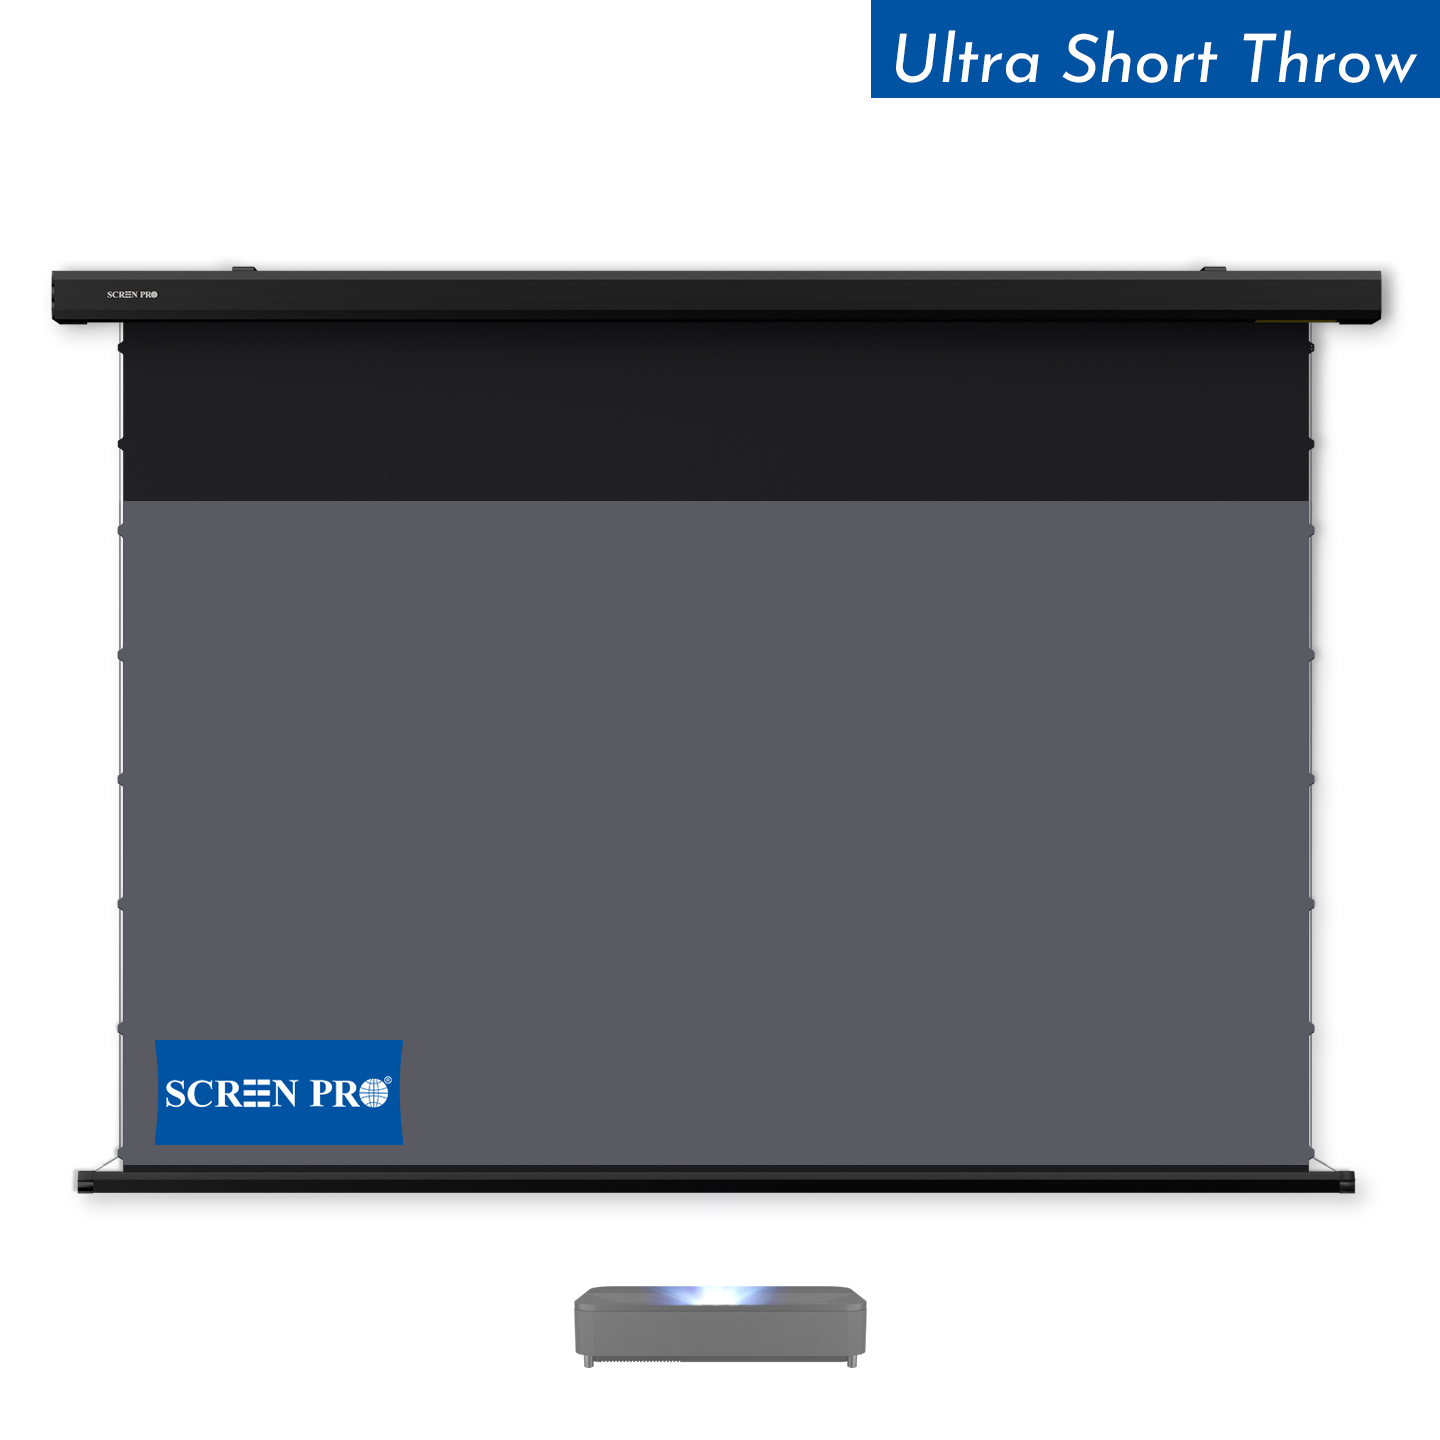
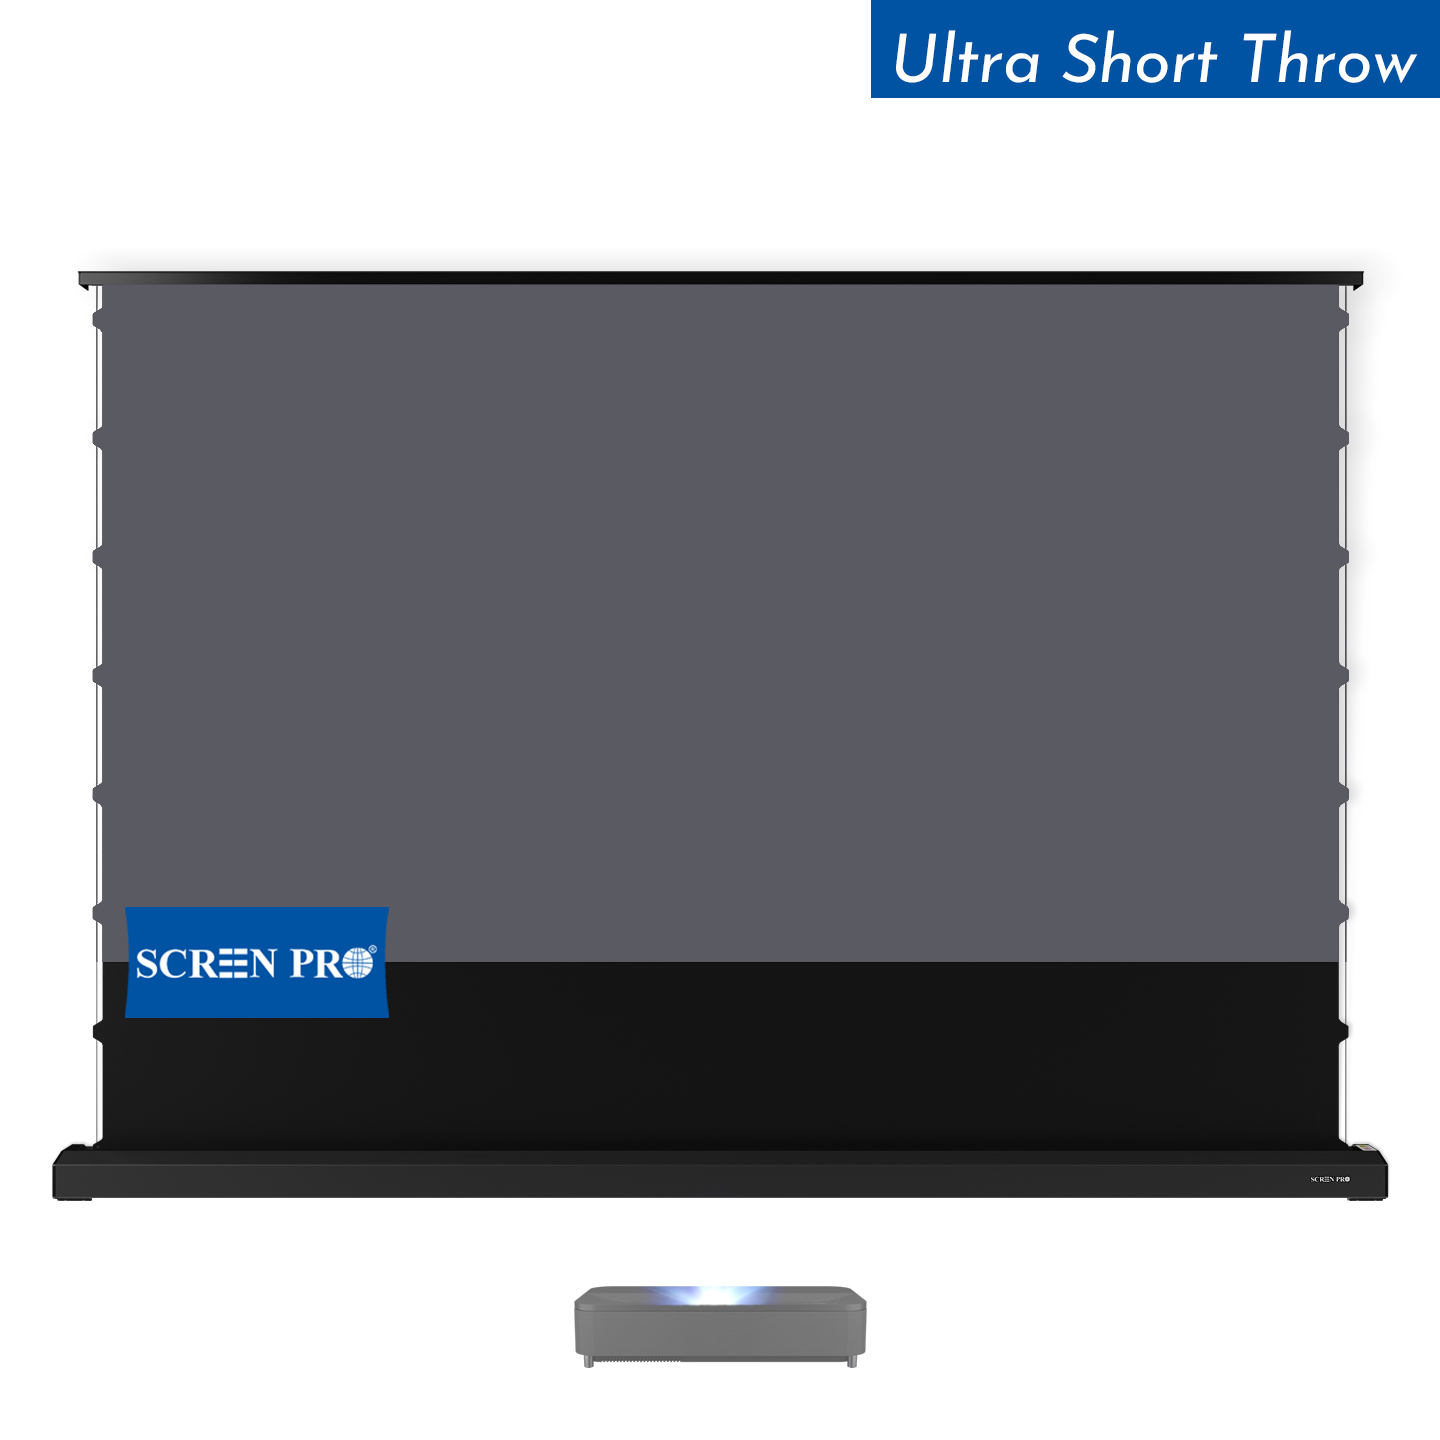
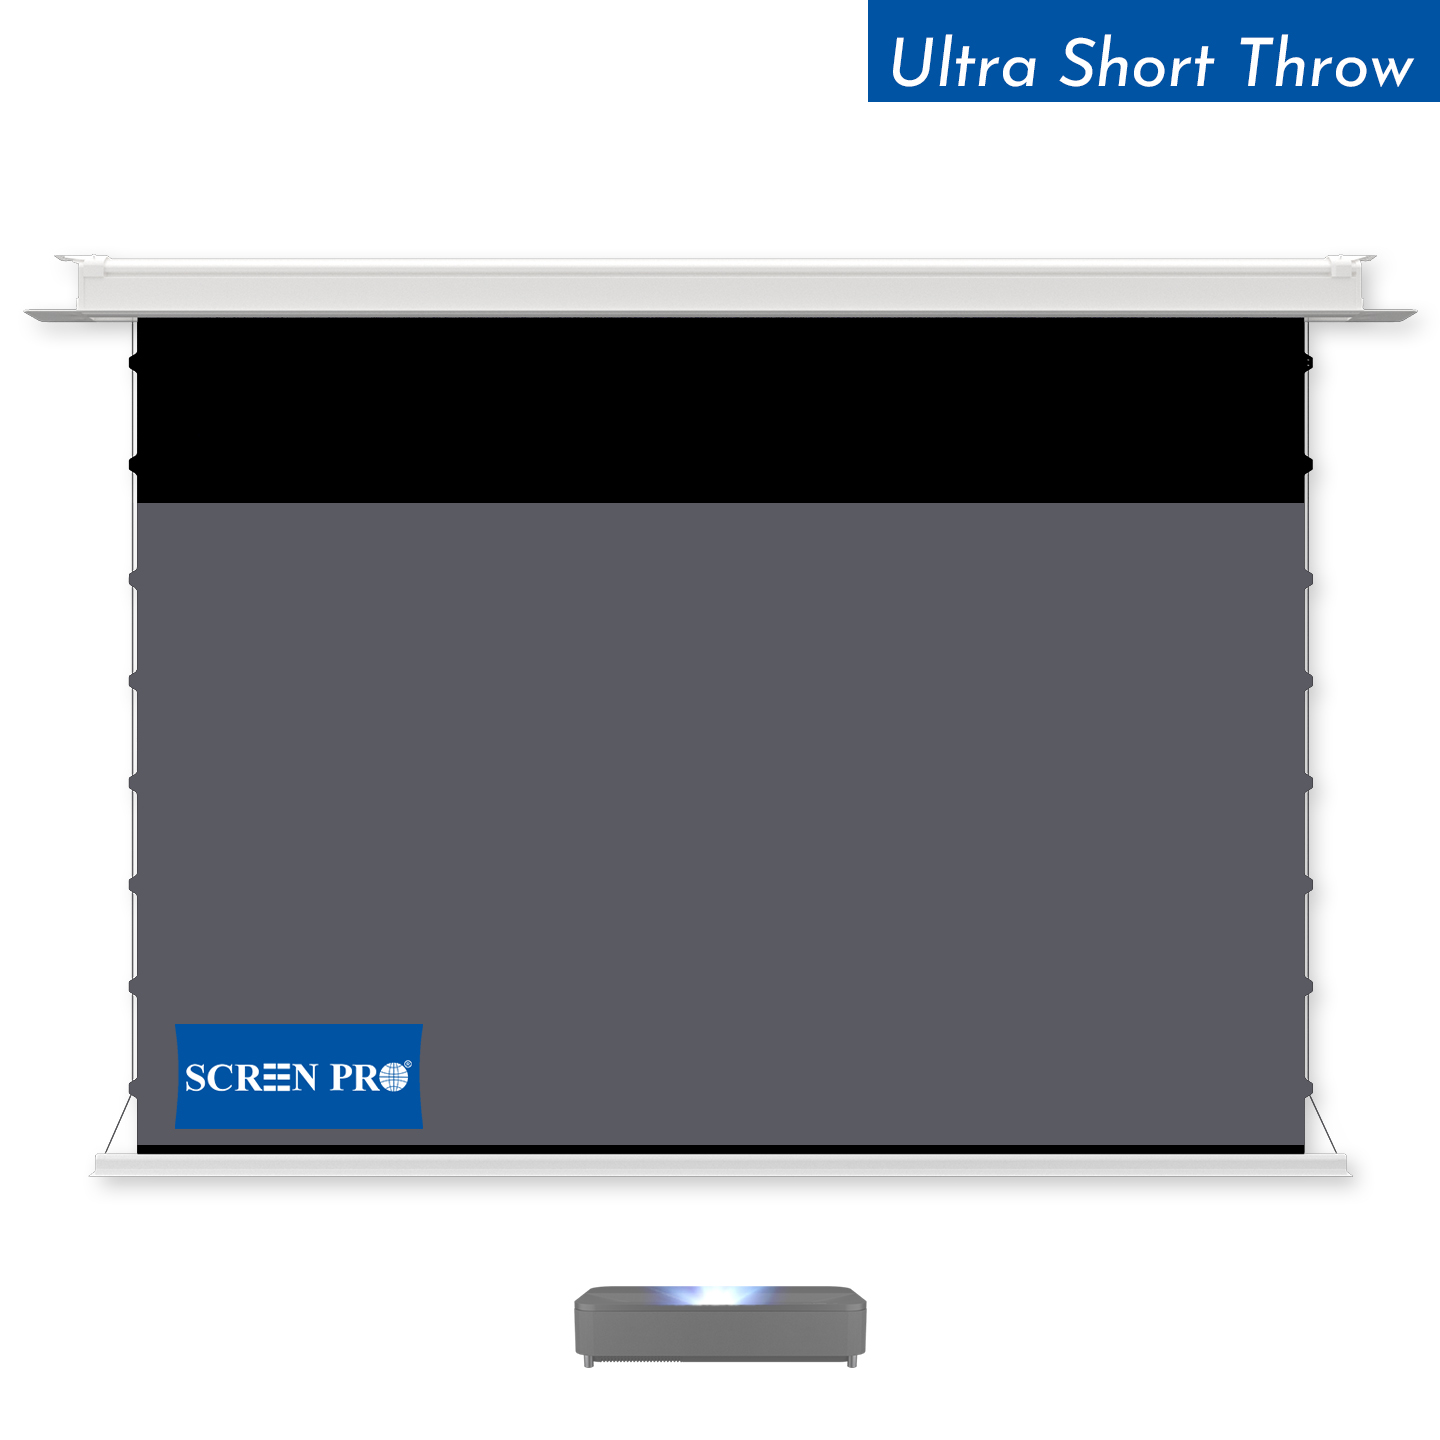
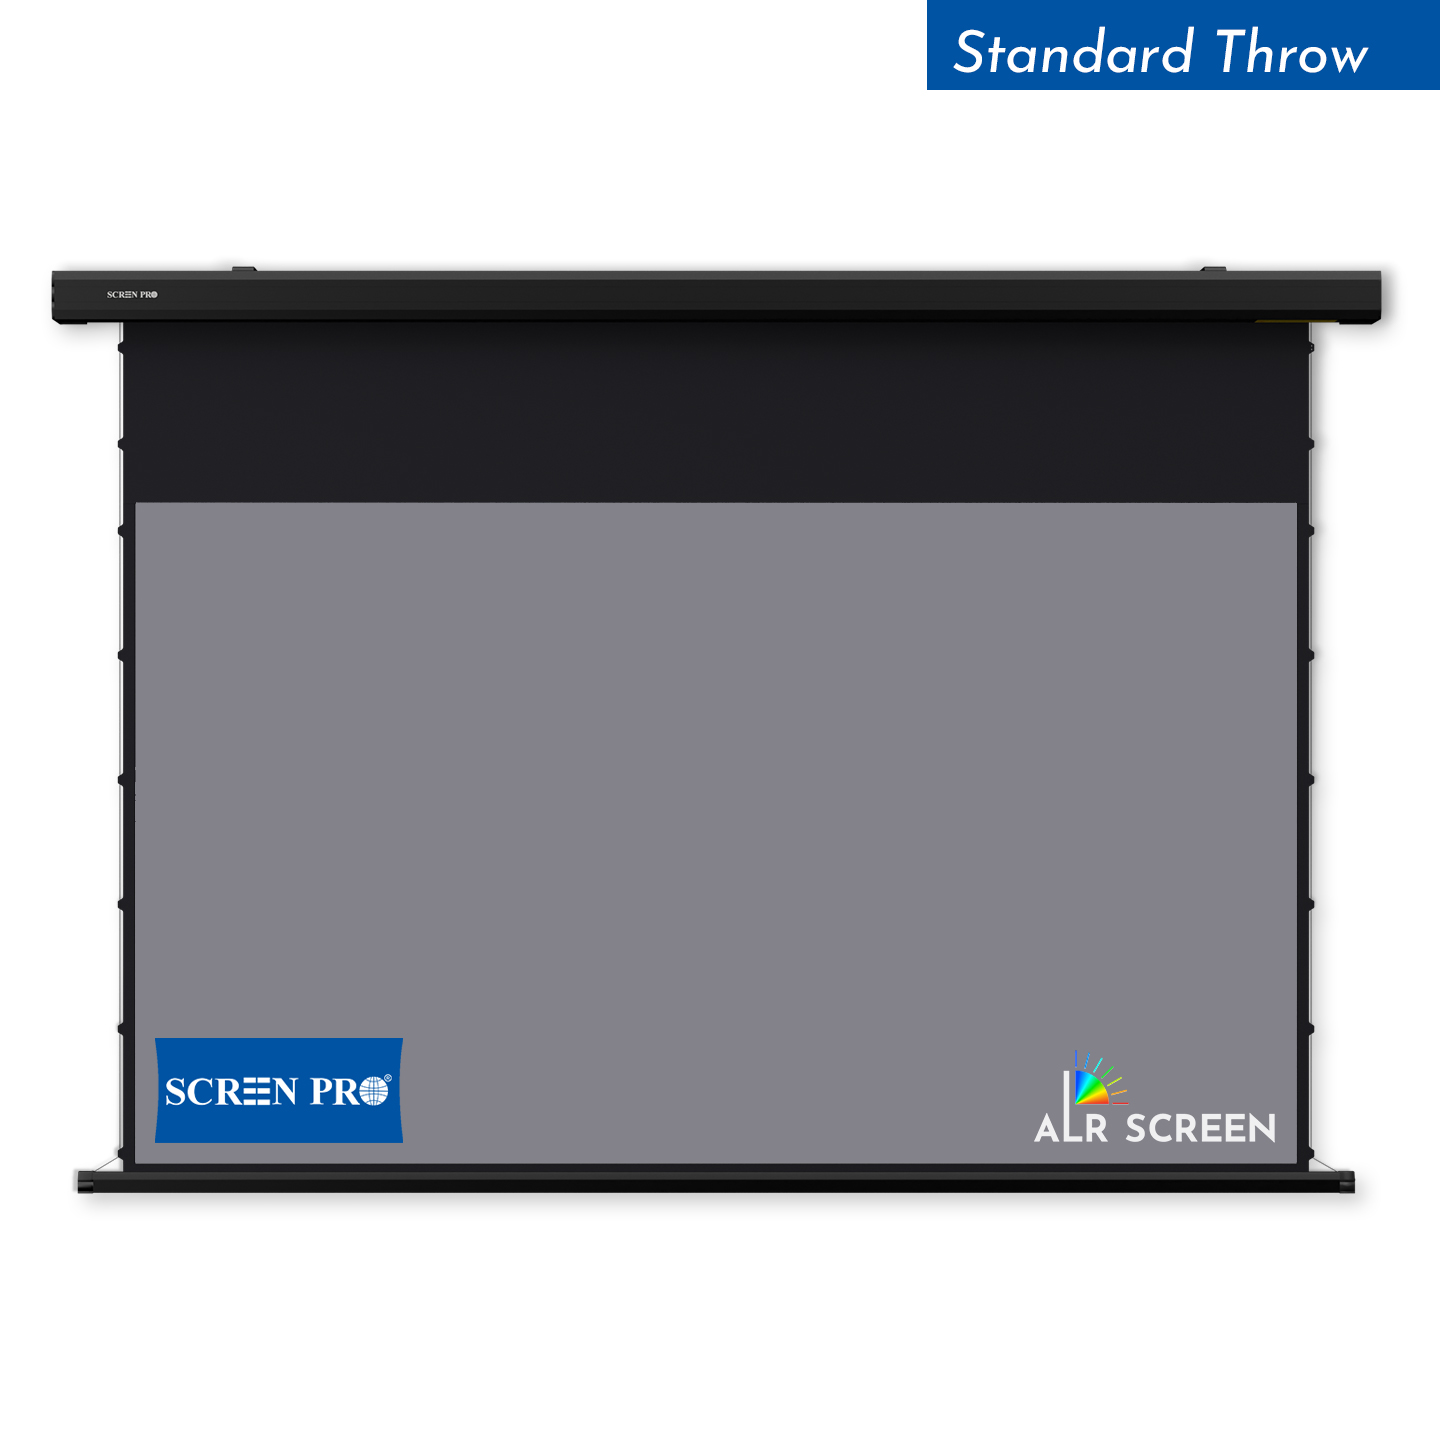
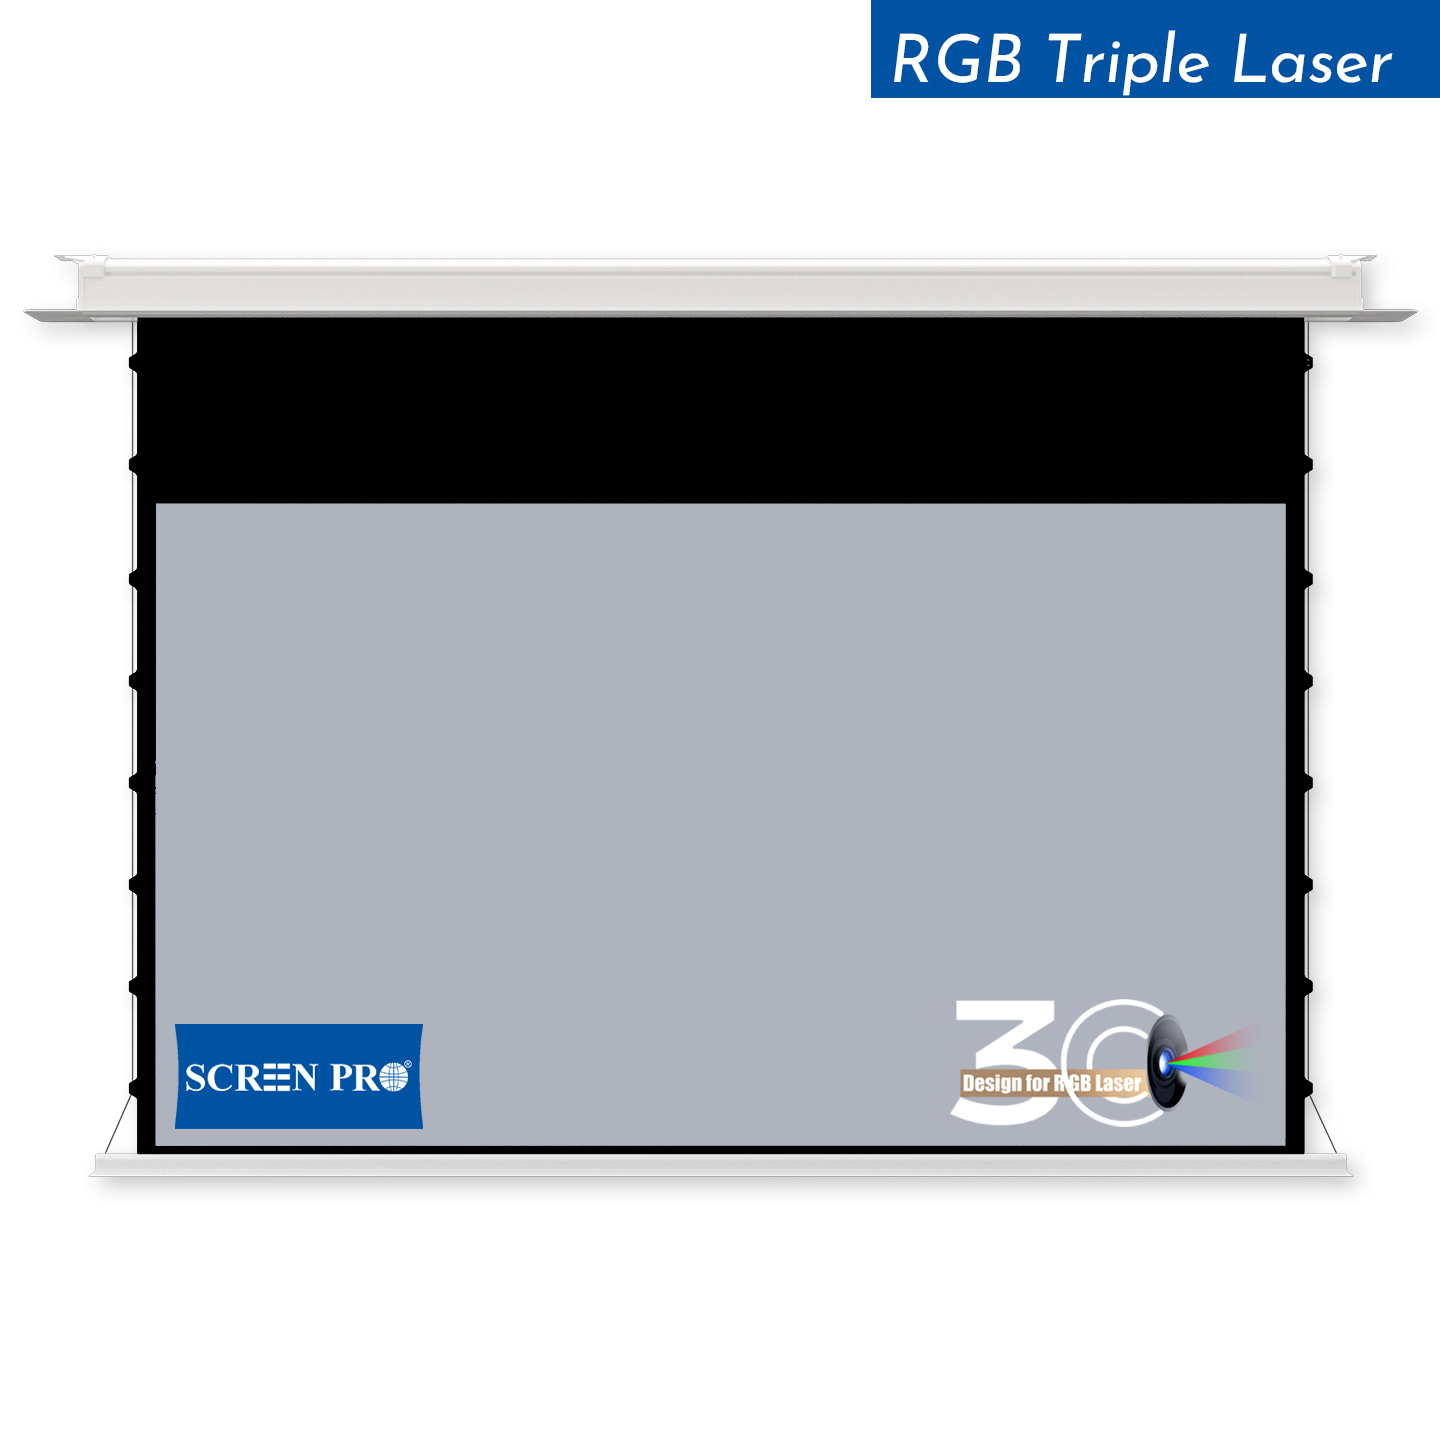
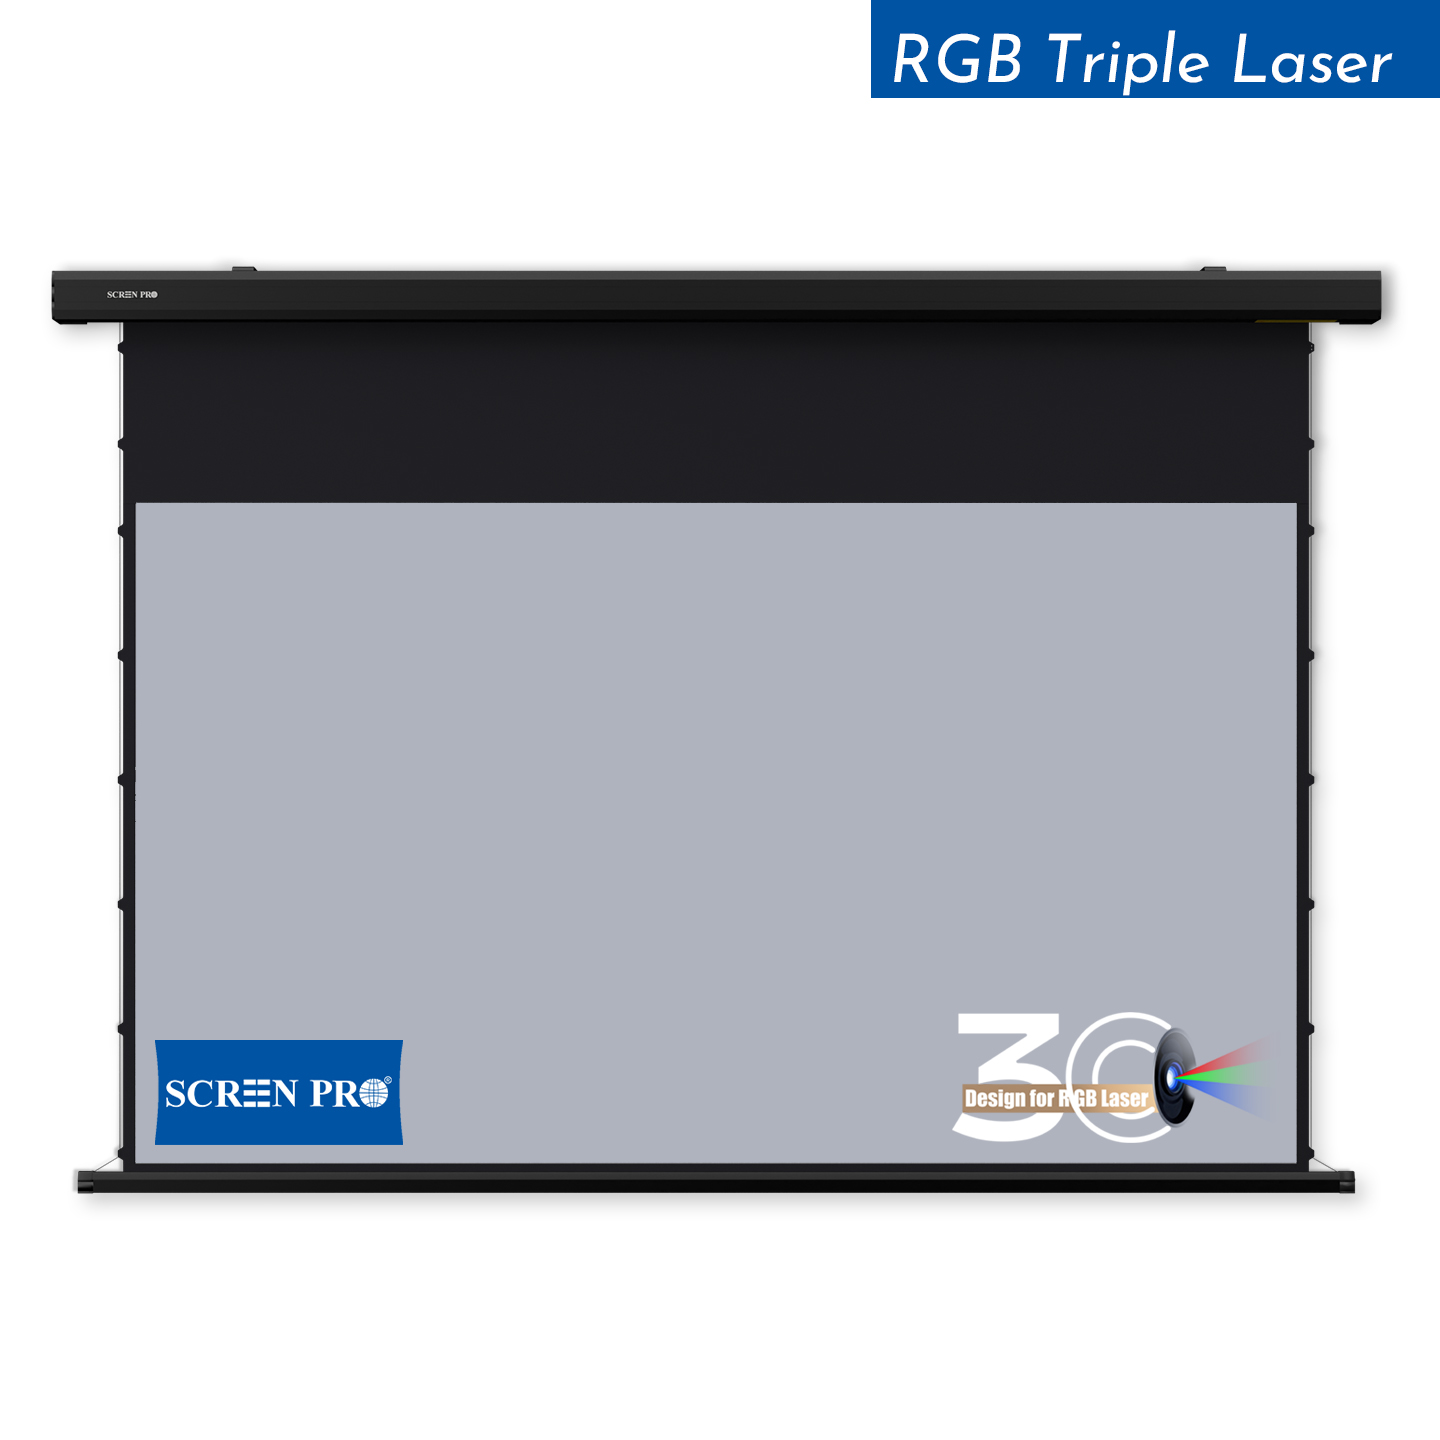
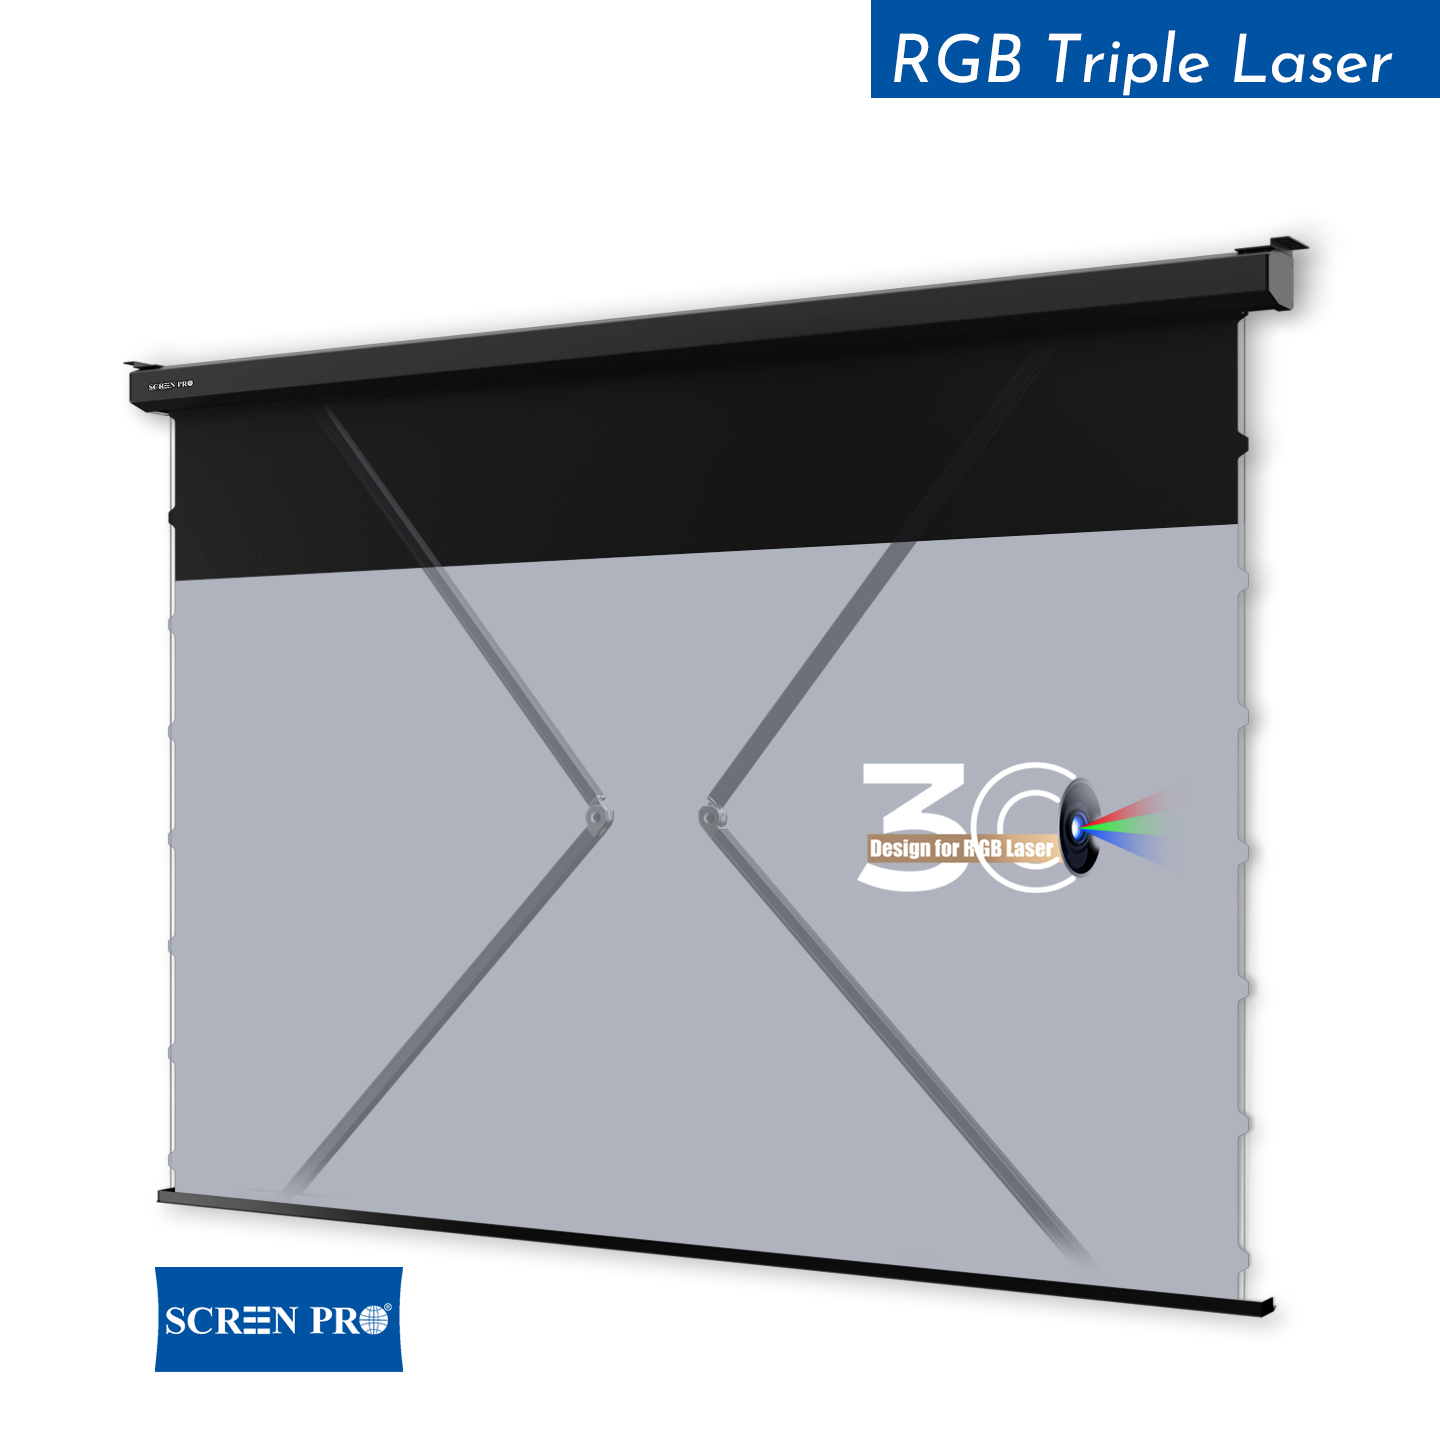
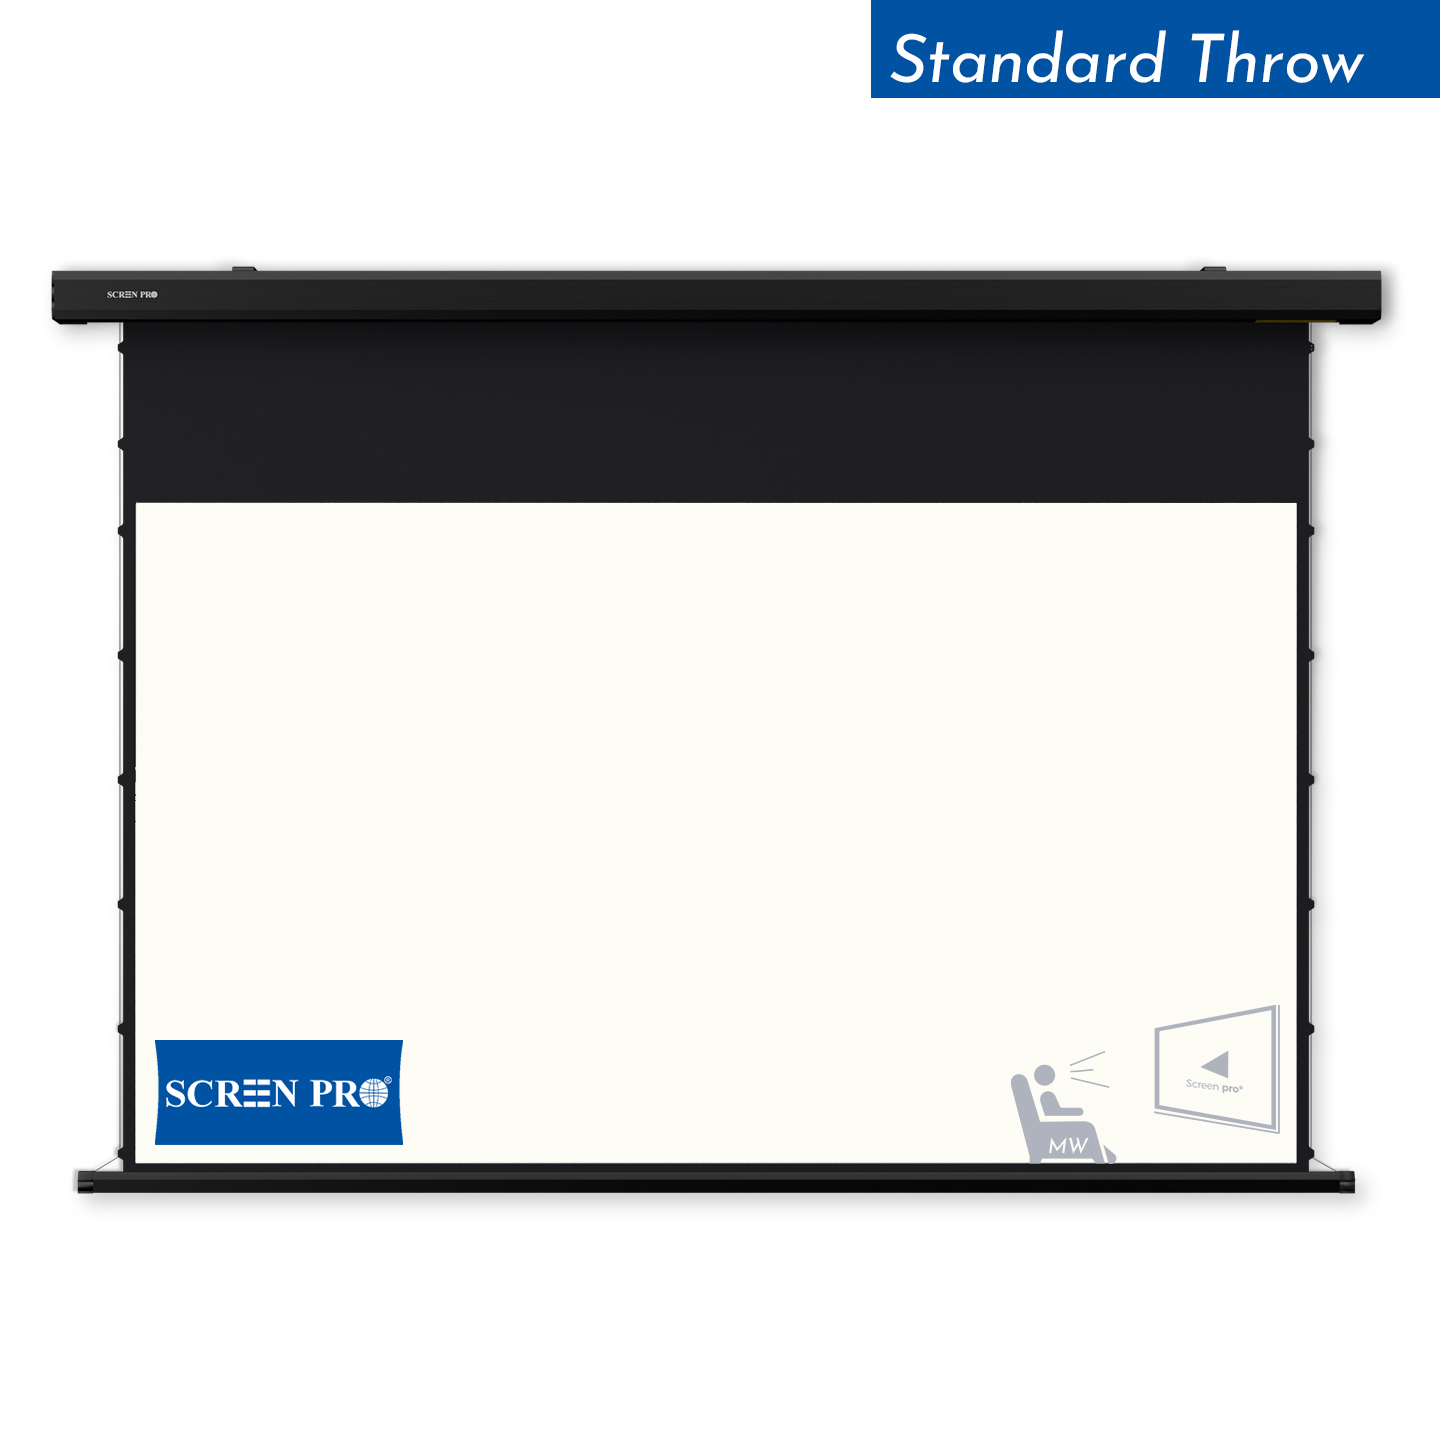
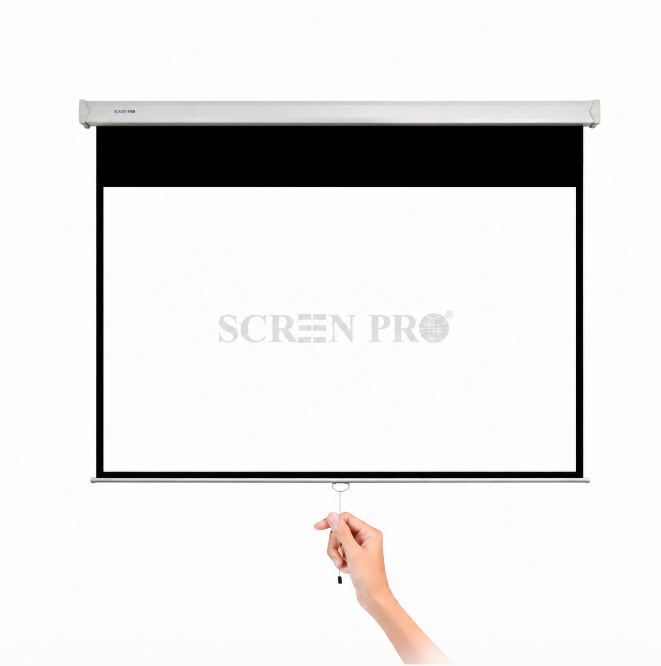
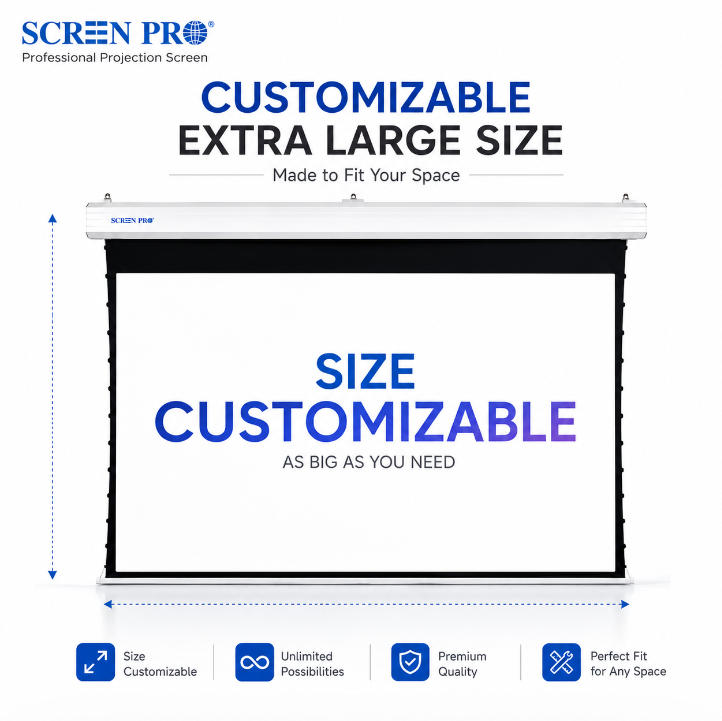
Motorized Screen
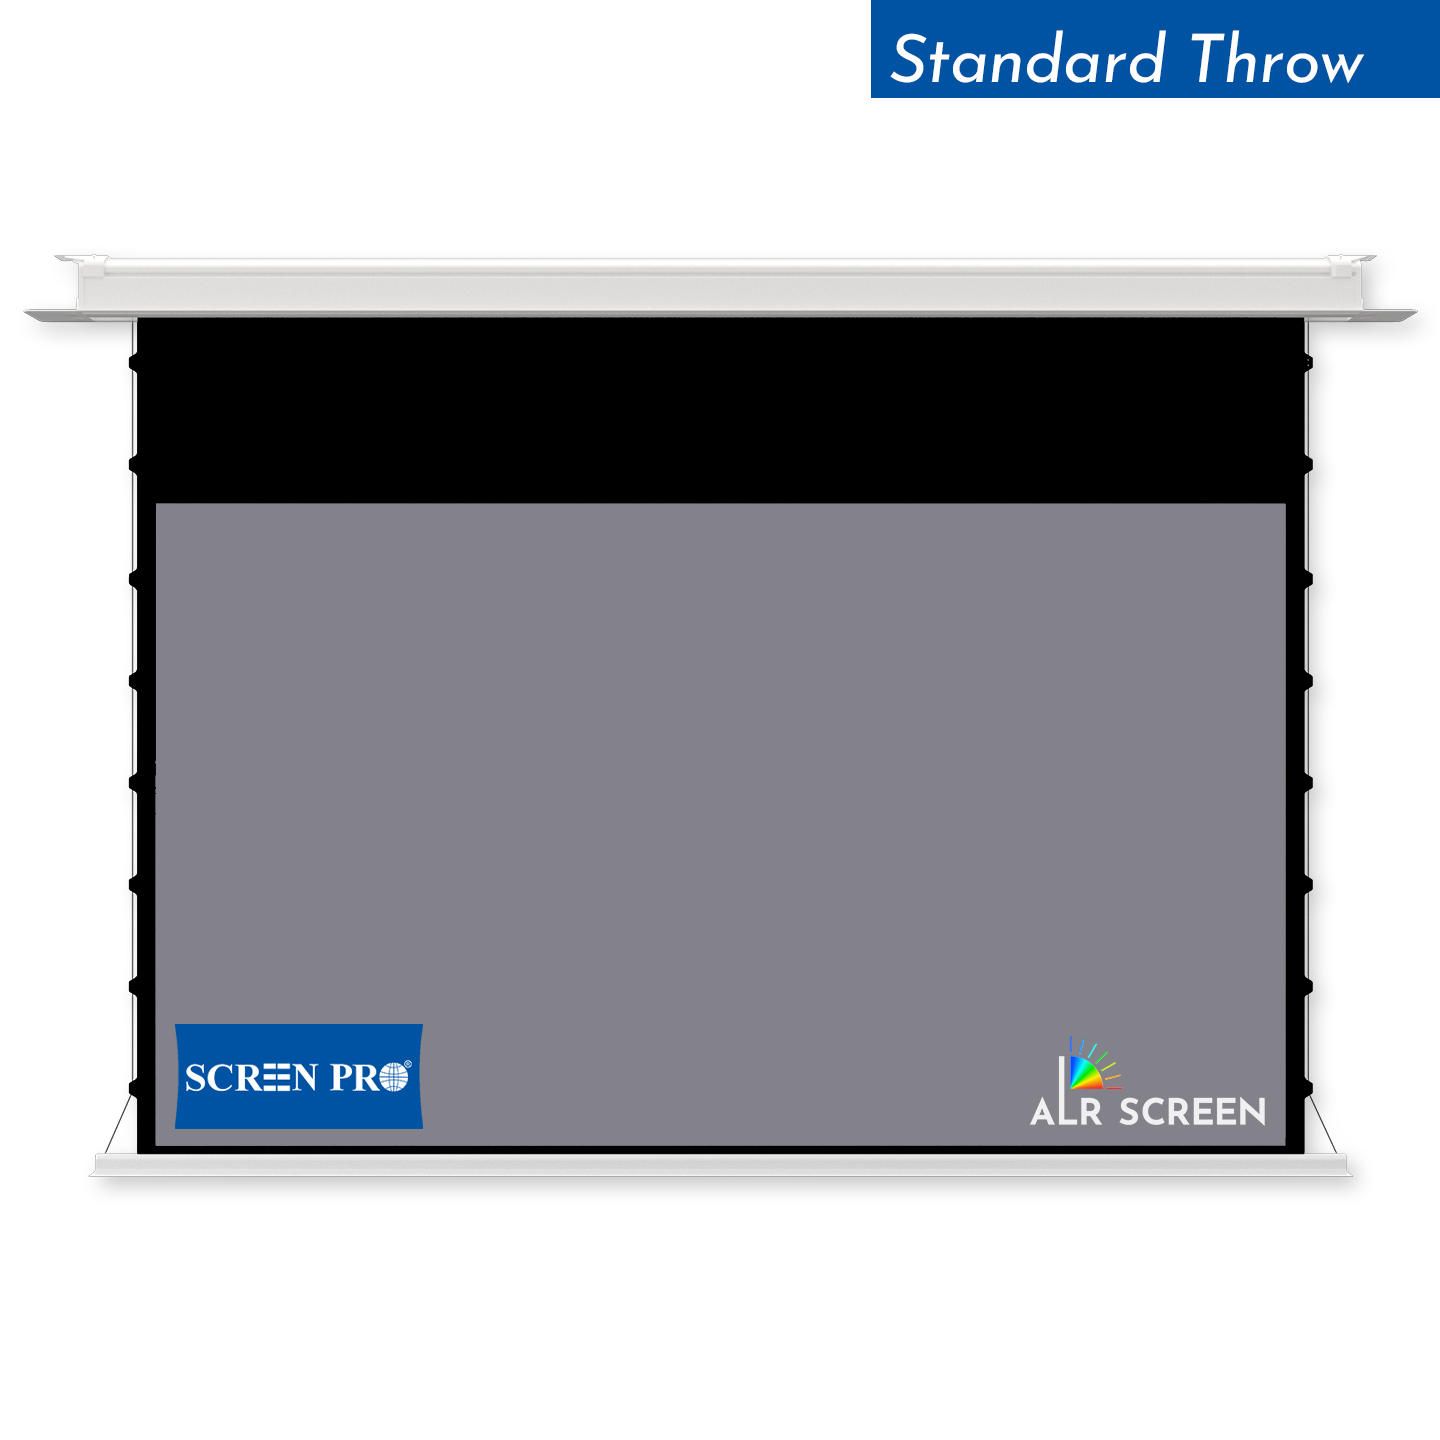
A motorized screen is useful when the theater shares space with a living room, entertainment room or multipurpose area.
Retracting the screen allows the room to return to a cleaner architectural appearance when the theater is not being used.
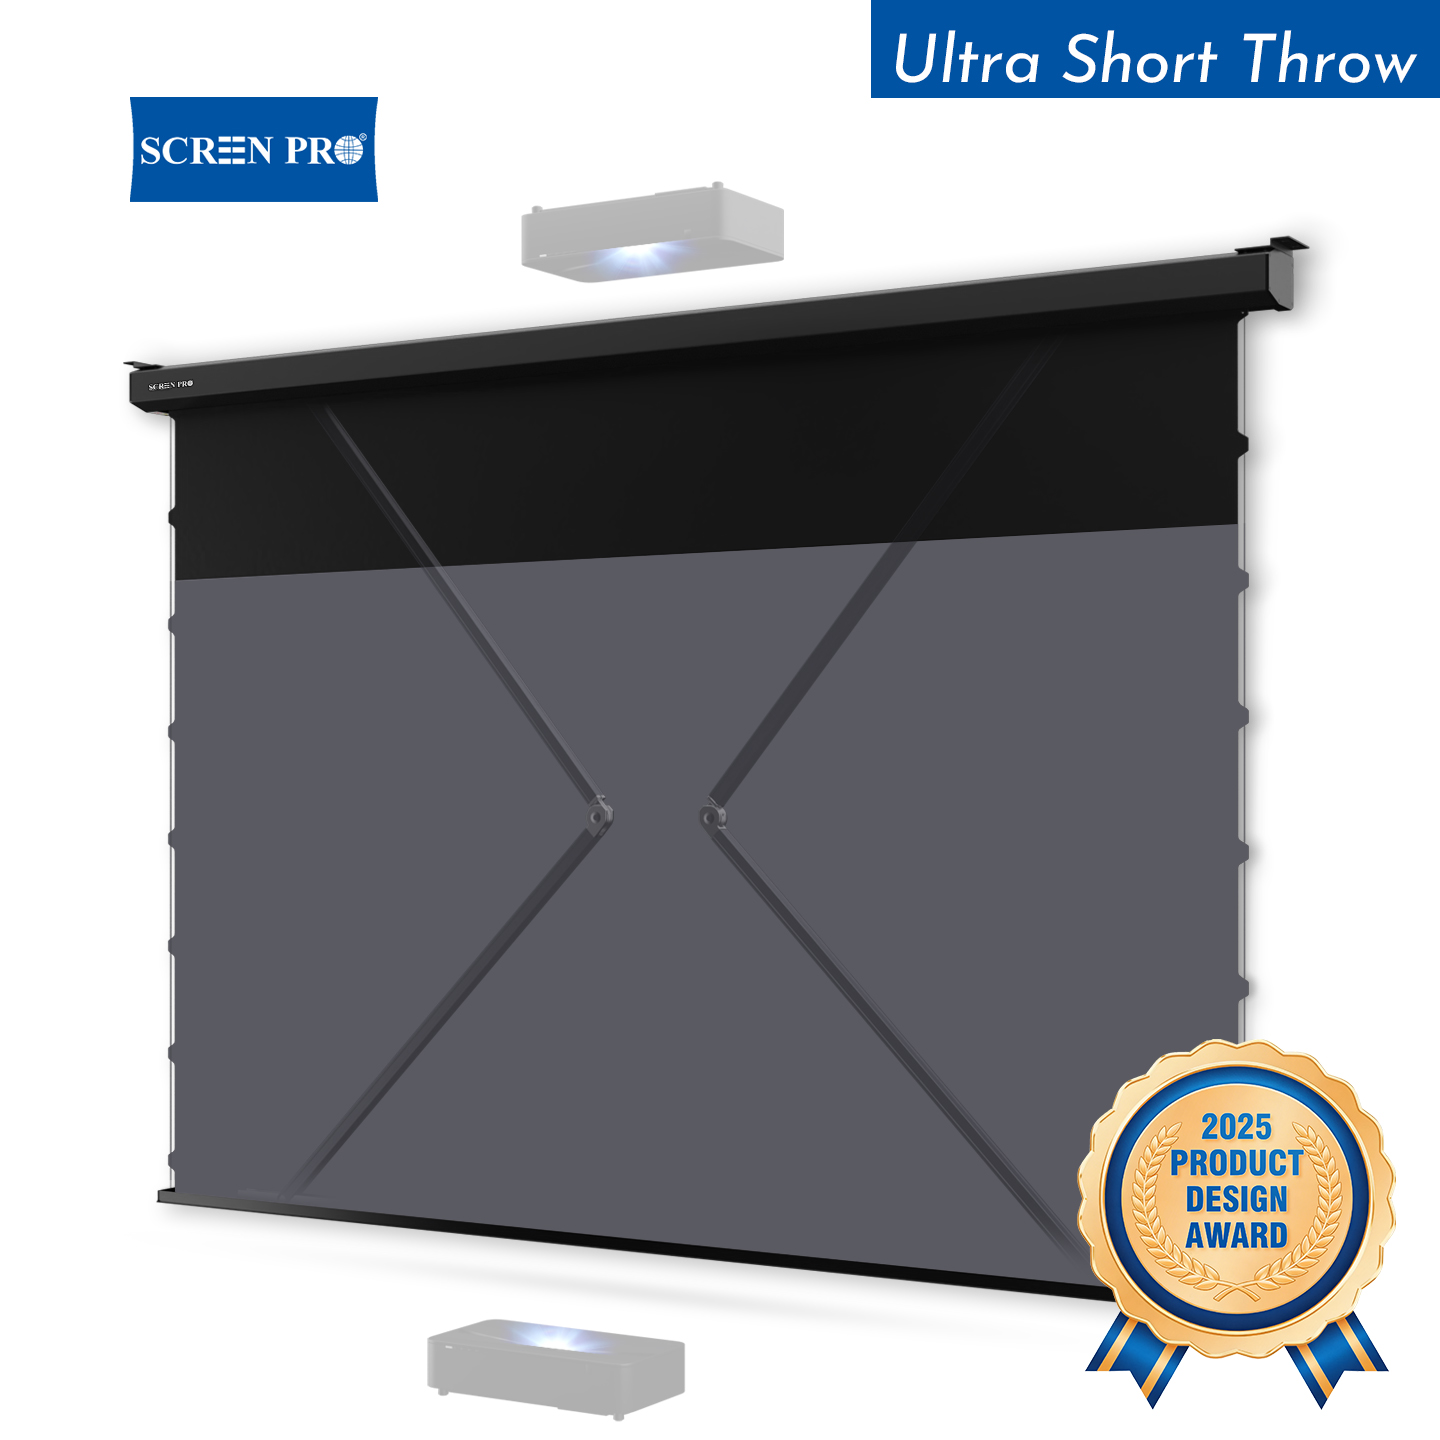
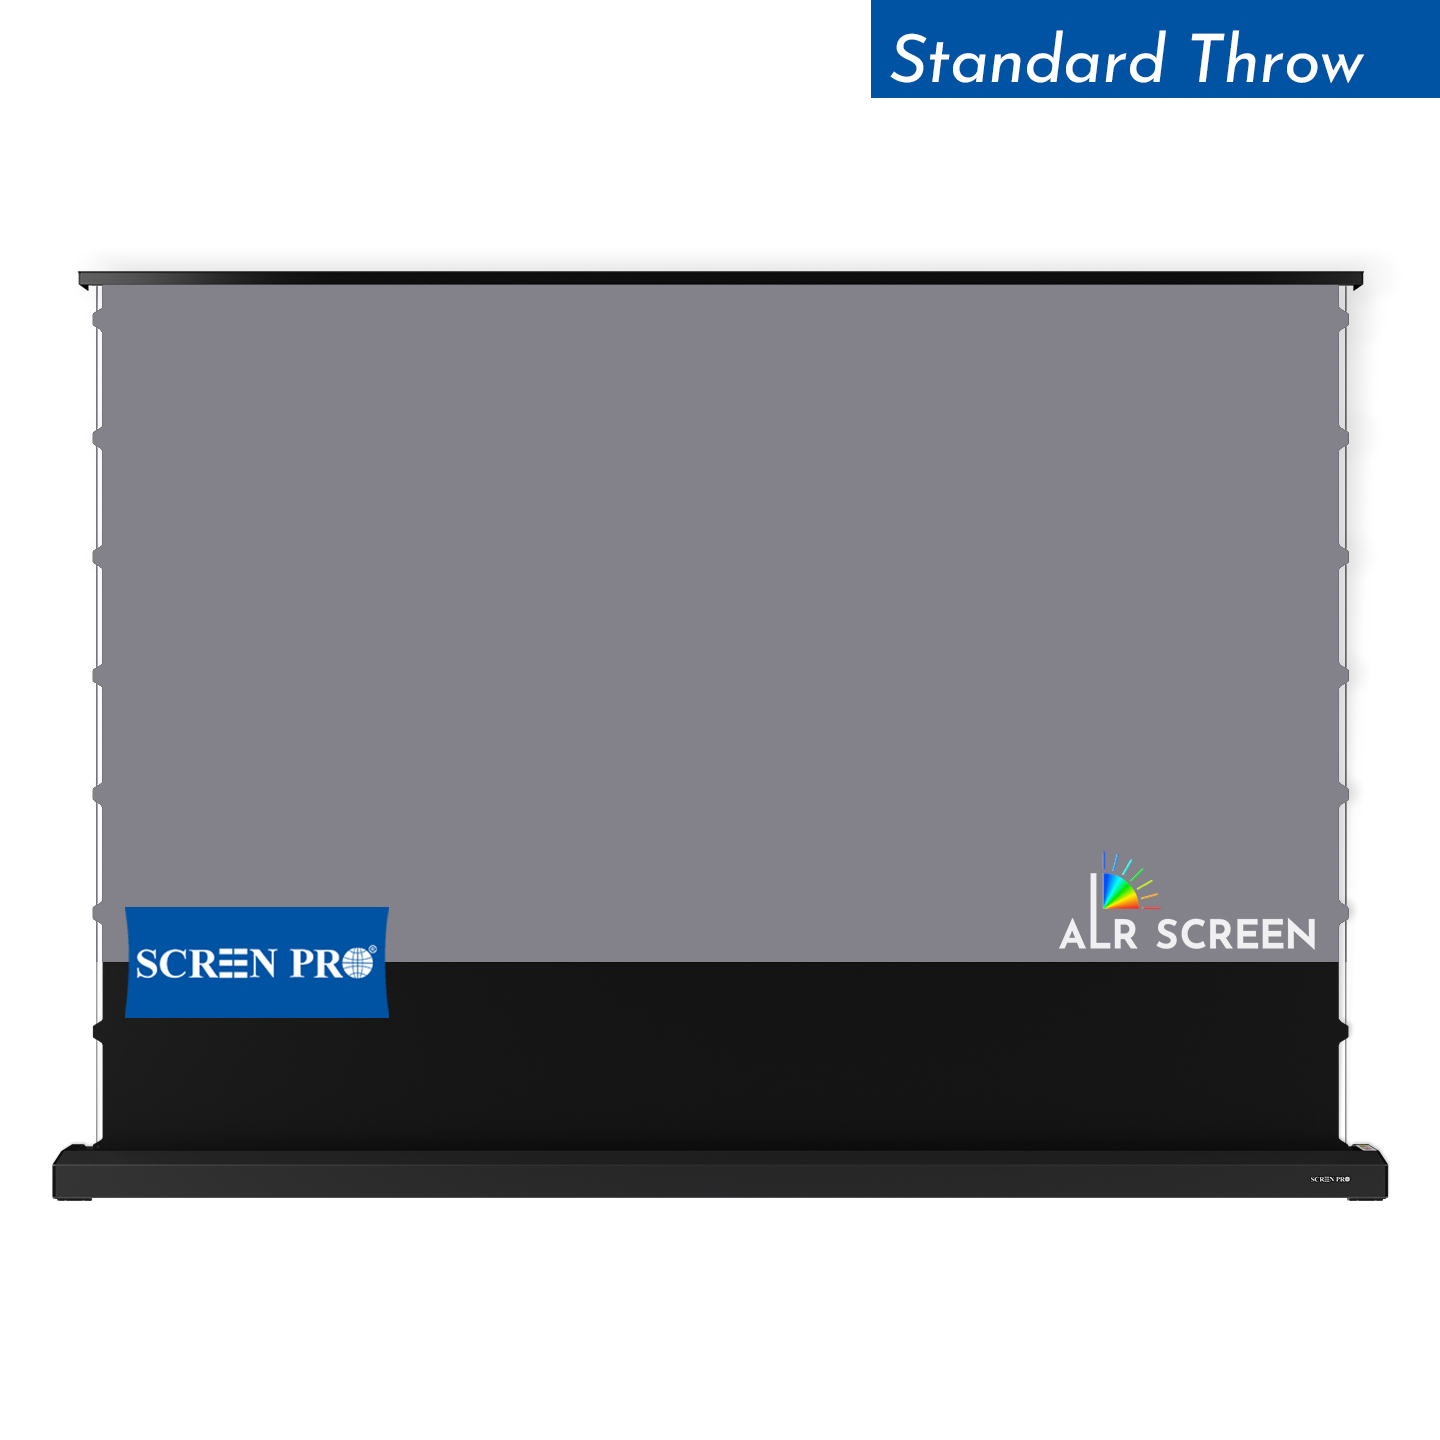
For installations where screen flatness is especially important, a tab-tensioned structure applies additional side tension to help maintain the projection surface.
Learn more: What Is a Tab-Tensioned Projector Screen?
Step 4: Match the Projector to the Screen
Projector selection should come after the target image size and screen material are established.
Important projector specifications include:
- light output;
- throw ratio;
- native resolution;
- contrast performance;
- lens shift;
- zoom range;
- HDR capability;
- laser or lamp light source;
- mounting flexibility.
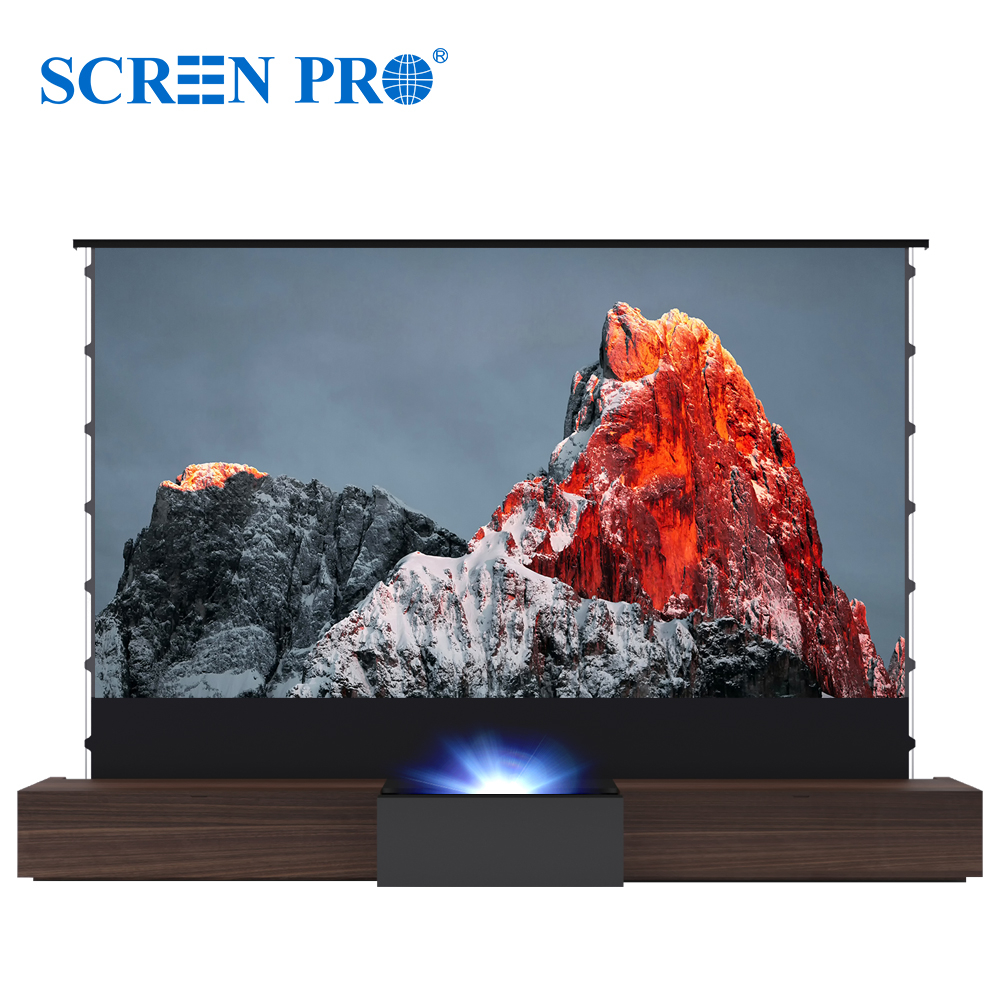
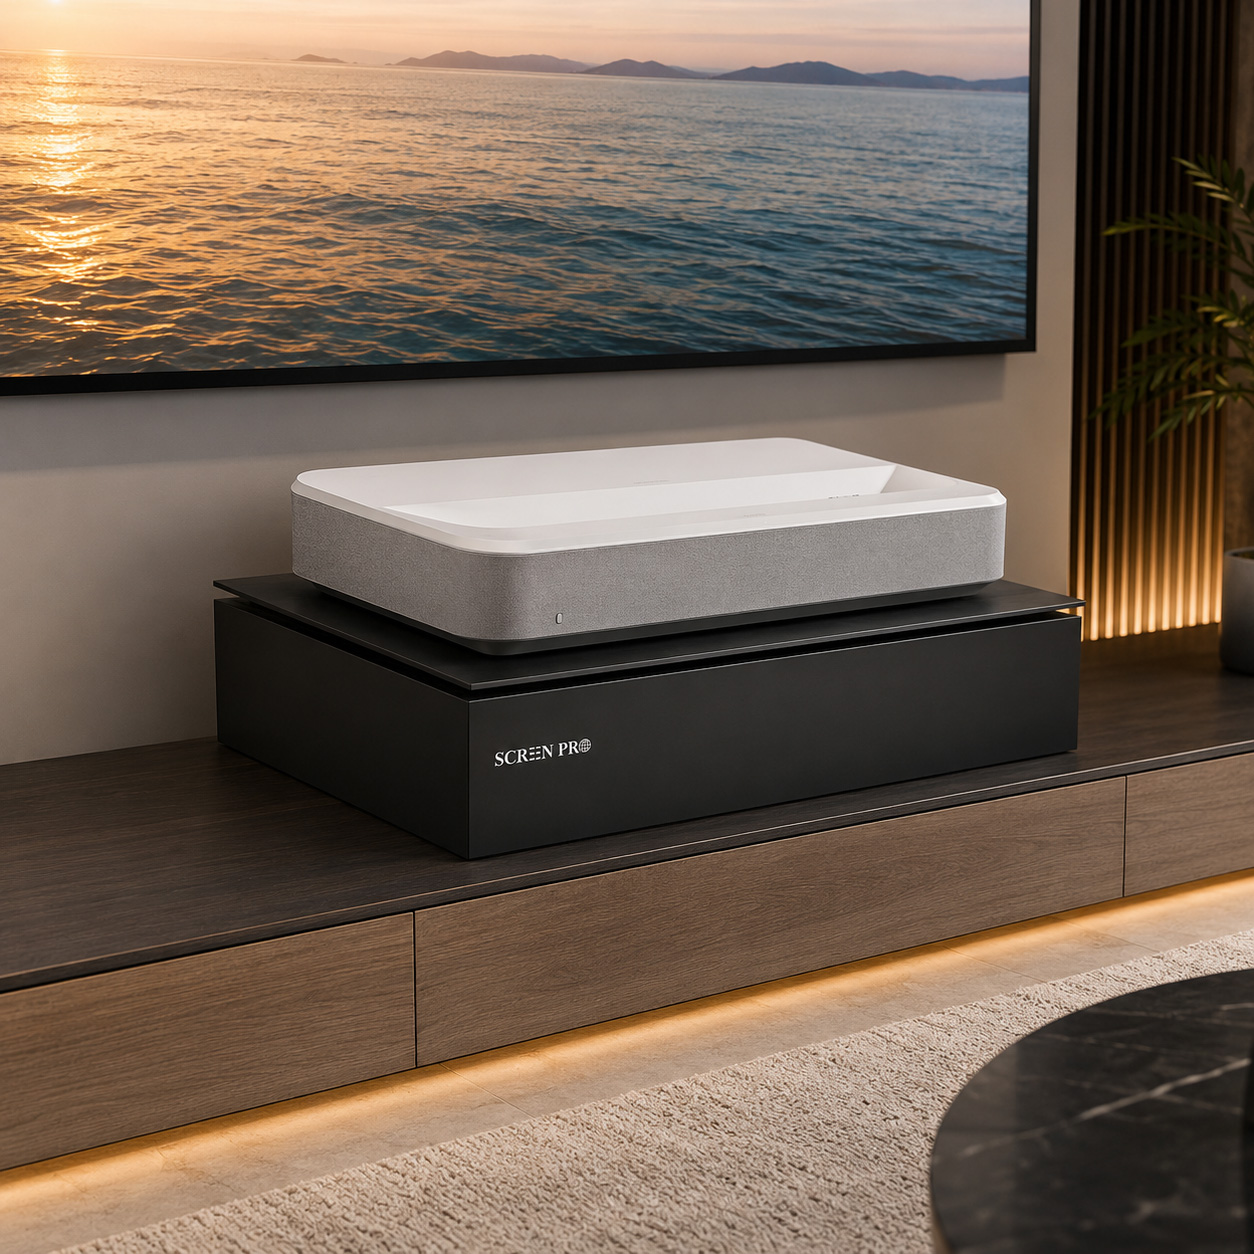
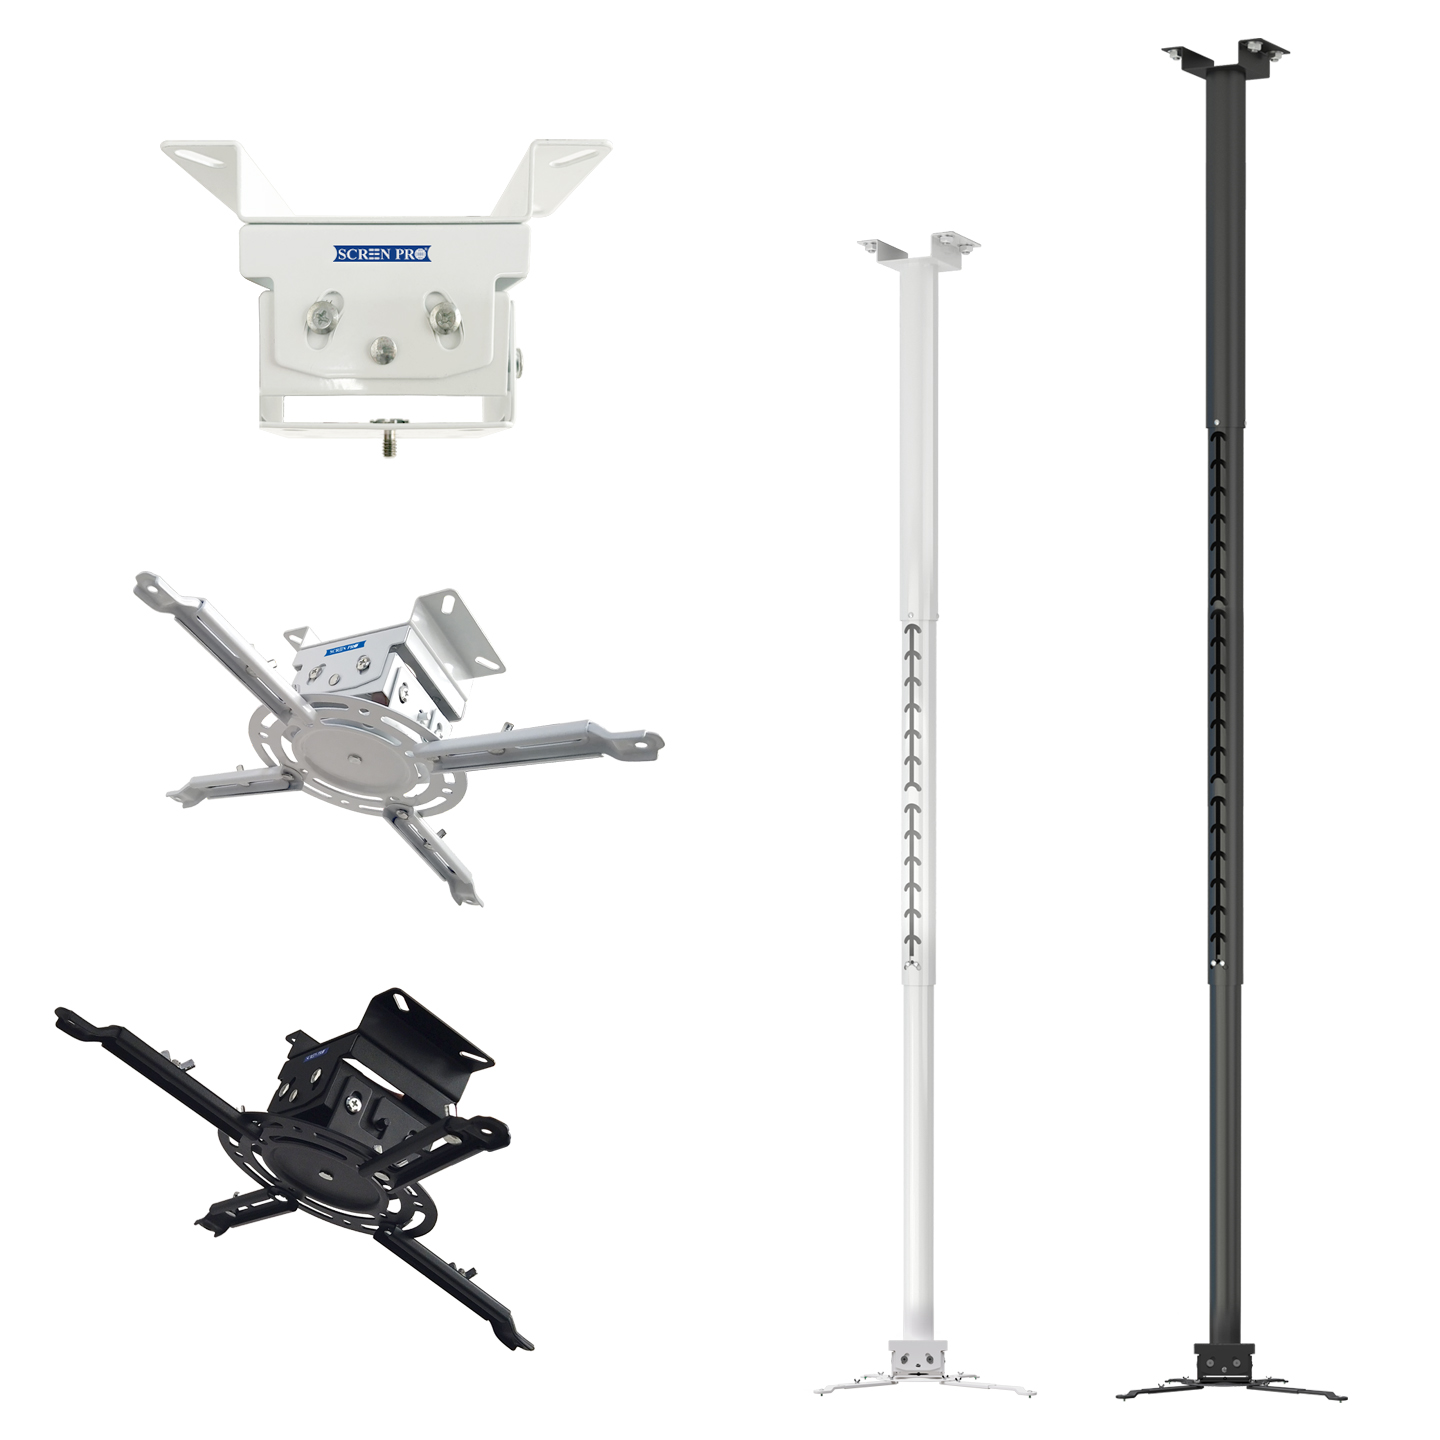
Long-throw projectors are typically ceiling mounted or installed behind the seating area. Ultra-short-throw projectors sit close to the screen and can provide a cleaner installation in living rooms.
Resolution alone does not determine image quality. The screen surface must also preserve image detail, uniformity and contrast. If you are planning a high-resolution system, see Best Projection Screens for 4K and 8K Projectors .
Step 5: Plan Your Speaker System
Image size creates visual immersion, but sound creates the sense that the viewer is actually inside the movie.
Common home theater layouts include:
| Audio Layout | Typical Configuration | Best For |
|---|---|---|
| 5.1 | Front L/R + Center + 2 Surround + Subwoofer | Smaller rooms |
| 7.1 | 5.1 plus rear surround channels | Medium dedicated theaters |
| 5.1.2 / 5.1.4 | 5.1 plus height channels | Dolby Atmos systems |
| 7.1.4 | 7-channel surround + 4 height speakers | Premium dedicated cinema rooms |
Step 6: Use an Acoustically Transparent Screen When Appropriate
One of the most effective upgrades in a serious home cinema is placing the front speakers behind the projection screen.
In a conventional setup, the center speaker is often placed below the screen. With an acoustically transparent screen, the center speaker can instead sit directly behind the projected image.
This creates a more natural relationship between picture and sound, particularly for dialogue and effects that move across the front soundstage.
For a more detailed technical comparison, read Woven vs Perforated Acoustic Transparent Screens .
View SCREENPRO FP-TW Acoustic Transparent Screen →
Step 7: Control Ambient Light
Projection works best when unnecessary light reaching the screen is minimized. That does not mean the room must always be completely dark.
A well-designed home theater can use several lighting zones:
- ceiling downlights;
- wall sconces;
- step lighting;
- LED accent lighting;
- indirect cove lighting.
The important factor is keeping direct light away from the projection surface.
If substantial ambient light remains in the room, review how ALR projection screens manage ambient light before choosing the screen material.
Step 8: Improve Room Acoustics
Hard surfaces such as glass, tile and bare walls reflect sound. Too many reflections can reduce dialogue clarity and make the sound feel harsh or unfocused.
Acoustic treatment may include absorptive wall panels, carpeting, curtains, bass traps and diffusers.
Good acoustic treatment should reduce unwanted reflections without making the room completely acoustically dead.
Step 9: Position the Seats Correctly
The primary seating position should be considered before the projector and speakers are installed.
Avoid placing the main seating position directly against the rear wall because bass response is often less consistent near room boundaries.
In multi-row theaters, rear seating may require a raised platform so every viewer has an unobstructed sightline to the screen.
Step 10: Plan Cables Before Installation
Cable planning is much easier during construction than after walls and ceilings are finished.
Consider routes for:
- projector power;
- HDMI or optical video transmission;
- speaker cables;
- subwoofer connections;
- network cabling;
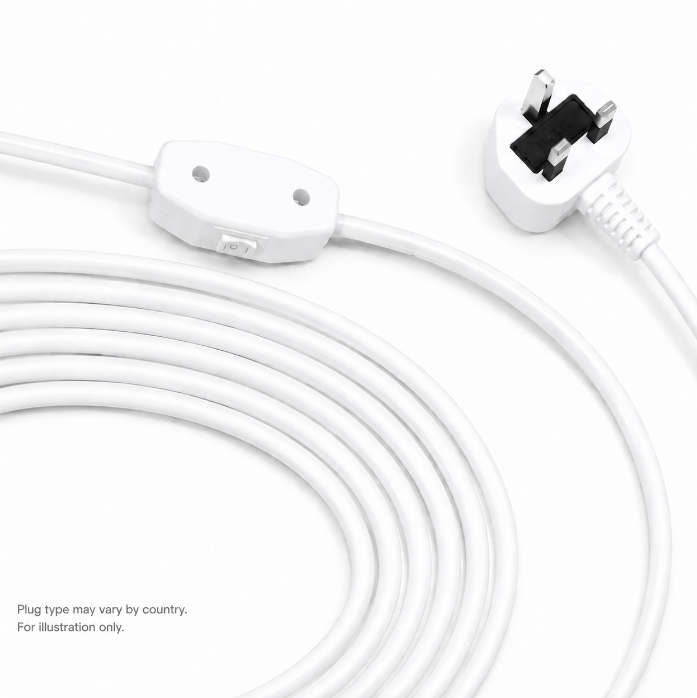
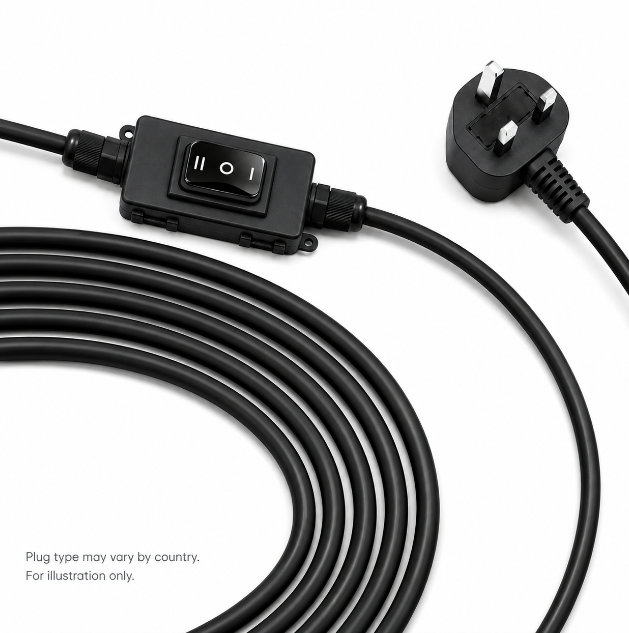
- projection screen power;
- RS485 or dry-contact control wiring;
- trigger cables;
- future expansion.
Step 11: Integrate the Screen with Home Automation
A professional theater can be designed so one command prepares the entire room for a movie.
For example, a theater scene could:
- lower the projection screen;
- turn on the projector;
- select the AV input;
- dim the room lights;
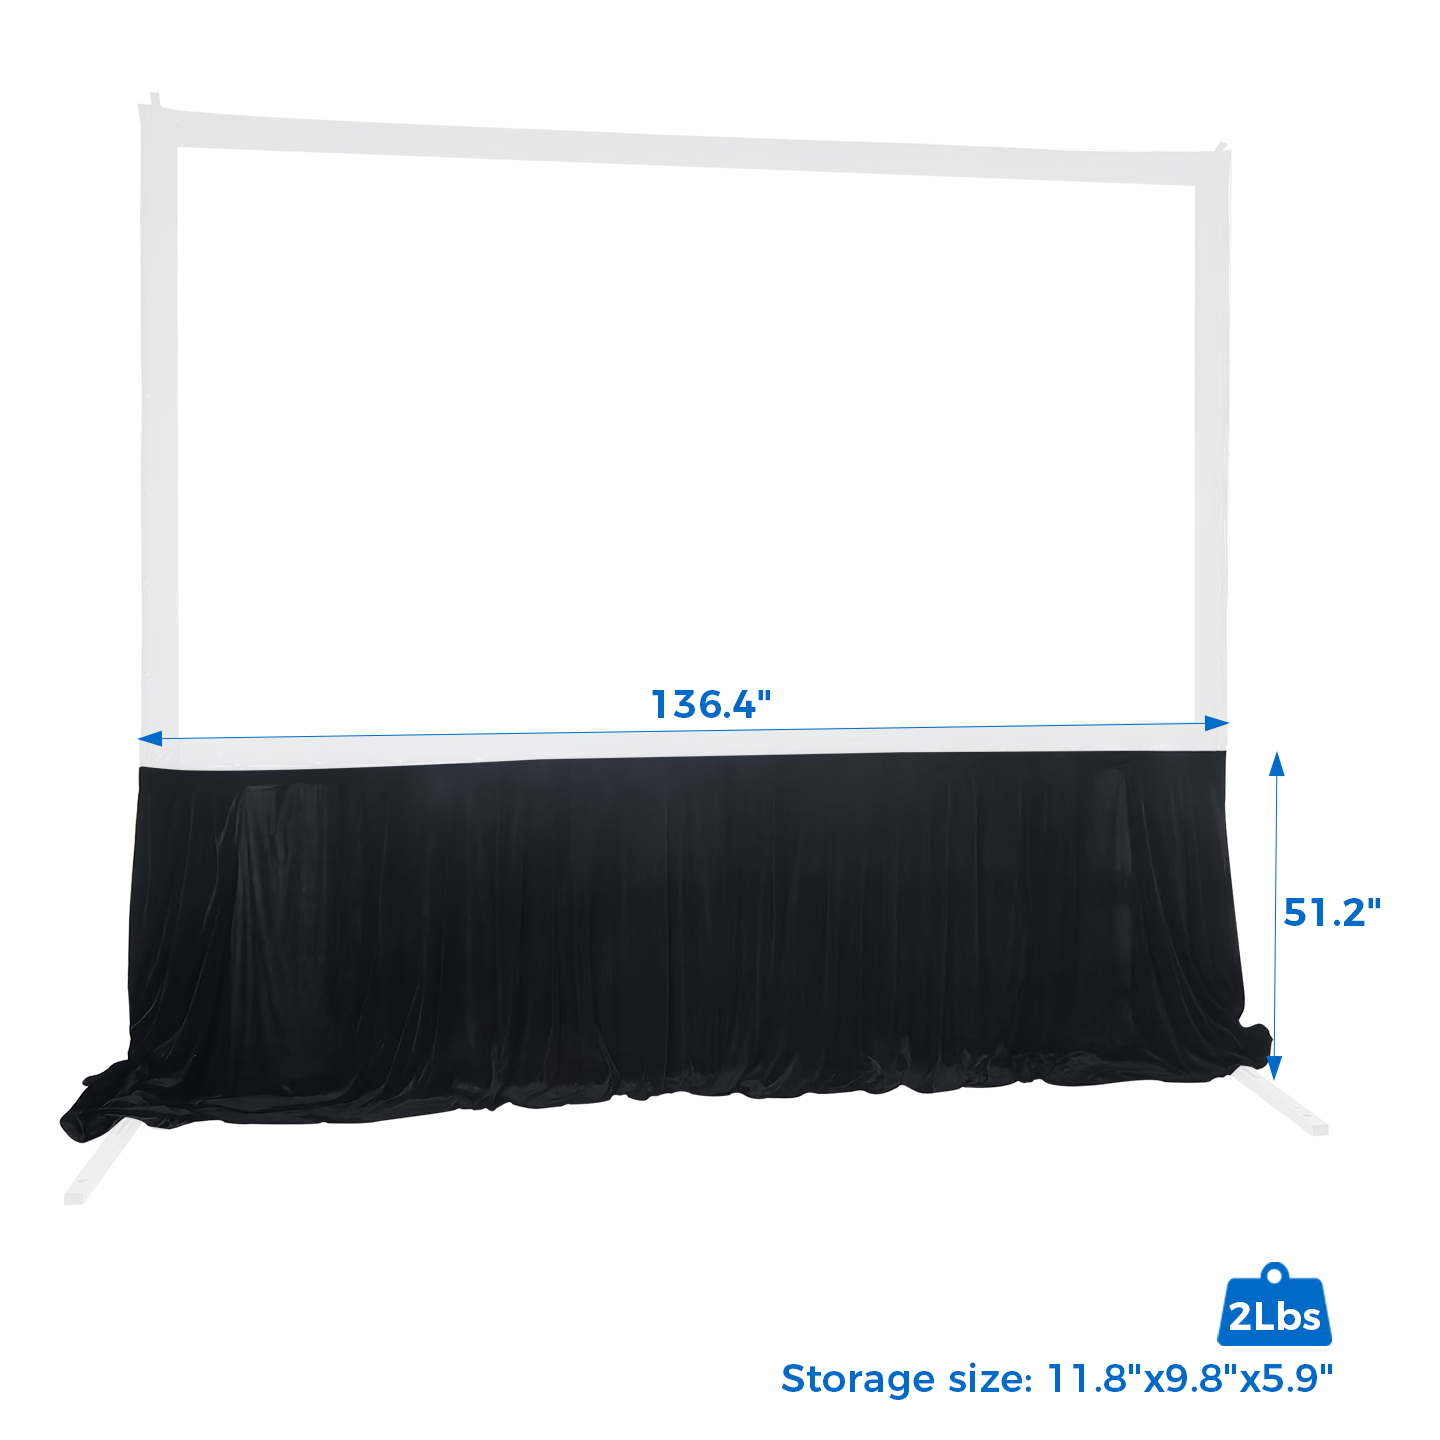
- close motorized curtains;
- set the audio system to the correct mode.
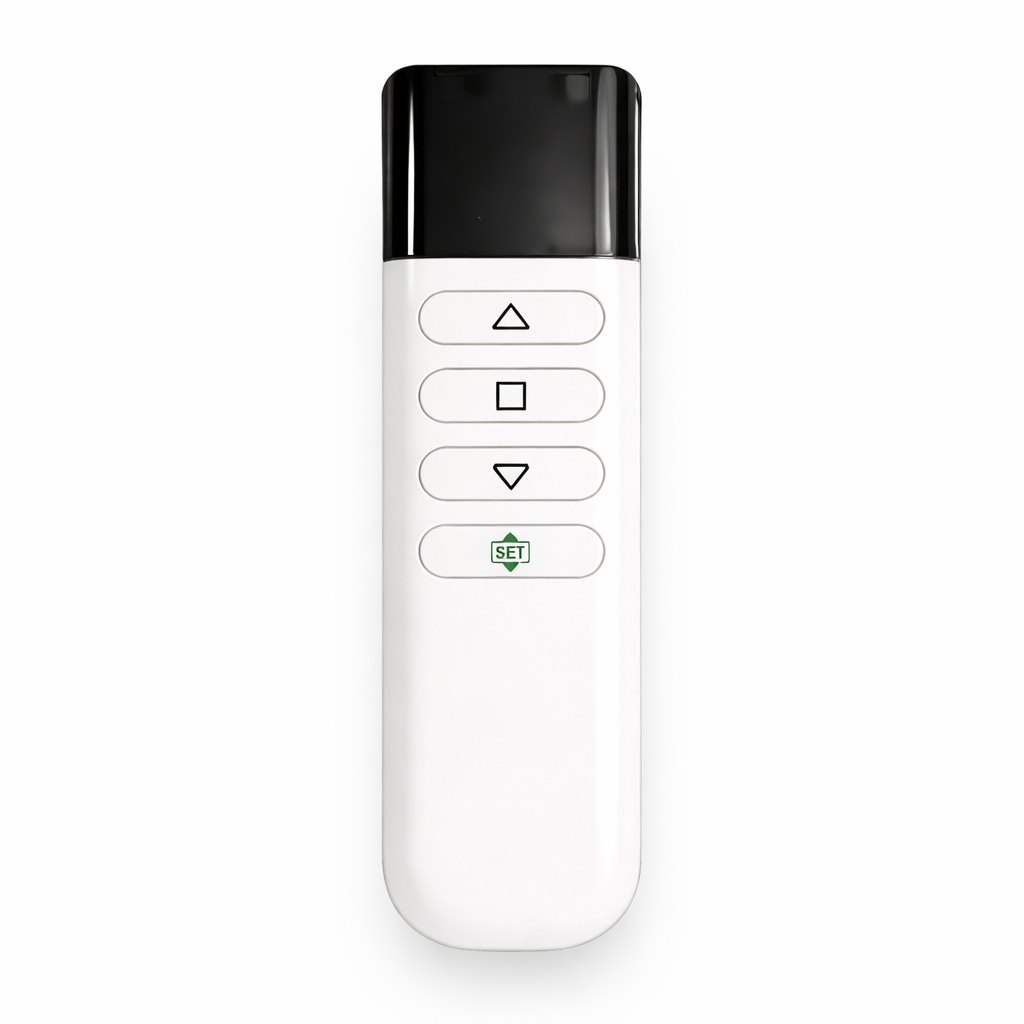
Depending on the SCREENPRO series and project requirements, control may be implemented through RS485, dry contact, RF control or trigger interfaces.
These interfaces can form part of larger KNX, Crestron and professional smart-home installations through the appropriate control architecture.
For additional control and installation information, visit the SCREENPRO Blog & Integration Resources .
Recommended Home Theater Setup by Room Type
Living Room Theater
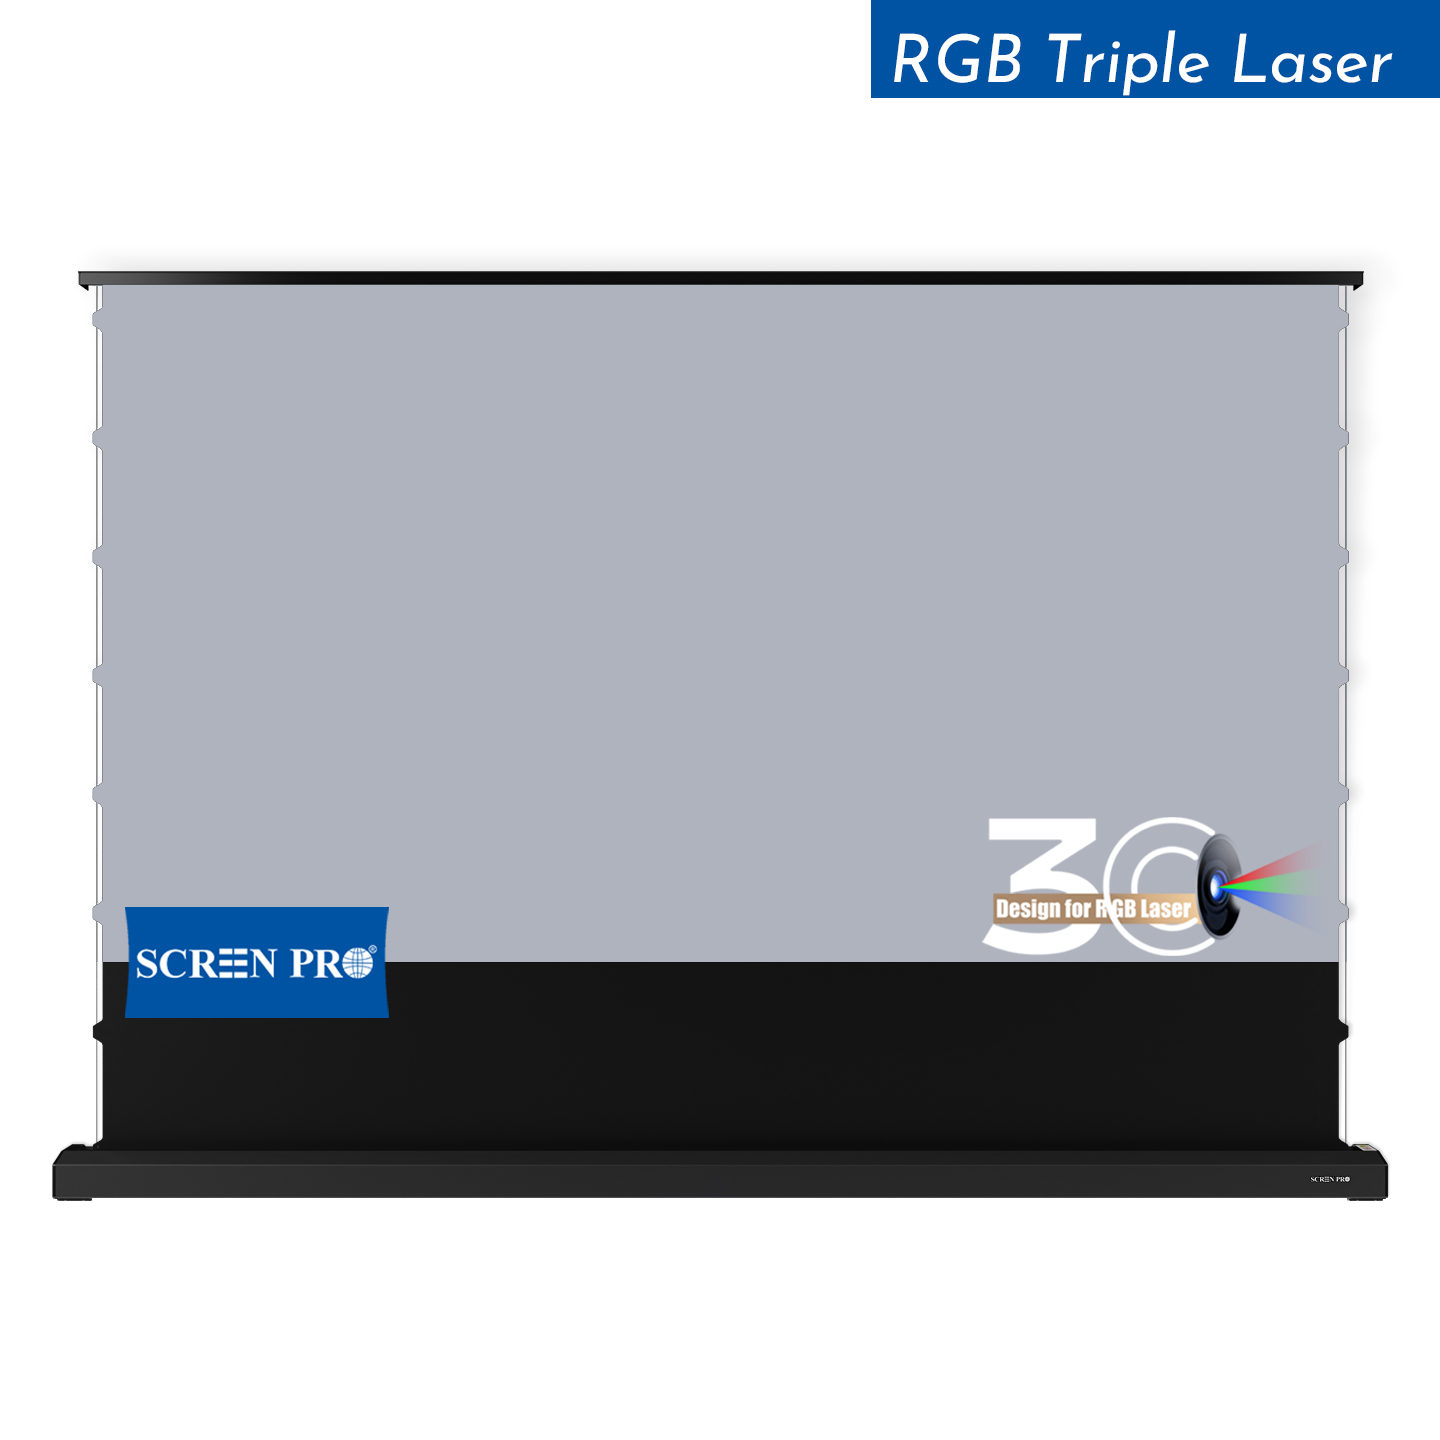
UST projector or compact long-throw projector + motorized/floor-rising screen + controlled lighting + compact surround system.
Dedicated Home Cinema
Long-throw projector + fixed-frame acoustically transparent screen + speakers behind screen + full surround audio + acoustic treatment.
Luxury Cinema Room
Large fixed-frame AT screen + high-output projector + multiple subwoofers + architectural lighting + automation integration.
Multipurpose Media Room
Retractable motorized screen + flexible seating + concealed AV hardware + automated lighting scenes.
Common Home Theater Mistakes to Avoid
Buying the projector before deciding screen size
Screen dimensions and projector throw distance should be planned together.
Choosing the largest possible screen
Bigger is not always better. Viewing comfort and projector brightness matter.
Ignoring screen material
Matte white, ALR and acoustically transparent materials perform very differently. If material selection is unclear, see Top 10 Things to Consider Before Buying a Projection Screen .
Putting direct lighting near the screen
Light falling directly on the projection surface reduces perceived image contrast.
Forgetting cable and control planning
Prewiring during construction is normally easier and cleaner than retrofitting later.
Before You Buy
Before ordering a projection screen, confirm:
- projector type;
- projector throw distance;
- target image size;
- aspect ratio;
- ambient-light conditions;
- installation method;
- screen material;
- speaker placement;
- control requirements.
Our Top 10 Things to Consider Before Buying a Projection Screen provides a useful final checklist before selecting a product.
The Perfect Home Theater Starts with System Planning
The best home theaters are not built around one expensive component. They are created by matching the room, viewing distance, projection screen, projector, audio system, lighting and control architecture as one complete system.
Start by defining the screen size and viewing position. Then choose the correct screen material and projector. Finally, design the speakers, acoustics, lighting and automation around that core layout.
Find the Right Screen for Your Home Theater
From dedicated cinema rooms to modern living spaces, the right screen depends on your projector, room lighting, installation method, viewing distance and audio layout.
Find the Right Projection Screen Discuss Your Home Theater ProjectFrequently Asked Questions
What equipment do I need for a home theater?
A complete projector-based home theater typically includes a projector, projection screen, AV receiver or processor, speakers, subwoofer, source devices, seating, lighting control and appropriate cabling.
What type of projector screen is best for a home theater?
For a dedicated dark-room theater, a fixed-frame screen is often preferred because it provides a consistently flat surface. If speakers need to be installed behind the image, an acoustically transparent screen can be used.
Is a 120-inch screen big enough for a home theater?
Yes. A 120-inch screen can provide a highly immersive experience in many residential rooms. The correct screen size should always be matched to viewing distance and room dimensions.
Do I need an ALR screen for a dedicated home theater?
Not necessarily. In a well-controlled dark room, a conventional projection surface can provide excellent image uniformity. ALR screens become more useful when unwanted ambient light is present.
Should speakers go behind the projector screen?
In premium home theaters, placing the front speakers behind an acoustically transparent screen can improve the relationship between image and sound because dialogue and effects originate closer to their on-screen positions.
Can a projector screen be connected to a smart-home system?
Yes. Depending on the screen control system, interfaces such as RS485, dry contact, triggers or other control modules can be used as part of a professional home automation installation.