

© 2026 SCREENPRO®. Specifications are subject to change without notice. | SamsAV All Rights ReservedSite Map Designed by iwonder.cn


Providing complete product and installation information can help SCREENPRO® identify the issue more efficiently.
When requesting technical support, please provide as much of the following information as possible:
Screen Model
Serial Number
Purchase Channel or Seller
Projector Model, if relevant
Power and Control Method
Description of the Issue
Photos or Video Showing the Problem
For installation or integration issues, drawings, wiring information, installation photos, and details of the connected control system may also be helpful.
Please do not disassemble motors, controllers, or other electrical components unless instructed by qualified technical support.
Email: market@samsav.cn
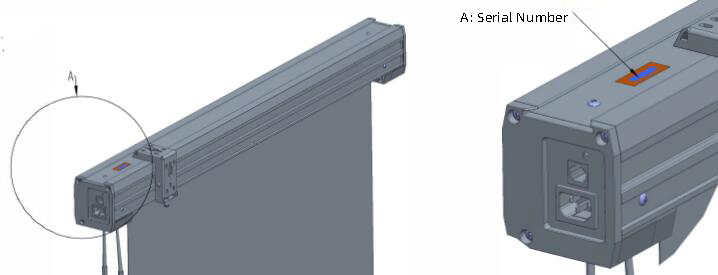
The serial number (S/N) helps identify your SCREENPRO® product and may be required when requesting technical support, replacement parts, or warranty service.
The serial number label is located on the product itself. Its location varies by screen type:
Manual Screens: End cap or weight bar
Motorized / Electric Screens: End cap or weight bar
Tripod Screens: Rear side of the housing
Fixed-Frame Screens: Rear or lower section of the frame
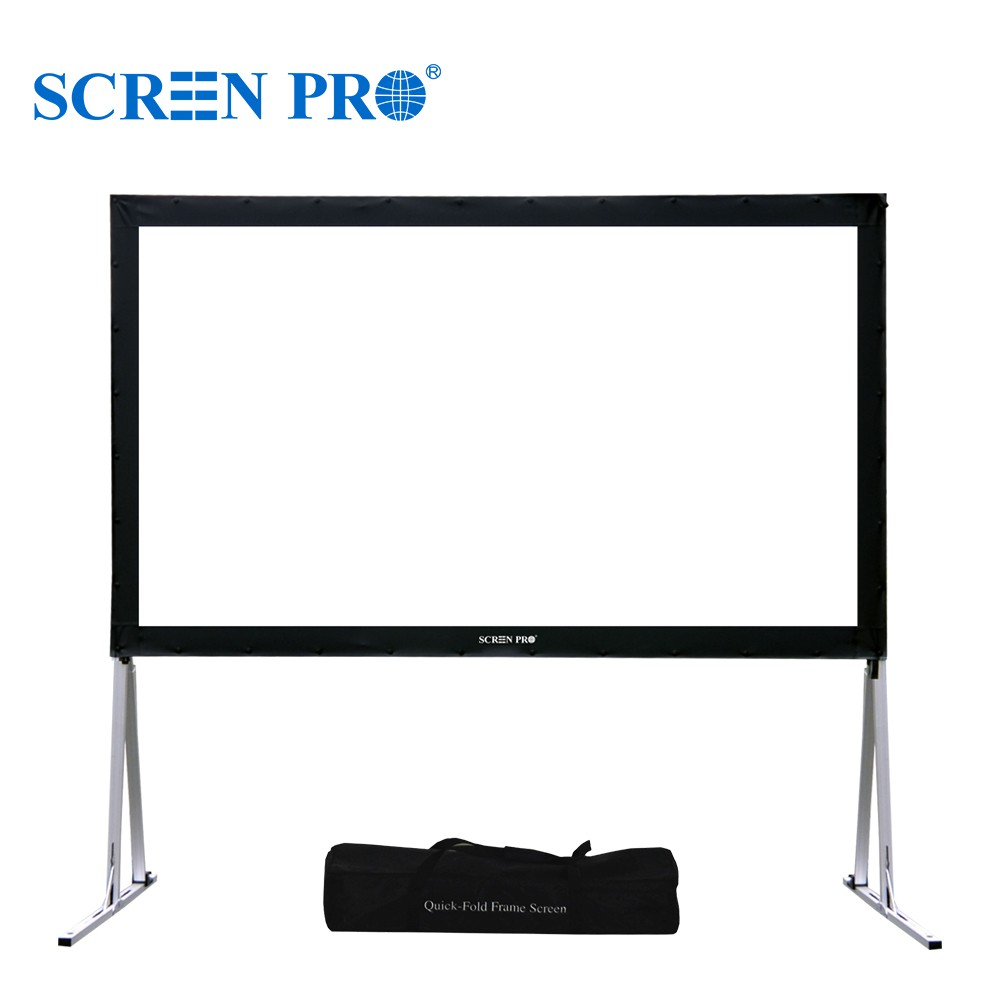
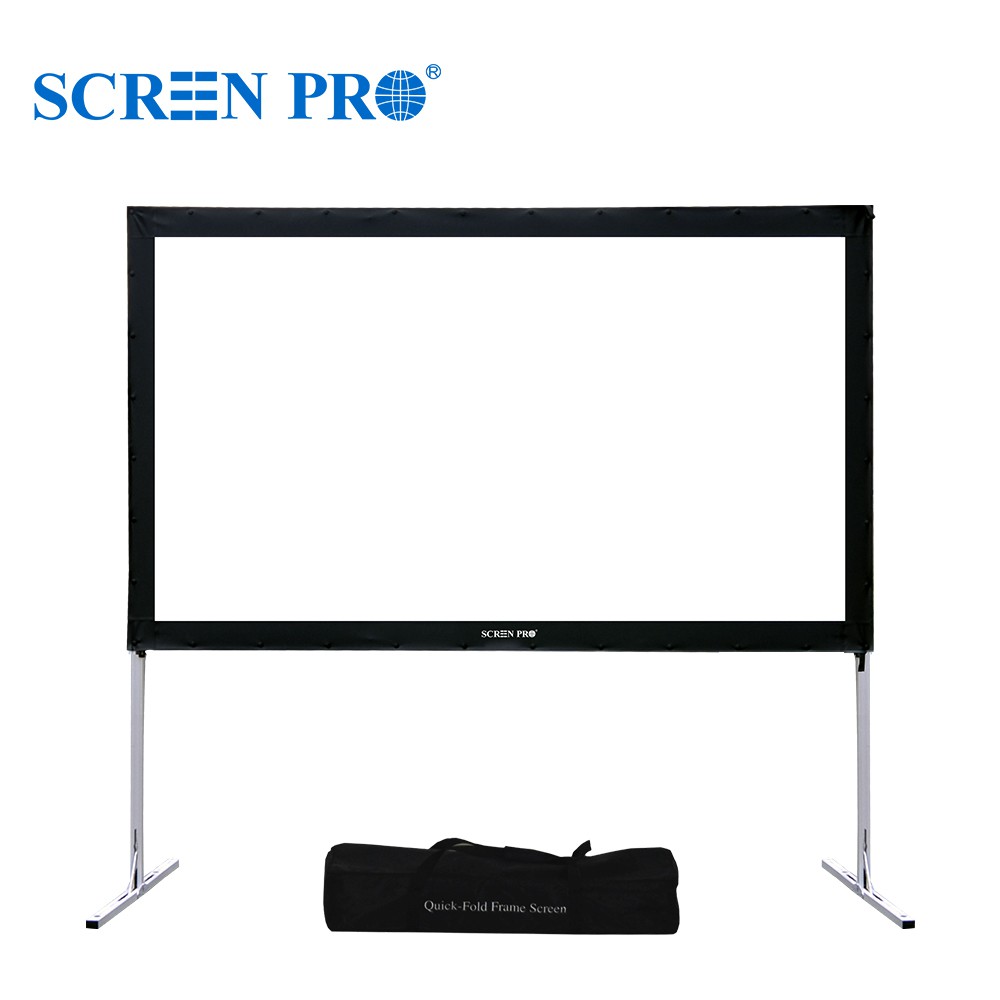
Quick-Fold Screens: Rear side of the frame
Floor-Rising Screens: Rear side of the housing
If you cannot locate the serial number, send us photos of the product, housing, end caps, frame, and any product labels so our support team can help identify the screen.
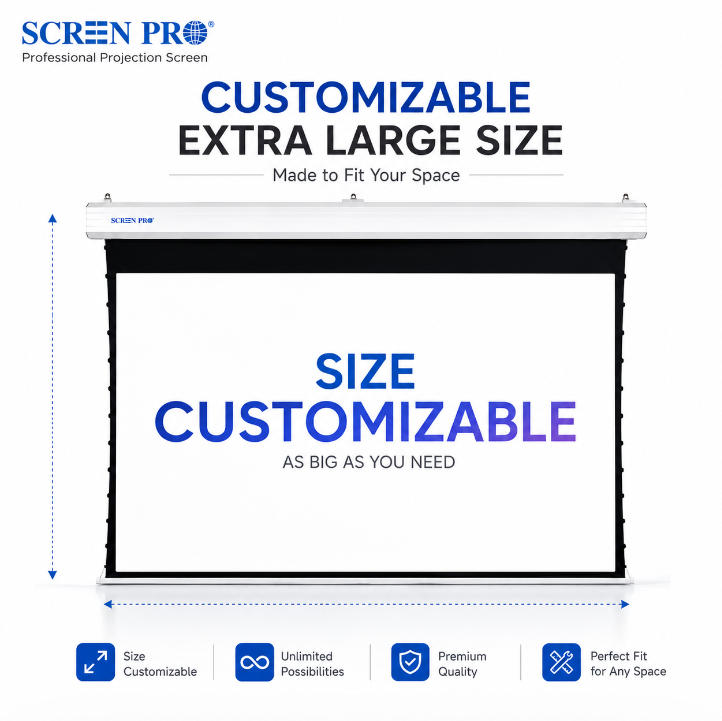
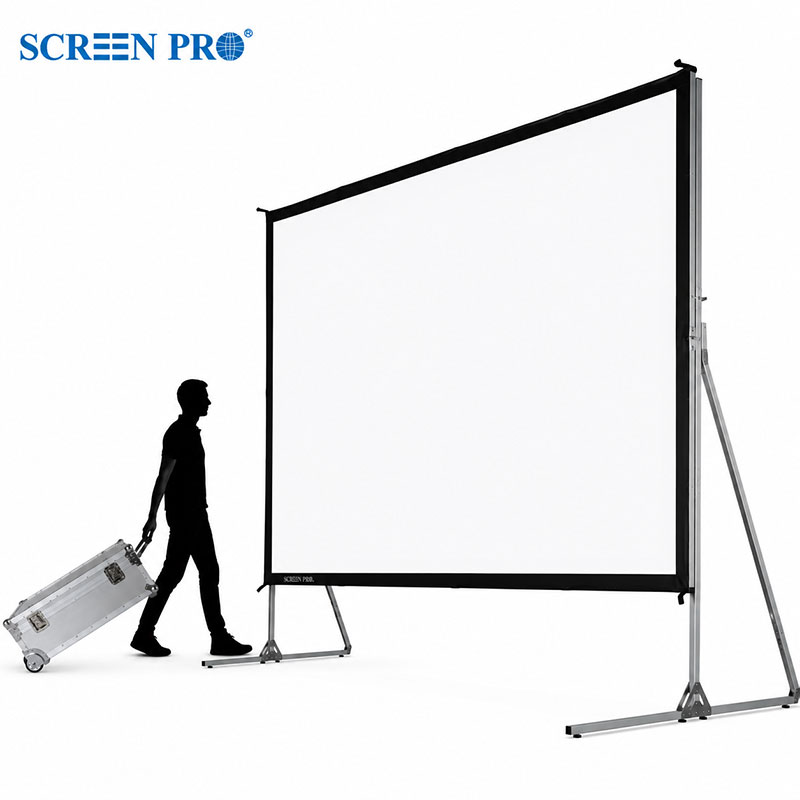
For large projection screens, the installation access route should be checked before ordering.
Measure doorways, elevators, stairways, corridors, corners, ceiling openings, and other restricted access points along the delivery and installation path.
If a fully assembled screen or housing cannot pass through the available access route, SCREENPRO® may be able to evaluate an alternative screen structure, sectional configuration, assembly method, or other project-specific solution depending on the product series.
For large-format projects, please provide the required screen size, installation location, access dimensions, and photos or drawings of restricted areas before production whenever possible.
If a motorized projection screen stops too high, too low, or at an unexpected position, the screen limit settings may need to be checked or adjusted.
Limit-setting procedures vary by motor, controller, and screen series. Do not adjust mechanical or electronic limits using instructions intended for a different SCREENPRO® model.
Before making any adjustment, identify the screen model, motor or control type, and current symptom. Photos or a short video showing the screen position can also help with diagnosis.
Contact SCREENPRO® or your original seller for the correct limit-setting procedure for your screen configuration.
If a SCREENPRO® motorized projection screen is not responding, first check the power supply and confirm that the screen is receiving the correct input voltage.
Then check the wall switch, remote control, trigger, or other control device being used. If a remote control is involved, check the battery and confirm that the correct control method is being used for the screen.
If the screen is connected to an external control system, temporarily isolate the external control where appropriate and verify whether the screen can operate from its original control method.
If the screen still does not respond, do not repeatedly operate or disassemble the screen. Record the screen model, serial number, symptoms, and control method, and contact SCREENPRO® or your original seller for technical support.
Yes. Selected SCREENPRO® motorized projection screen systems support RS485 and/or dry contact control for professional AV and automation integration.
These interfaces can be used to integrate compatible screen systems with third-party control and building automation platforms.
Available interfaces and wiring methods vary by screen series and controller configuration. Please confirm the exact screen model before planning the control system or wiring.
For integration projects, provide the screen model, control system, and required control interface so our team can confirm the appropriate connection method.
Yes, selected SCREENPRO® motorized projection screens can be integrated with a compatible projector trigger solution for automatic screen operation.
When properly configured, the screen can deploy when the projector is turned on and retract when the projector is turned off.
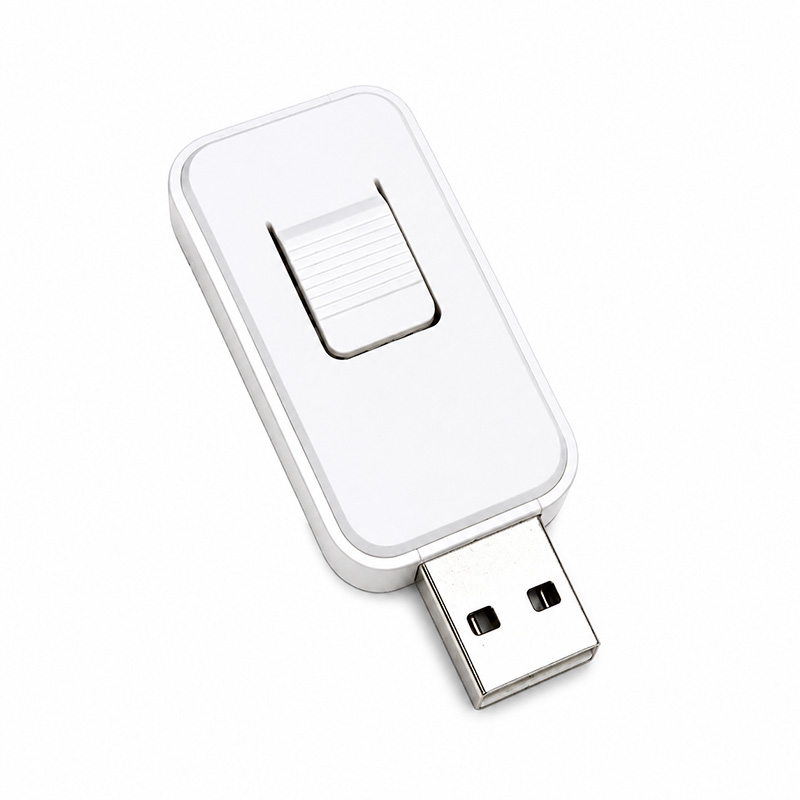
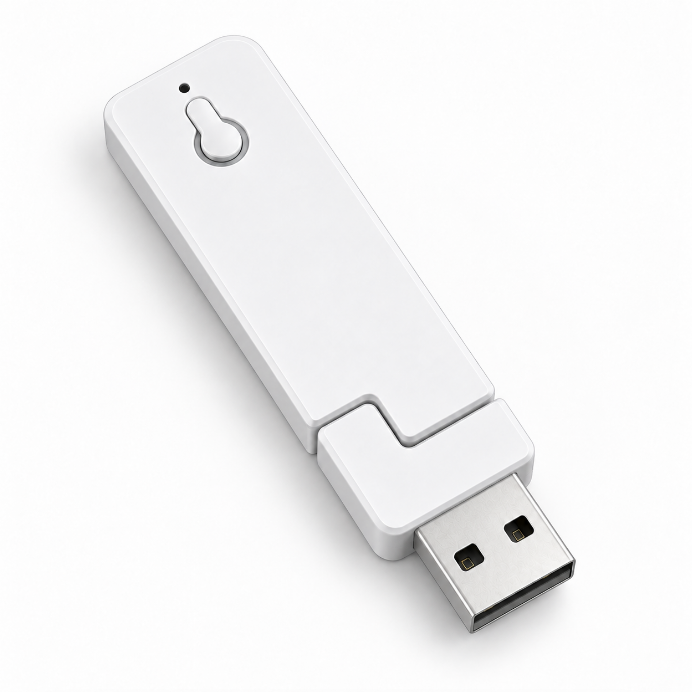
The required trigger method depends on the projector and screen configuration. SCREENPRO® offers trigger solutions for compatible applications, including USB-trigger options for selected screen systems.
Please provide your projector model and SCREENPRO screen model so we can help identify the appropriate trigger solution.
Control options vary by SCREENPRO® screen series and configuration.
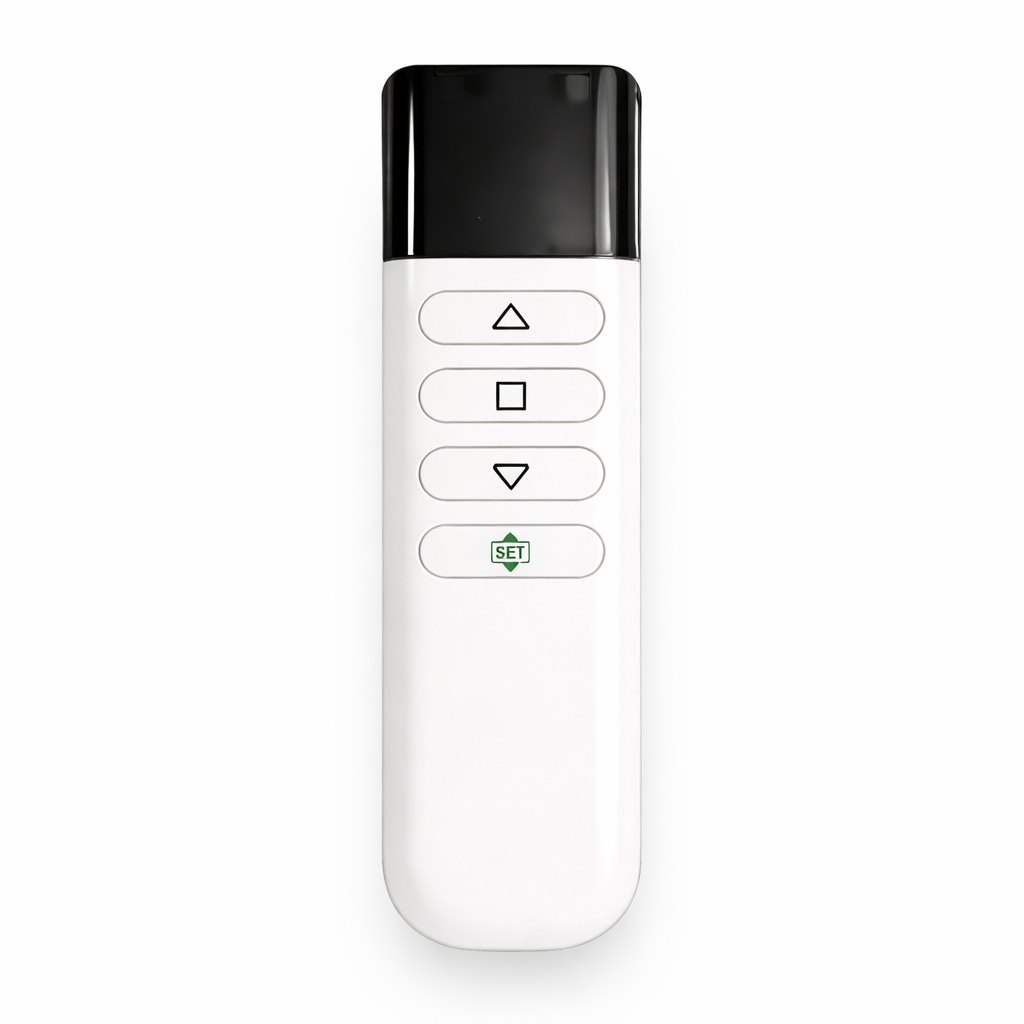
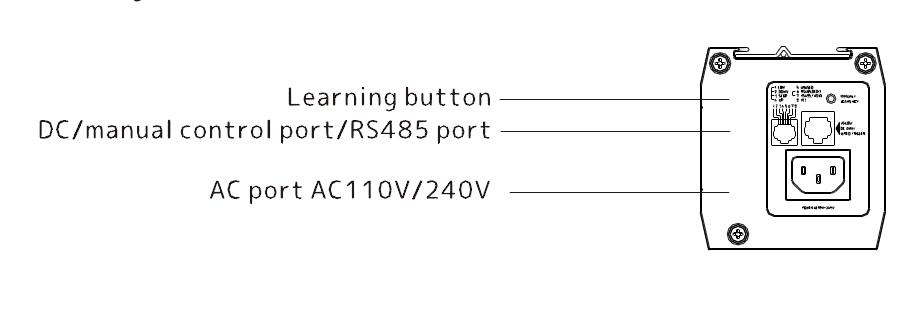
Depending on the model, available control methods may include RF remote control, IR control, projector trigger, wall switch, dry contact, RS485, or other compatible control interfaces.
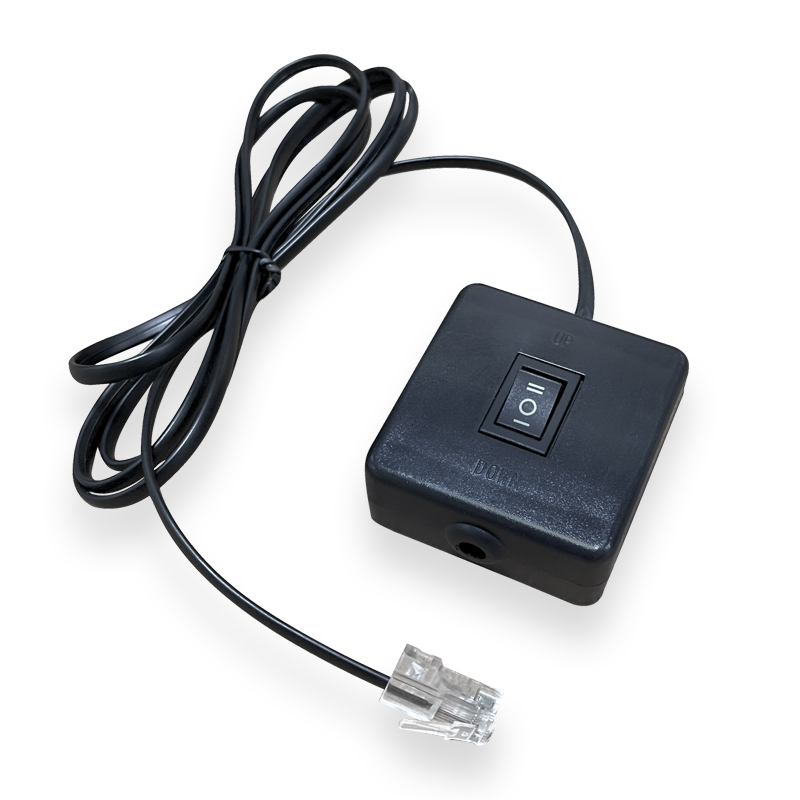
If the remote control is unavailable, selected SCREENPRO® motorized screens can still be operated using a wall switch, dry contact, RS485, or another supported wired control method.
Not every control method is available on every screen series. Please refer to the control interface on your screen or provide the screen model so SCREENPRO® can confirm the available control methods.
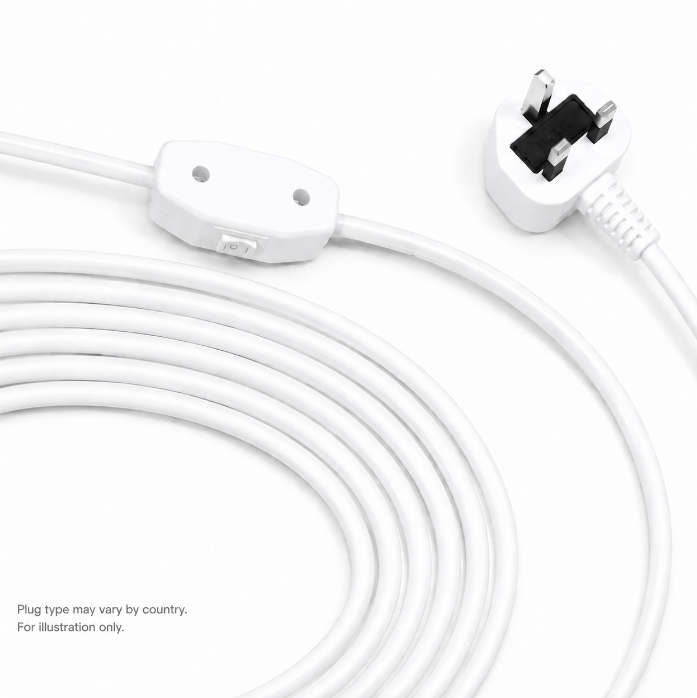
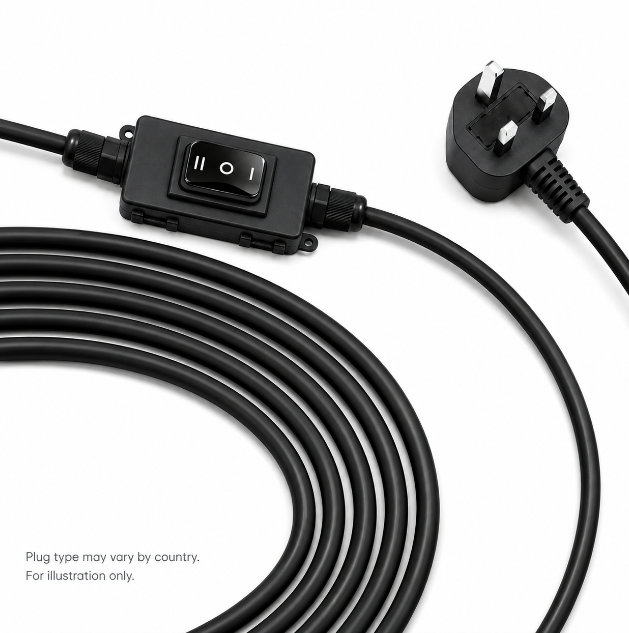
SCREENPRO® motorized projection screens use an external AC power supply and are not normally battery-driven.
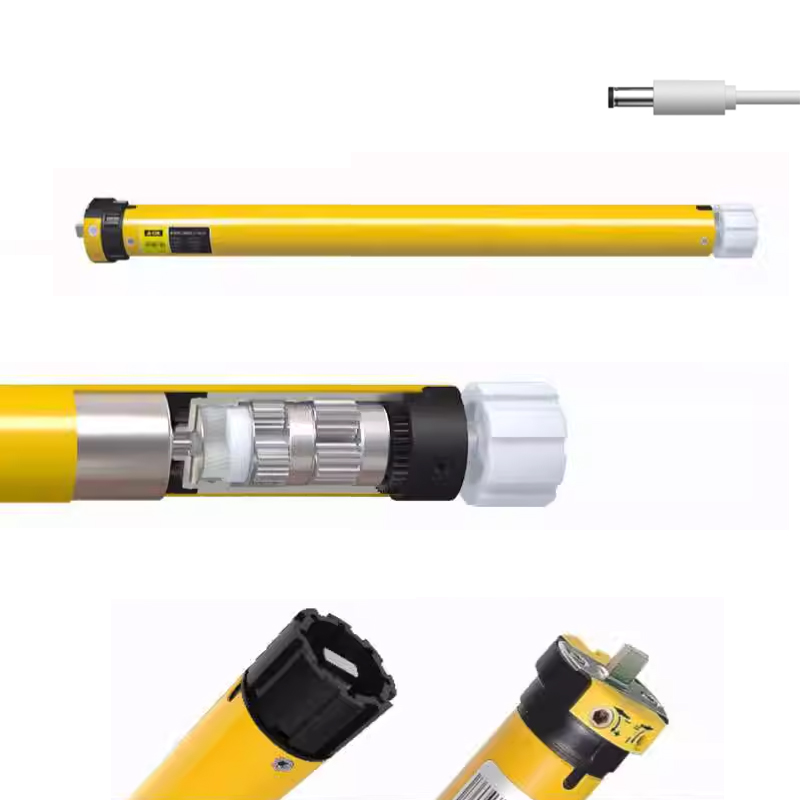
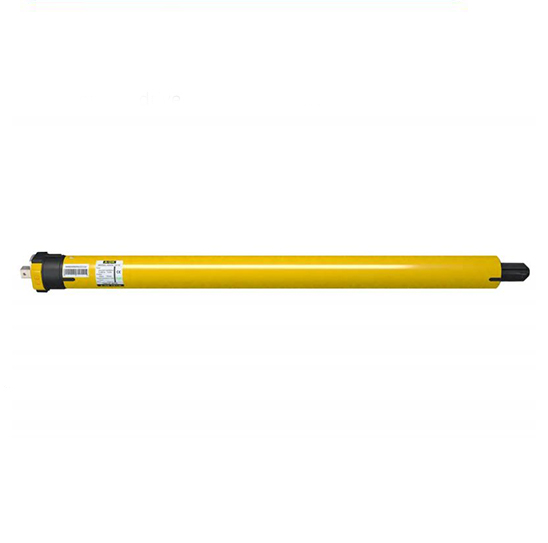
Typical motor power varies by motor type and screen configuration. Synchronous motors are typically 45–55 W; 6–10 N tubular motors are typically 103–145 W; and 30–50 N tubular motors are typically 200–350 W.
Actual motor type, power consumption, voltage, and wiring requirements vary by screen series, screen size, and configuration. Please refer to the specifications of the selected model for project-specific requirements.





© 2026 SCREENPRO®. Specifications are subject to change without notice. | SamsAV All Rights ReservedSite Map Designed by iwonder.cn